Calculate Your Project
Enter your project details in our drywall calculator.
RESIDENTIAL & COMMERCIAL
Professional drywall repair, texture matching, ceiling repair, patchwork, drywall installation, and interior finishing services for homes, offices, retail spaces, apartments, and commercial properties.
Built on IntegrityFocused on Excellence
ABOUT FARLEY CONSTRUCTION
We specialize in drywall repair, drywall installation, texture matching, ceiling repair, patchwork, and interior finishing services for residential and commercial properties
WE PROUDLY WORK WITH:
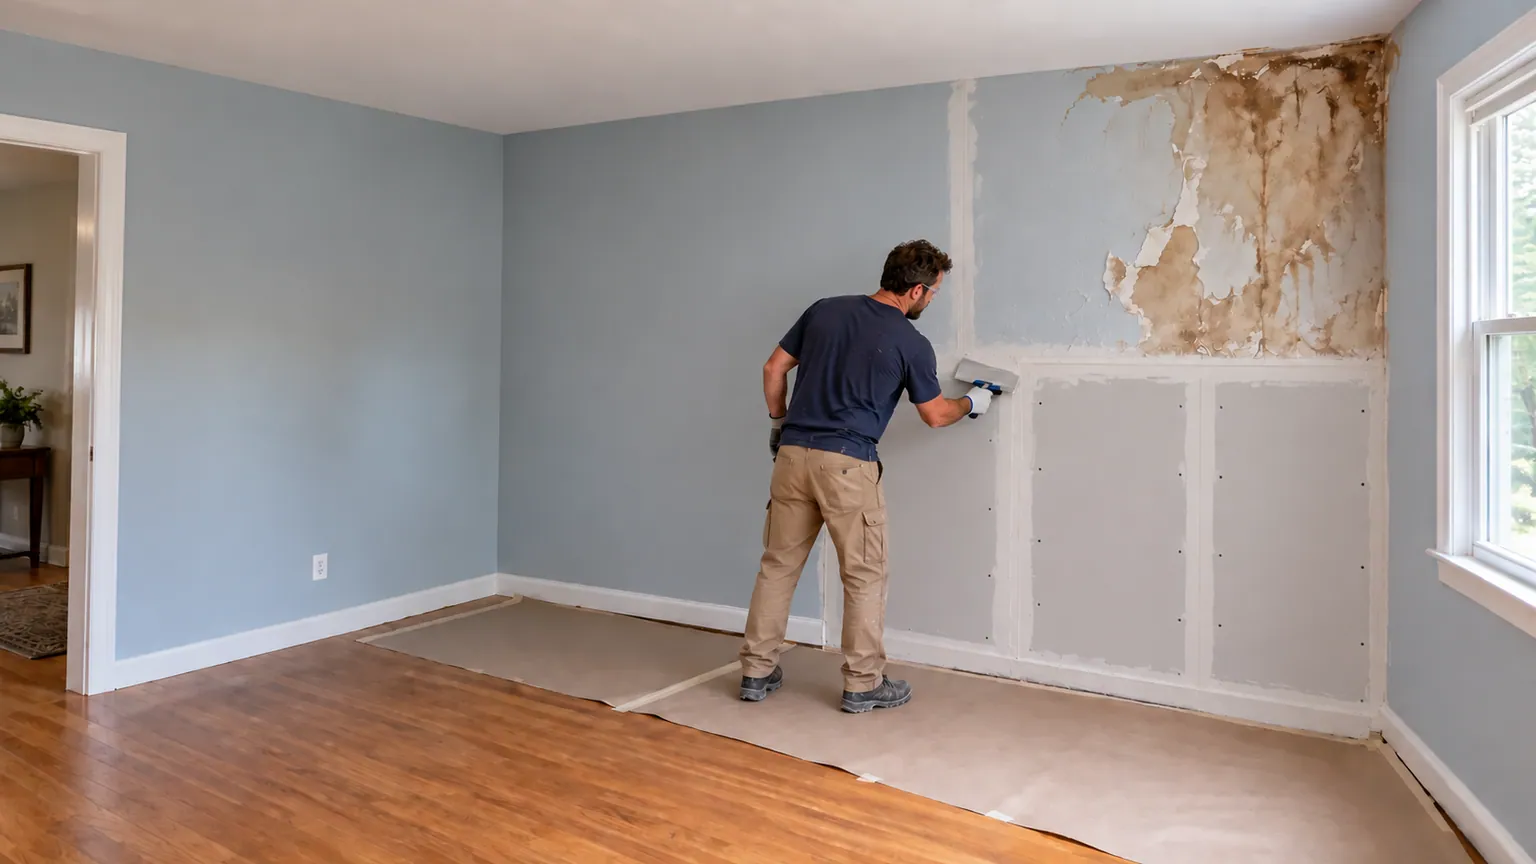
AI-generated water-damage drywall repair illustration
OUR SERVICES
Professional drywall repair, texture matching, installation, and finishing for residential and commercial spaces.
From a small hole to a wall that needs a fresh start.
Learn More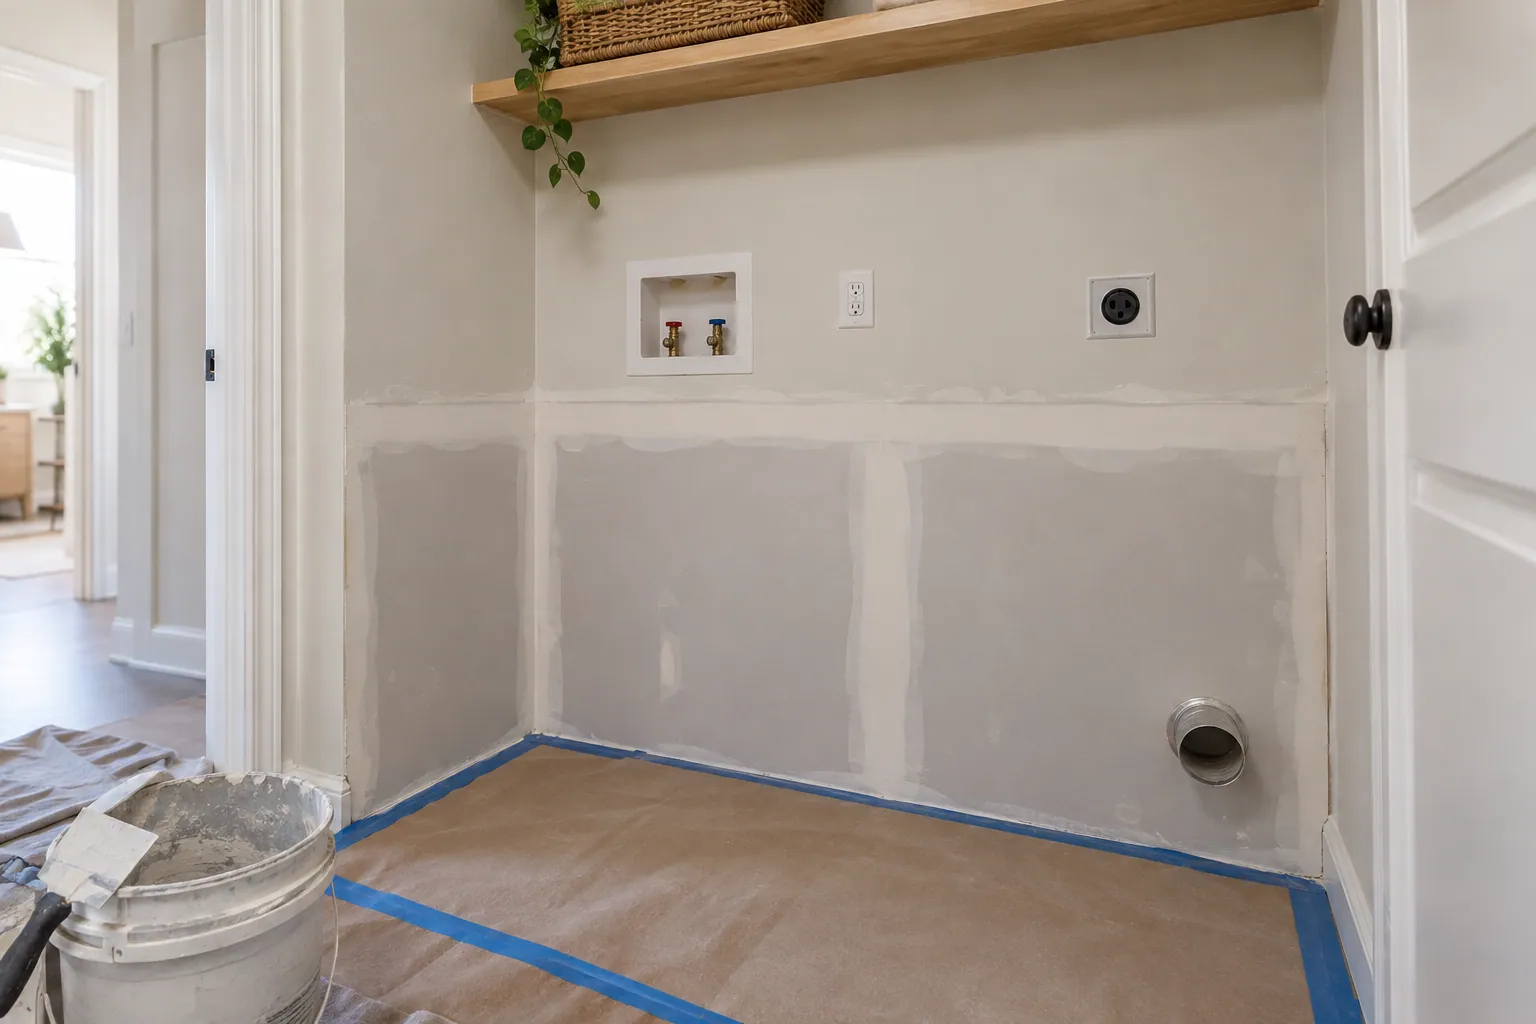
Restore the wall after the leak is resolved.
Learn More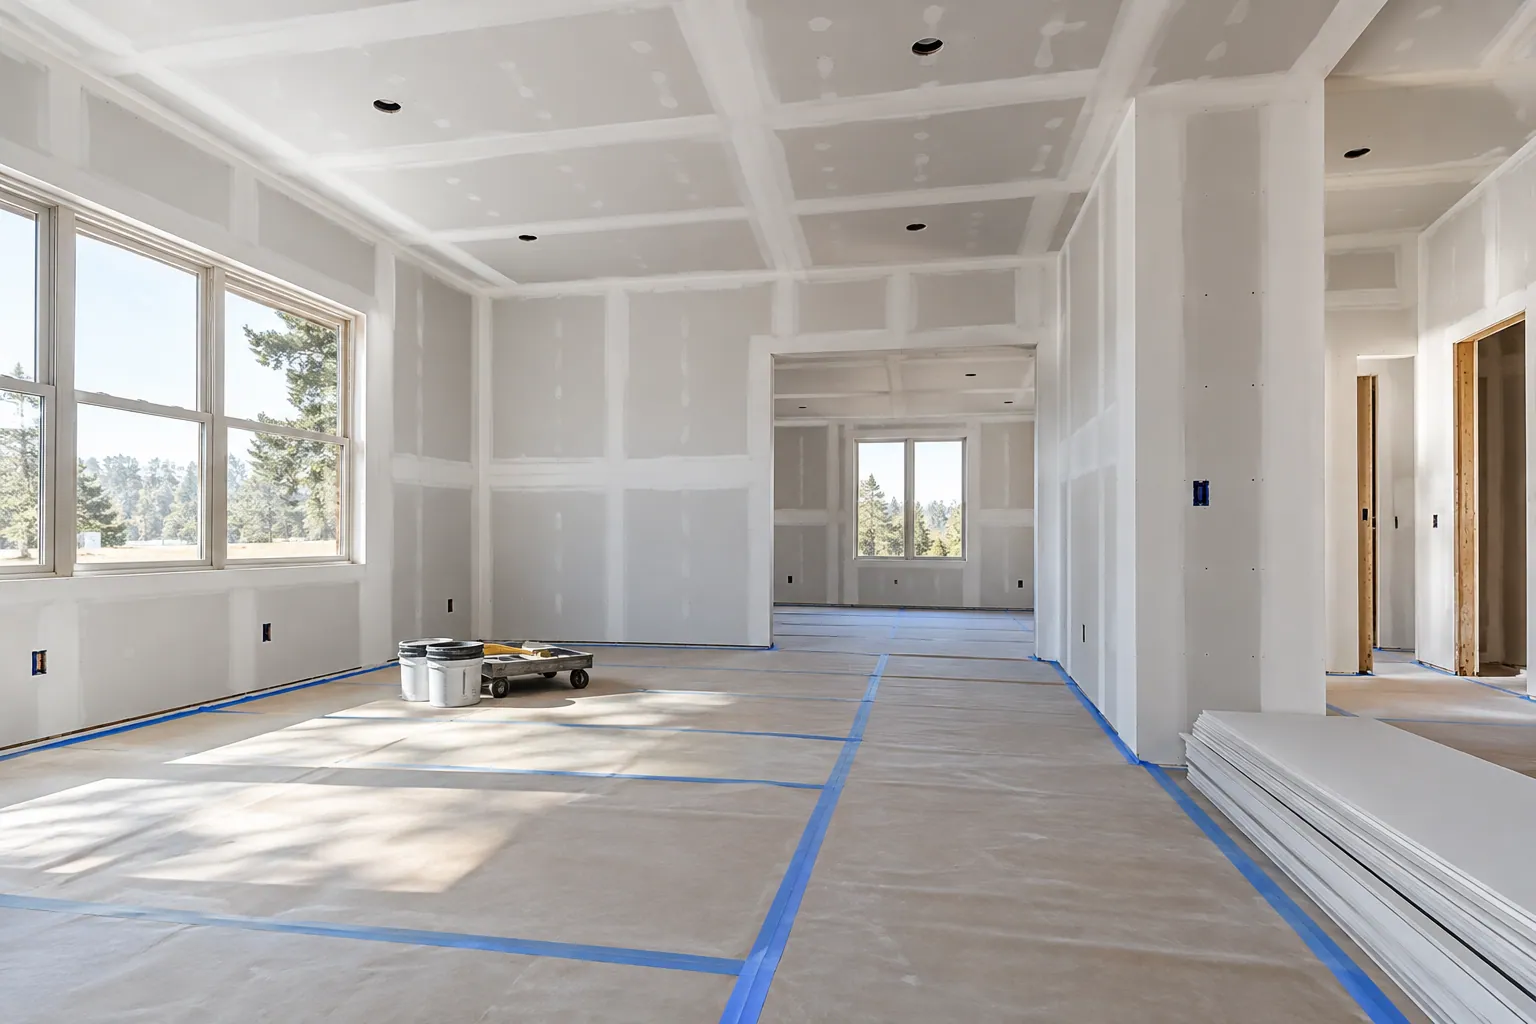
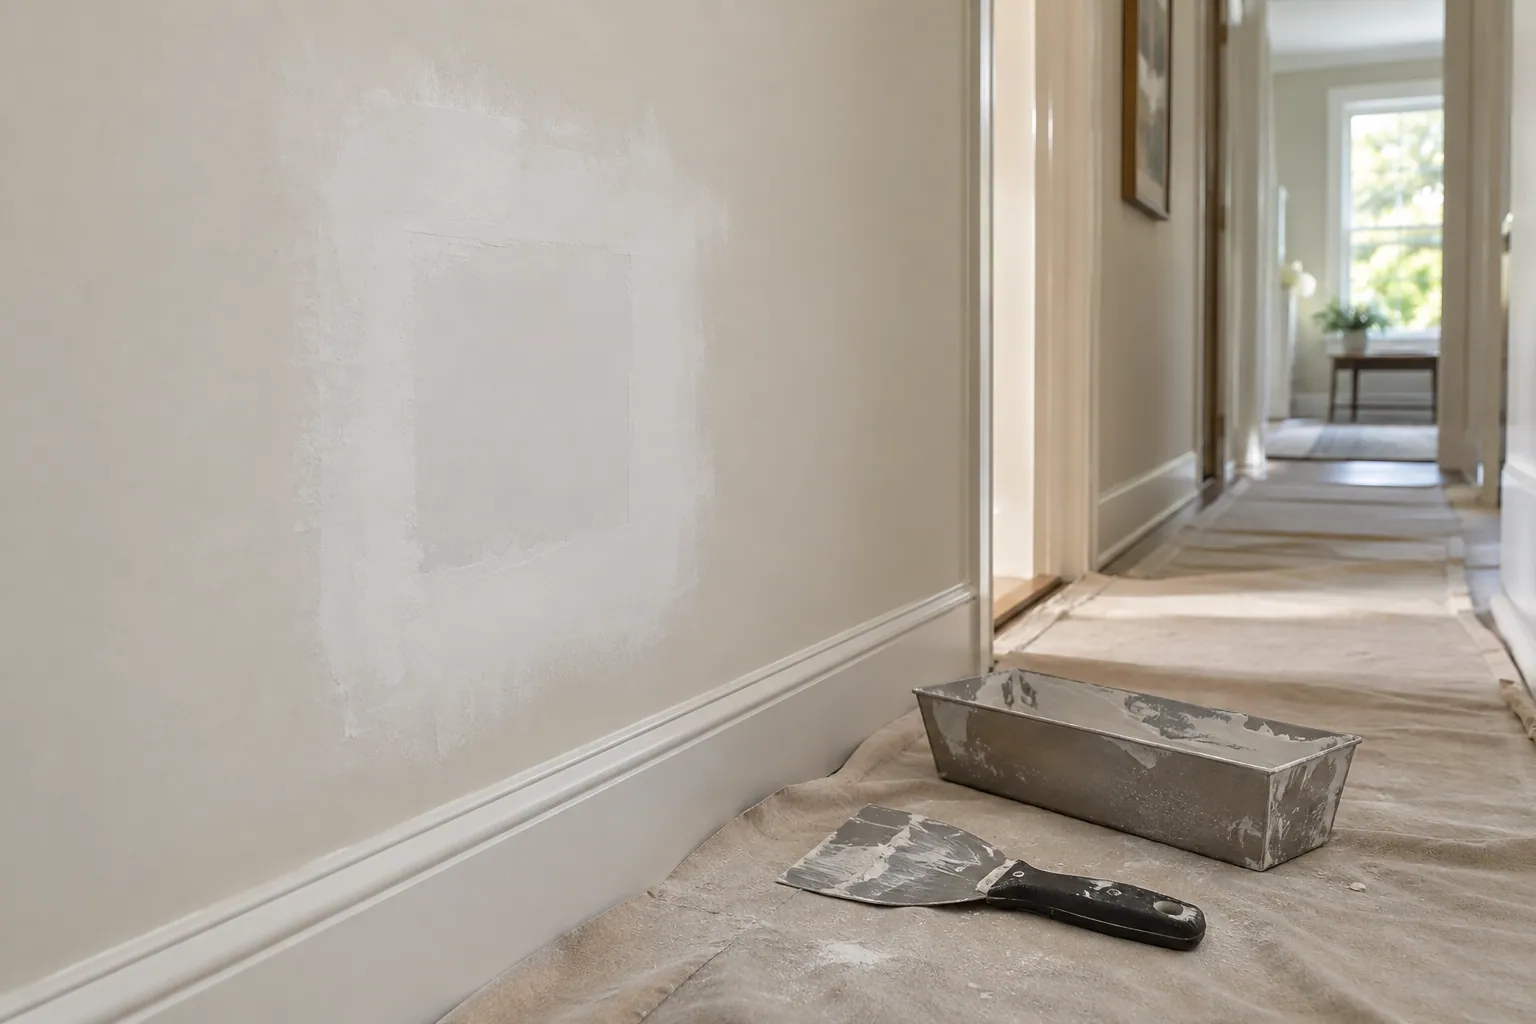
A good finish starts beneath the paint.
Learn More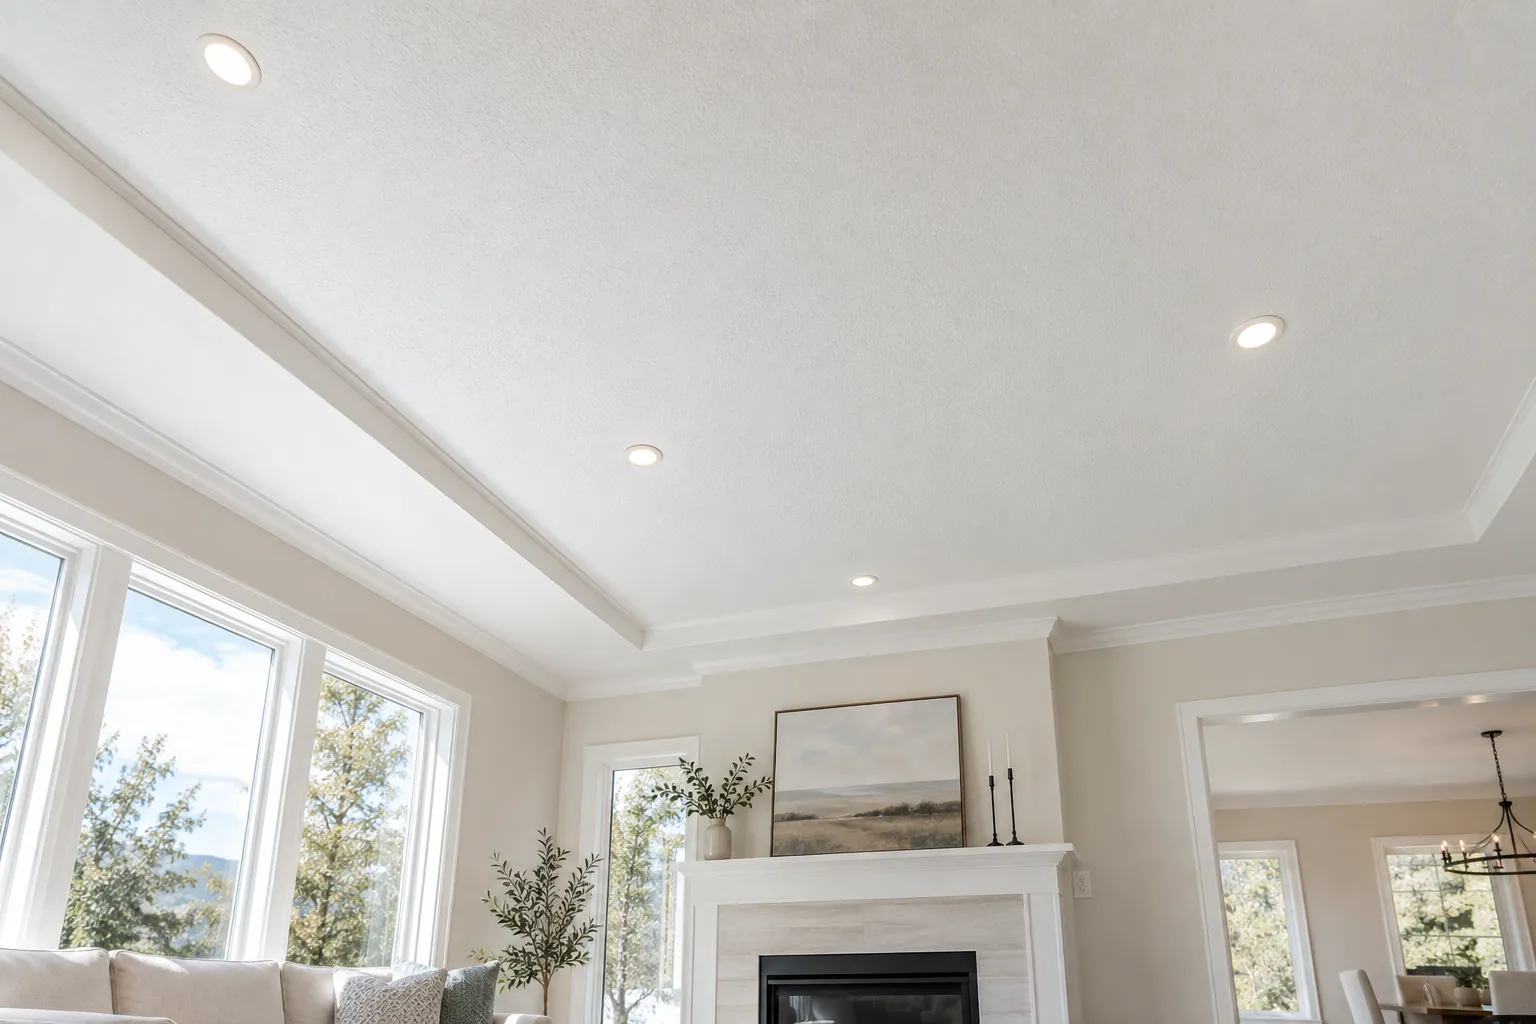
Bring the whole surface back together.
Learn More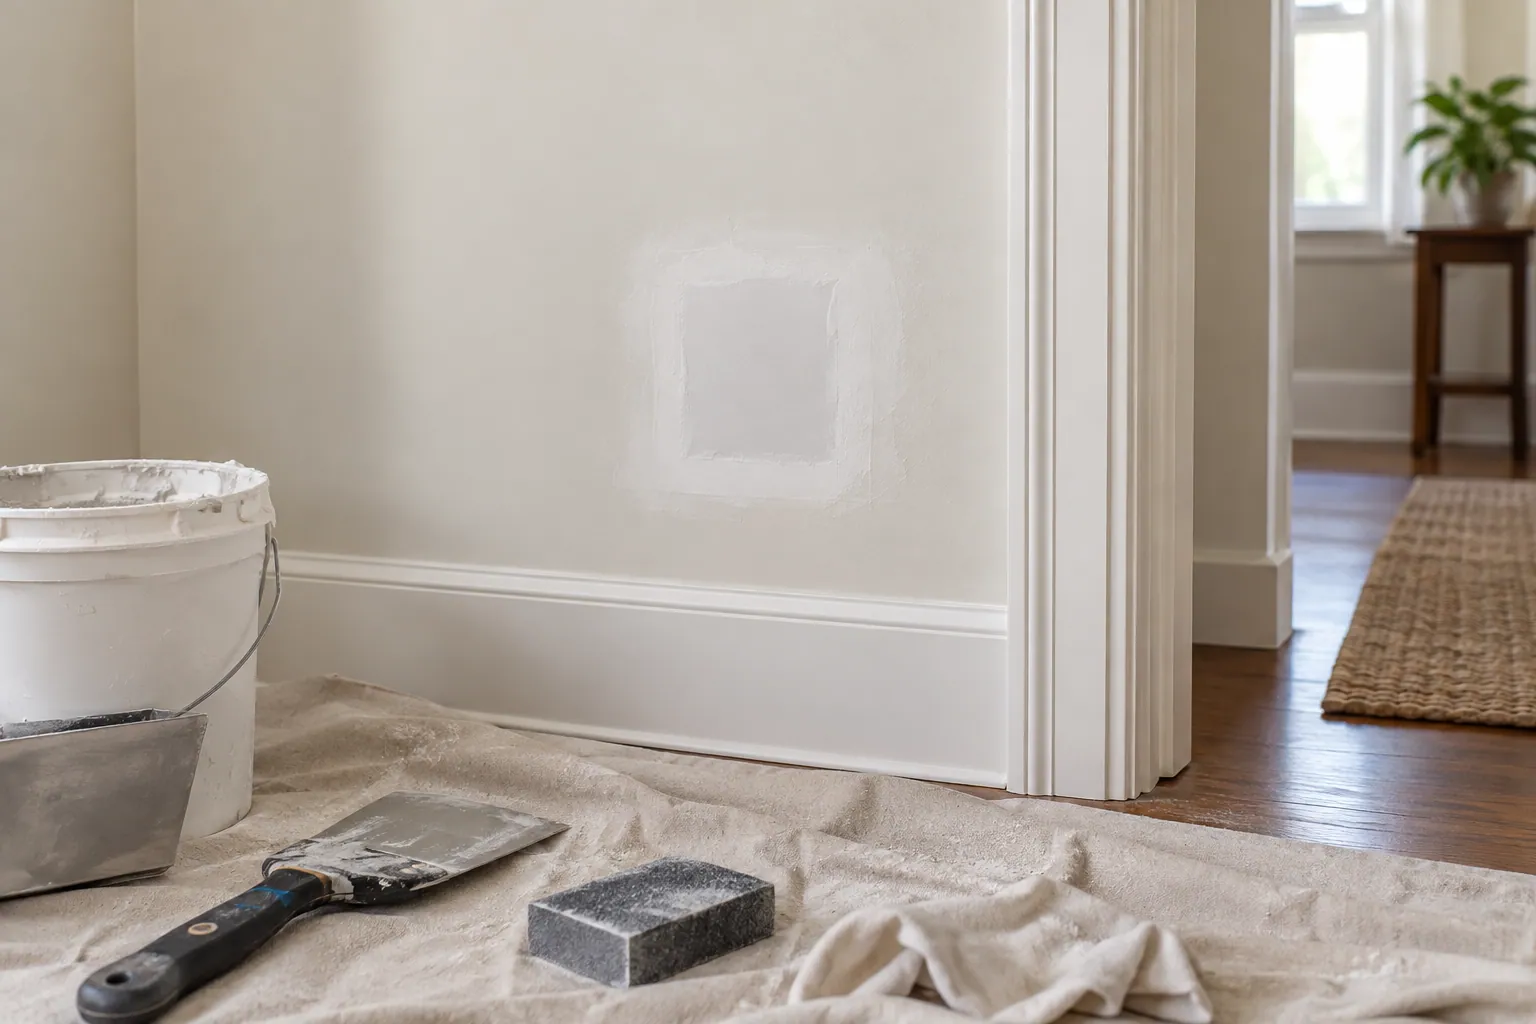
Small repairs deserve a proper finish.
Learn More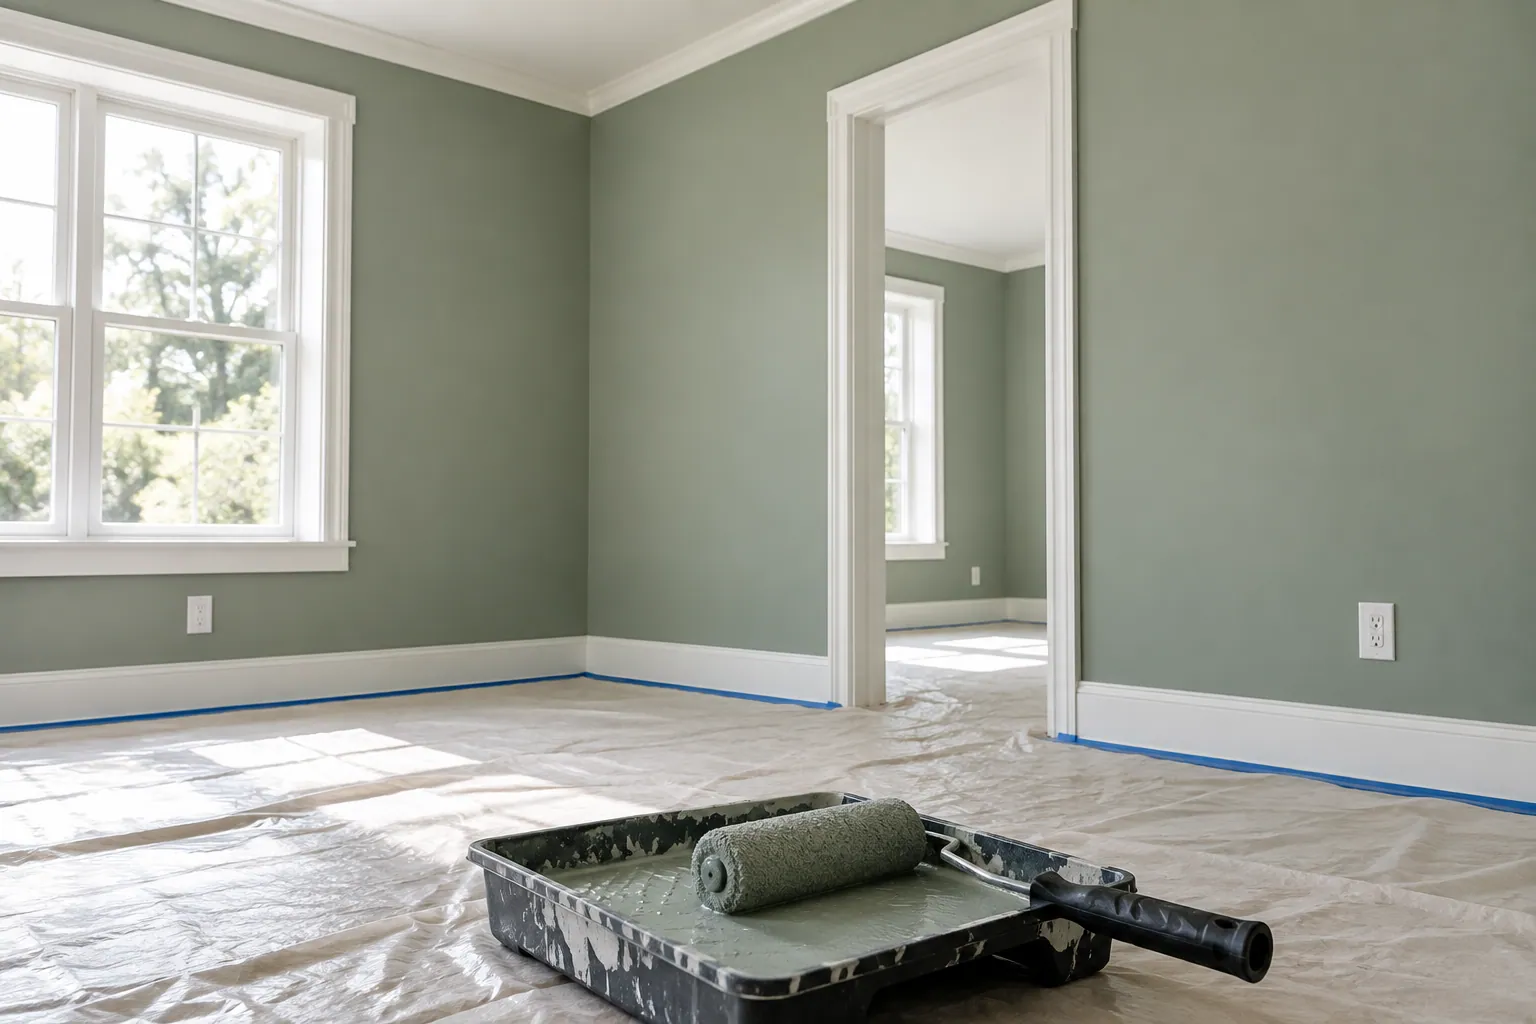
The finishing touch, thoughtfully prepared.
Learn MoreService images are AI-generated illustrations. See our actual work in Completed Projects below.
OUR PROCESS
Enter your project details in our drywall calculator.
Review the scope and estimate with FCD Drywall.
Confirm deposit details directly with our team.
Arrange an available project date with us.
Review the completed work together.
Open the project calculator for a preliminary estimate, or contact FCD Drywall. Deposits and scheduling are arranged directly with our team.
WHY CHOOSE US
From patch repairs and texture matching to complete finishing work, find the right service for your property.
OUR SERVICE AREA
Serving selected areas of Orange, Los Angeles, San Diego, Riverside, San Bernardino, and Ventura counties. Based in South Orange County. Contact us to confirm your project address.
CUSTOMER FEEDBACK
Aaron was fantastic and I would highly recommend for any job, large or small. He was fast efficient and knowledgeable in a complicated assembly.
The work FCD did was clean and looks amazing. Great communication. Exactly what I was looking for. I'd hire them for my next project.
Im very happy with the job you did you guys are so professional 👏
It has been a pleasure working with Farley Construction. They are very honest and professional in their field of service. It’s a company that you can trust and will never let you down. I look forward to working with Farley construction in the future and I highly recommend them.
Aaron performed the job on time and within the budget he promised. I have no hesitation to recommend him to everyone. Thank you Aaron.
Working with FCD was easy and professional, would recommend
FCD Drywall did an outstanding job on my project from start to finish. The workmanship speaks for itself — clean, straight lines, flawless seams, and a finish so smooth you’d never know where one board ended and the next began. No shortcuts, no touch-up list at the end. Just as impressive was the professionalism. The crew showed up on time, kept the site clean every single day, communicated clearly throughout, and finished on schedule. They clearly take pride in their craft. If you want drywall done right the first time by people who care about the details, call FCD Drywall. Highly recommended.
They did an amazing job on my house. they were so clean and professional. We would definitely use them again. They even cleaned the areas that we didn't ask them to clean or needed to clean to make sure that they did a good job.
Great company to work with. Communication is great. Jobs were completed as described and in a timely manner. Looking forward to doing more business with them.
I highly recommend FCD Drywall for your commercial or residential needs. Aaron and his team are responsive and perform high quality work.
Drywall FCD did an amazing job with their projects. They came into our house and were very clean and Communicative. Amazing!
Whether you need drywall patch repair, ceiling repair, texture matching, or interior painting, let’s talk about the work.
Calculate your free EstimateOUR WORK
Browse repair stages by project and location. Projects are grouped by city, with California locations first. Out-of-state projects are past-work references; current service coverage remains in California.
Each entry is a separate project unless its title identifies combined work. Choose a project, then use the arrows or swipe through its photos. Select a photo to see it larger.
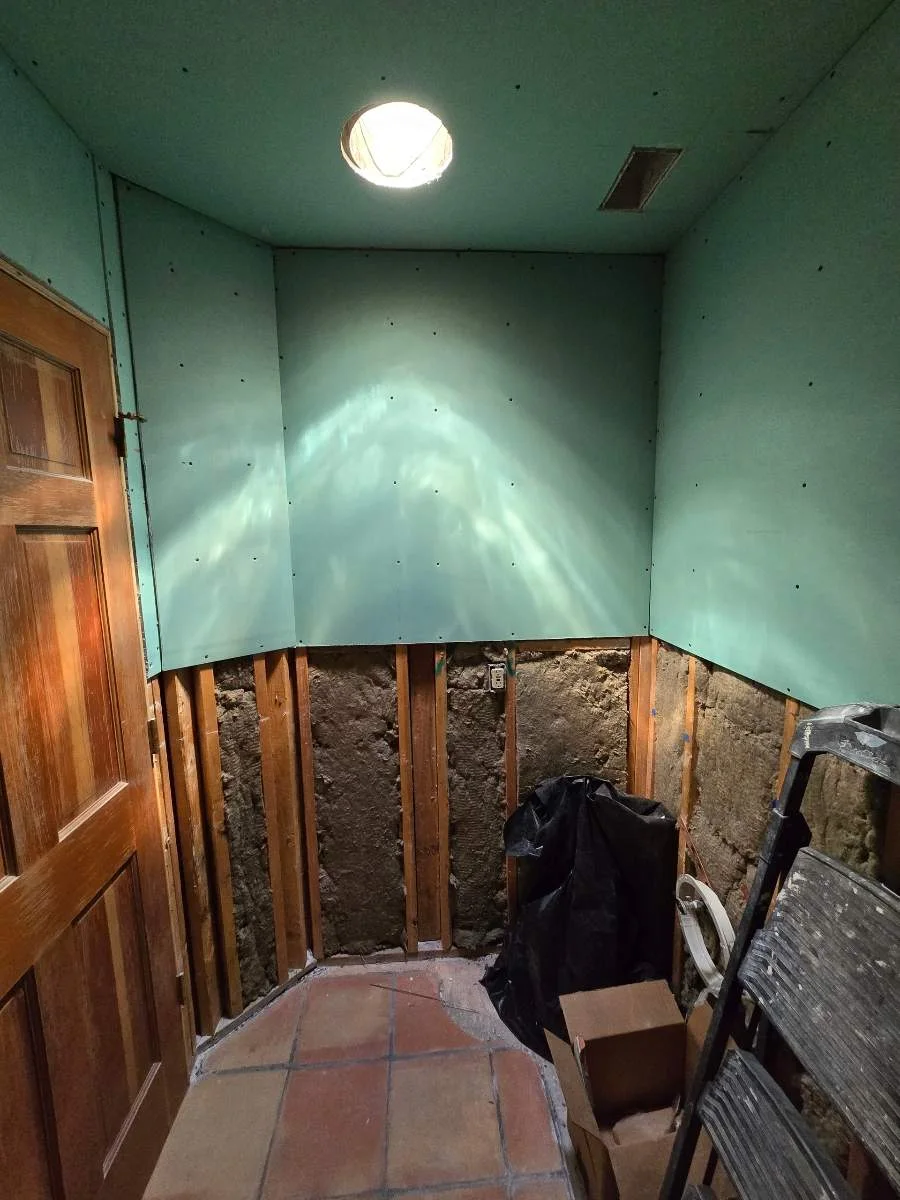
Apple Valley, CA
BeforeBathroom wall prepared for replacement
Photo 1 of 5 · Before and progress photos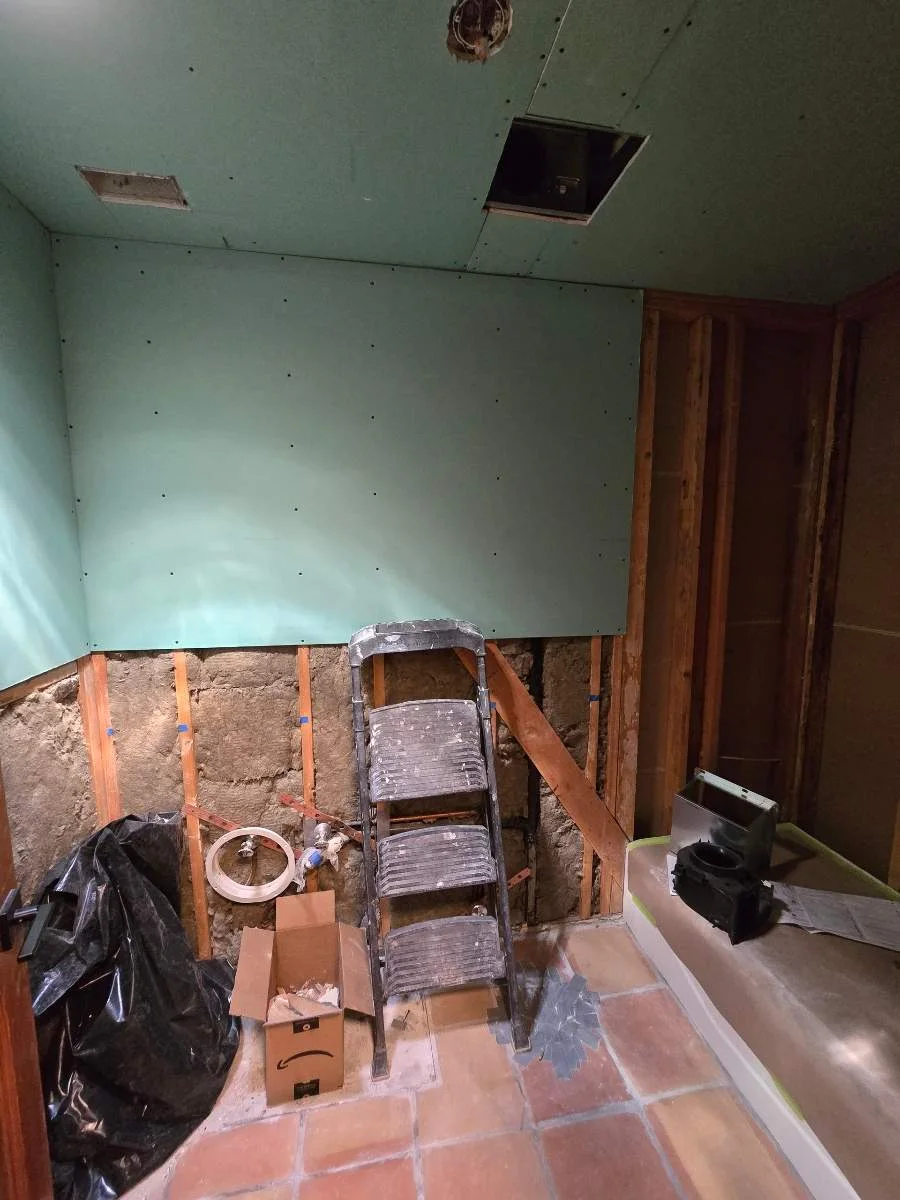
Apple Valley, CA
BeforeBathroom walls with exposed framing
Photo 2 of 5 · Before and progress photos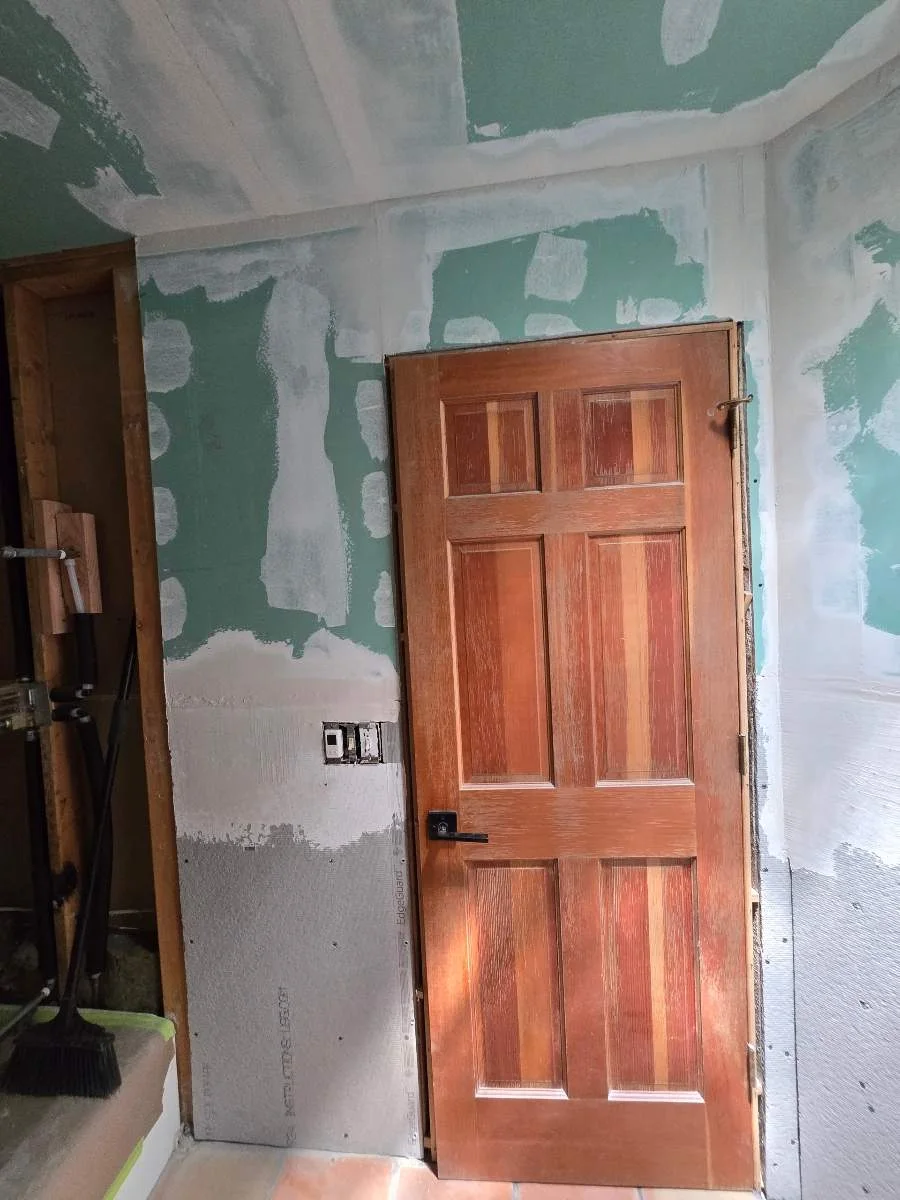
Apple Valley, CA
DuringBathroom drywall joints during finishing
Photo 3 of 5 · Before and progress photos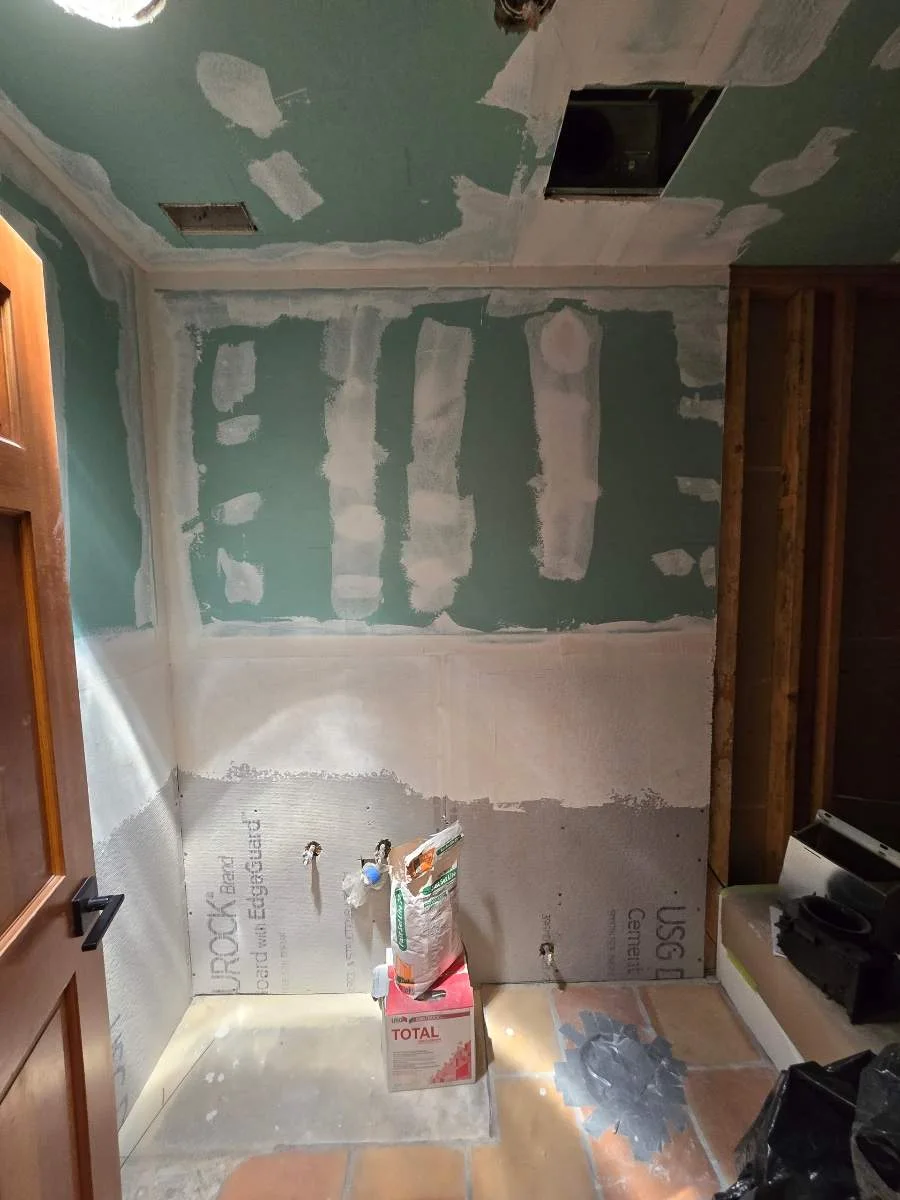
Apple Valley, CA
DuringBathroom ceiling seams during finishing
Photo 4 of 5 · Before and progress photos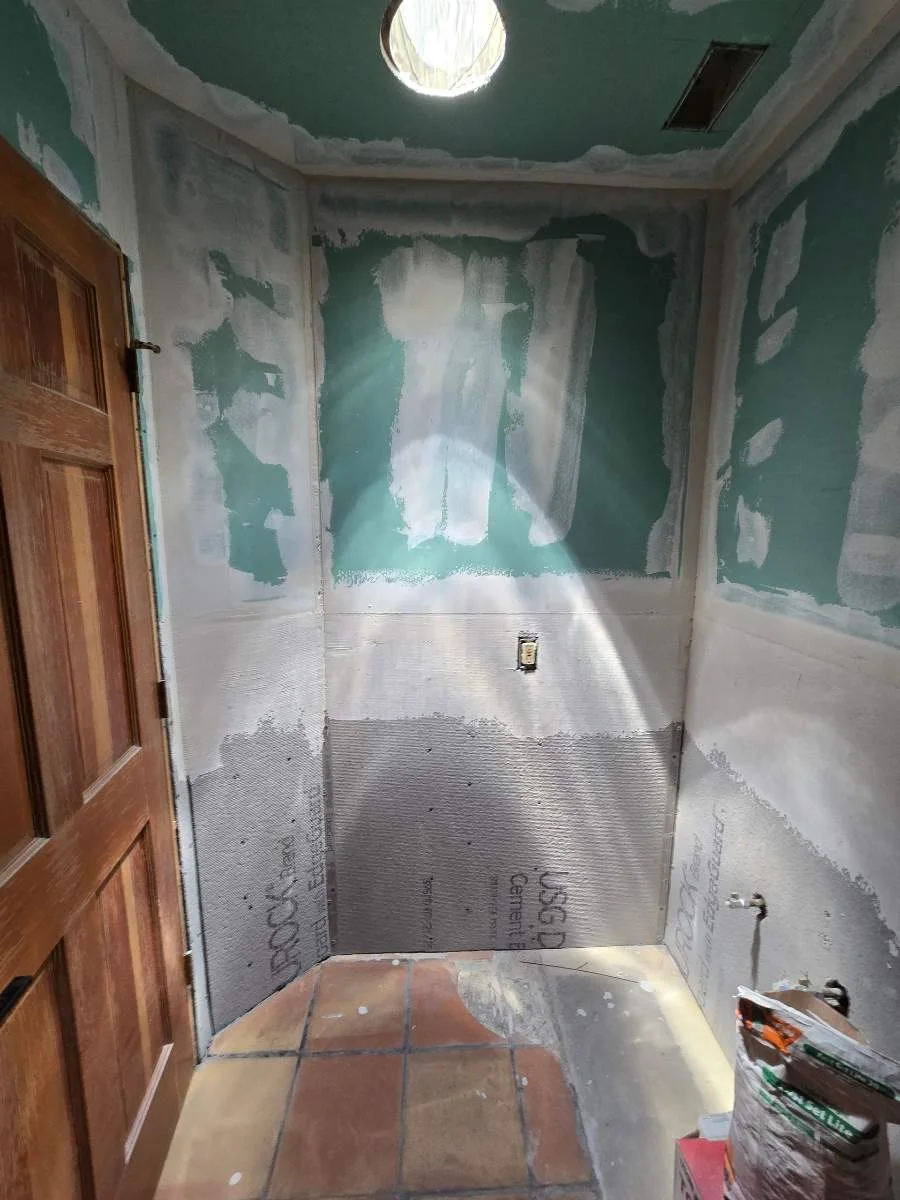
Apple Valley, CA
DuringShower wall finishing in progress
Photo 5 of 5 · Before and progress photos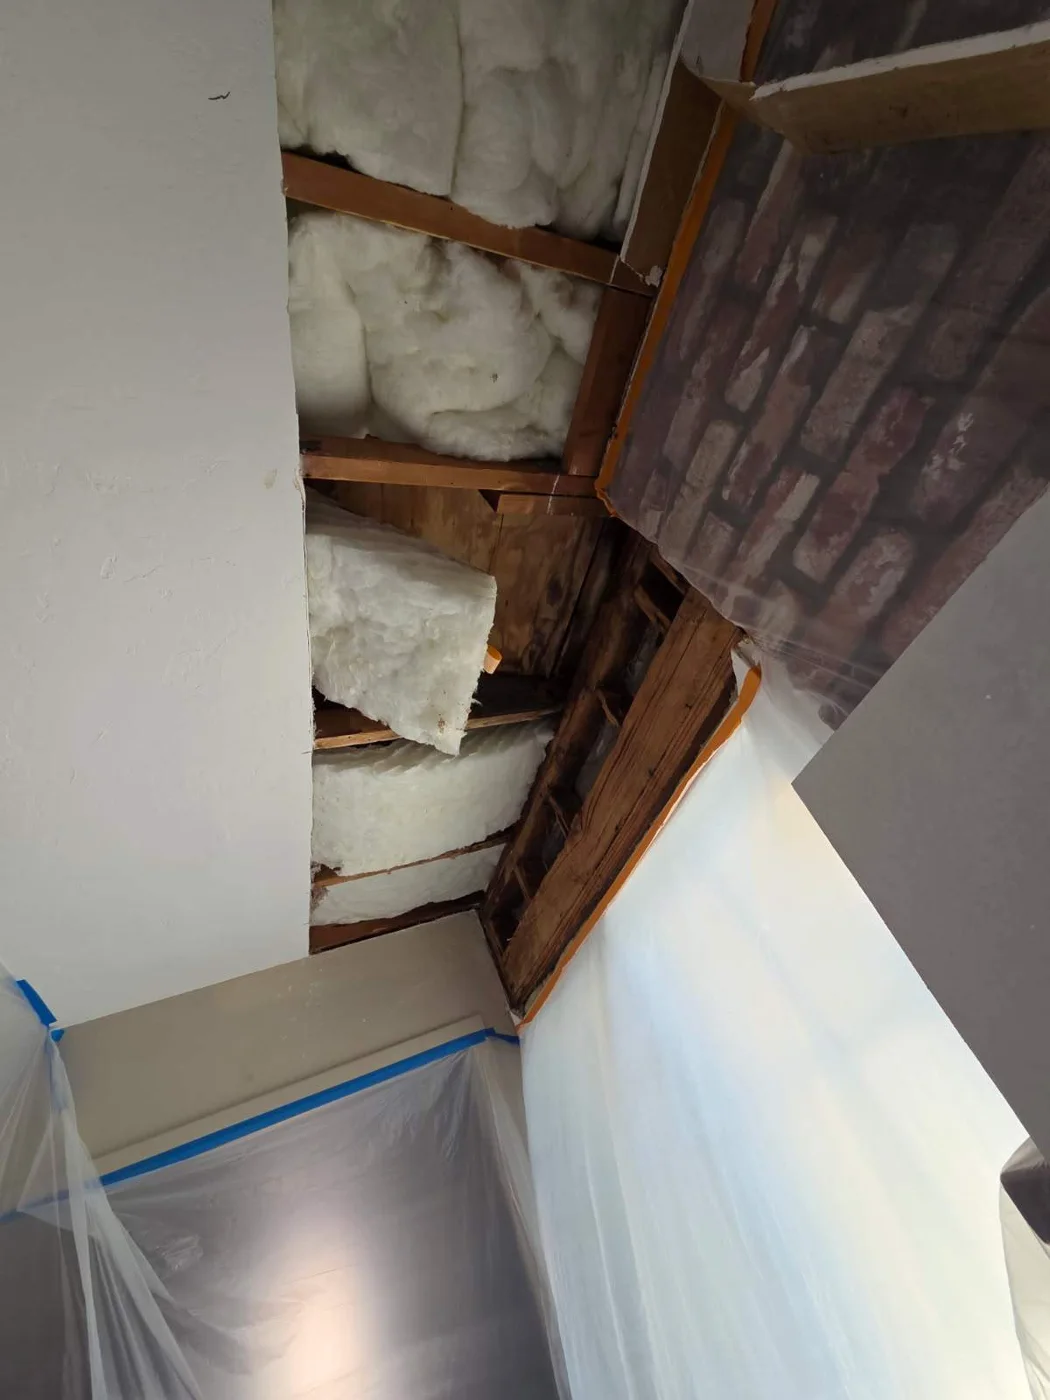
Diamond Bar, CA
BeforeOpened ceiling next to brick fireplace
Photo 1 of 4 · Before, progress and after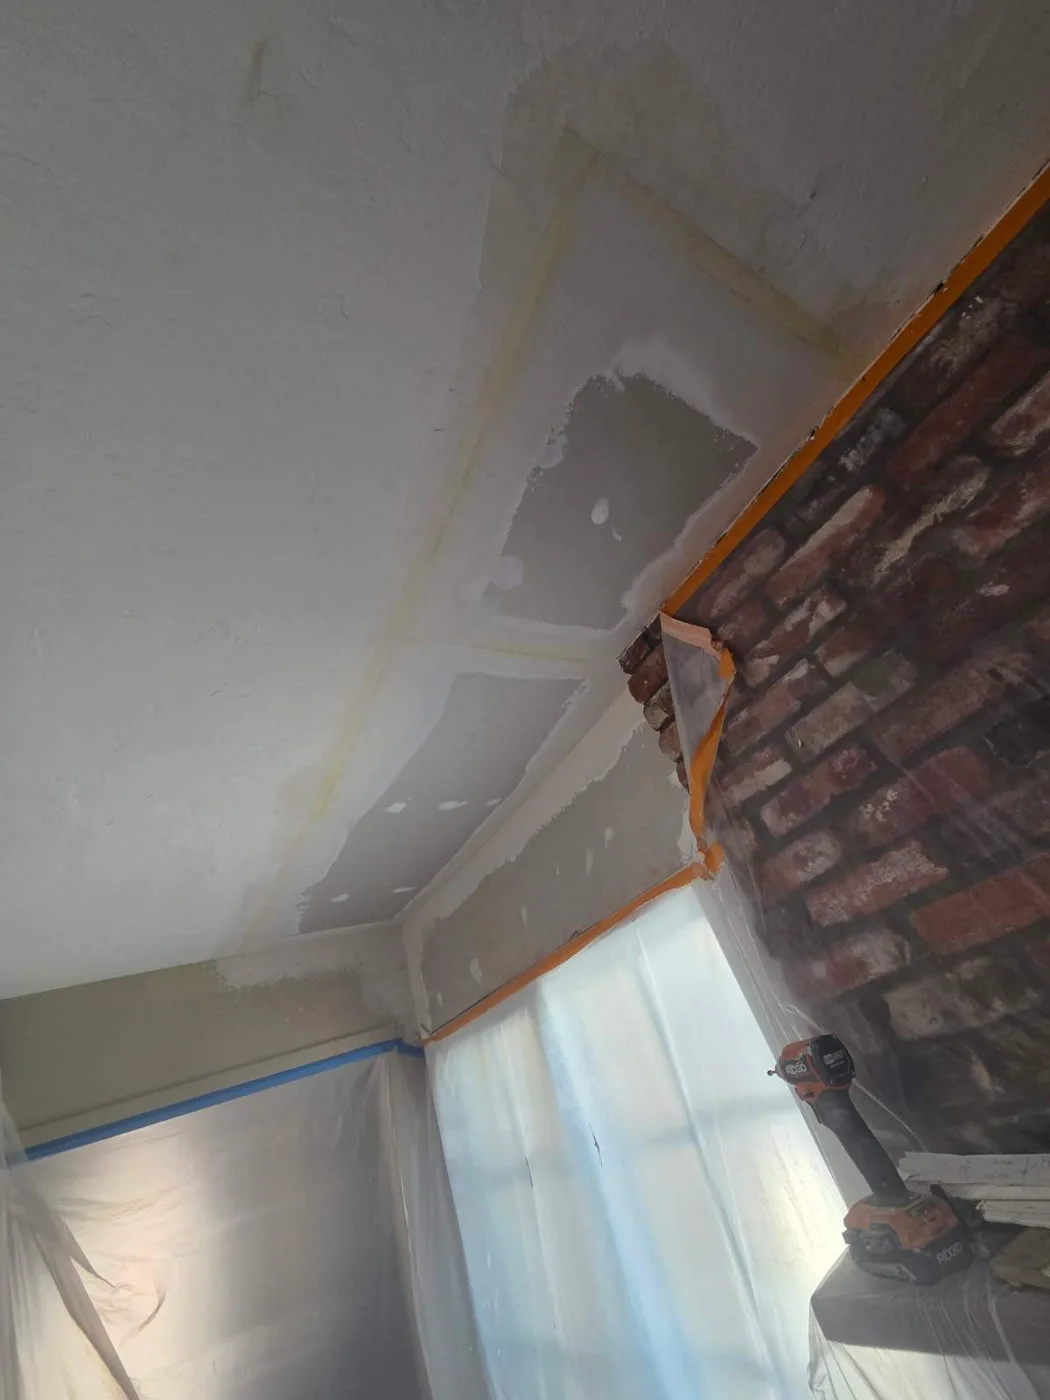
Diamond Bar, CA
DuringCeiling patch during finishing
Photo 2 of 4 · Before, progress and after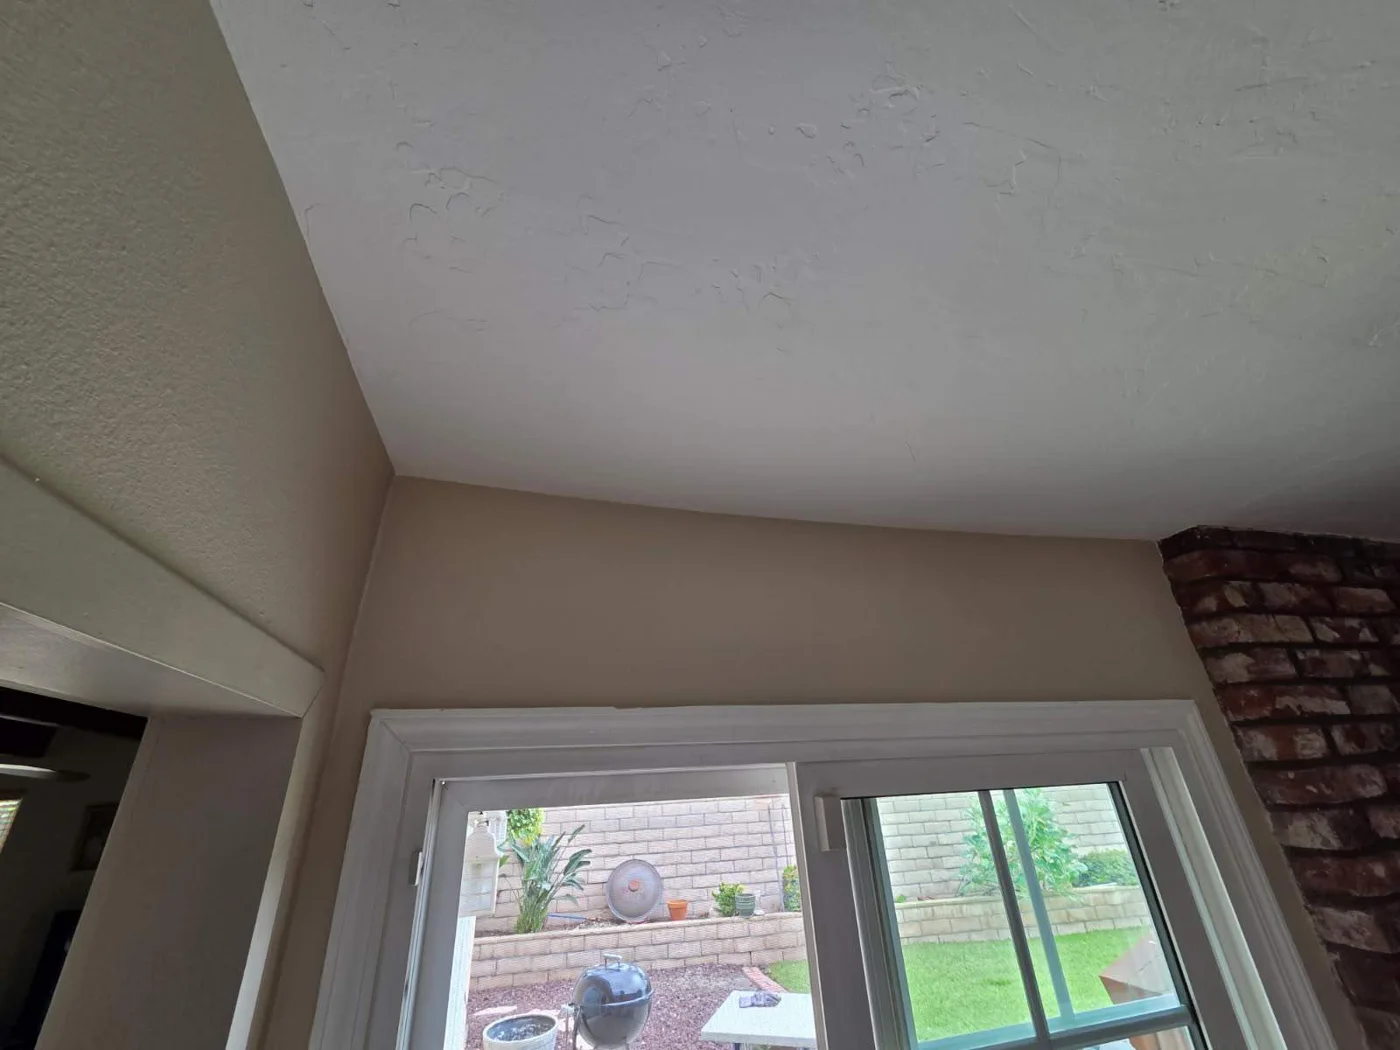
Diamond Bar, CA
AfterFinished ceiling beside brick fireplace
Photo 3 of 4 · Before, progress and after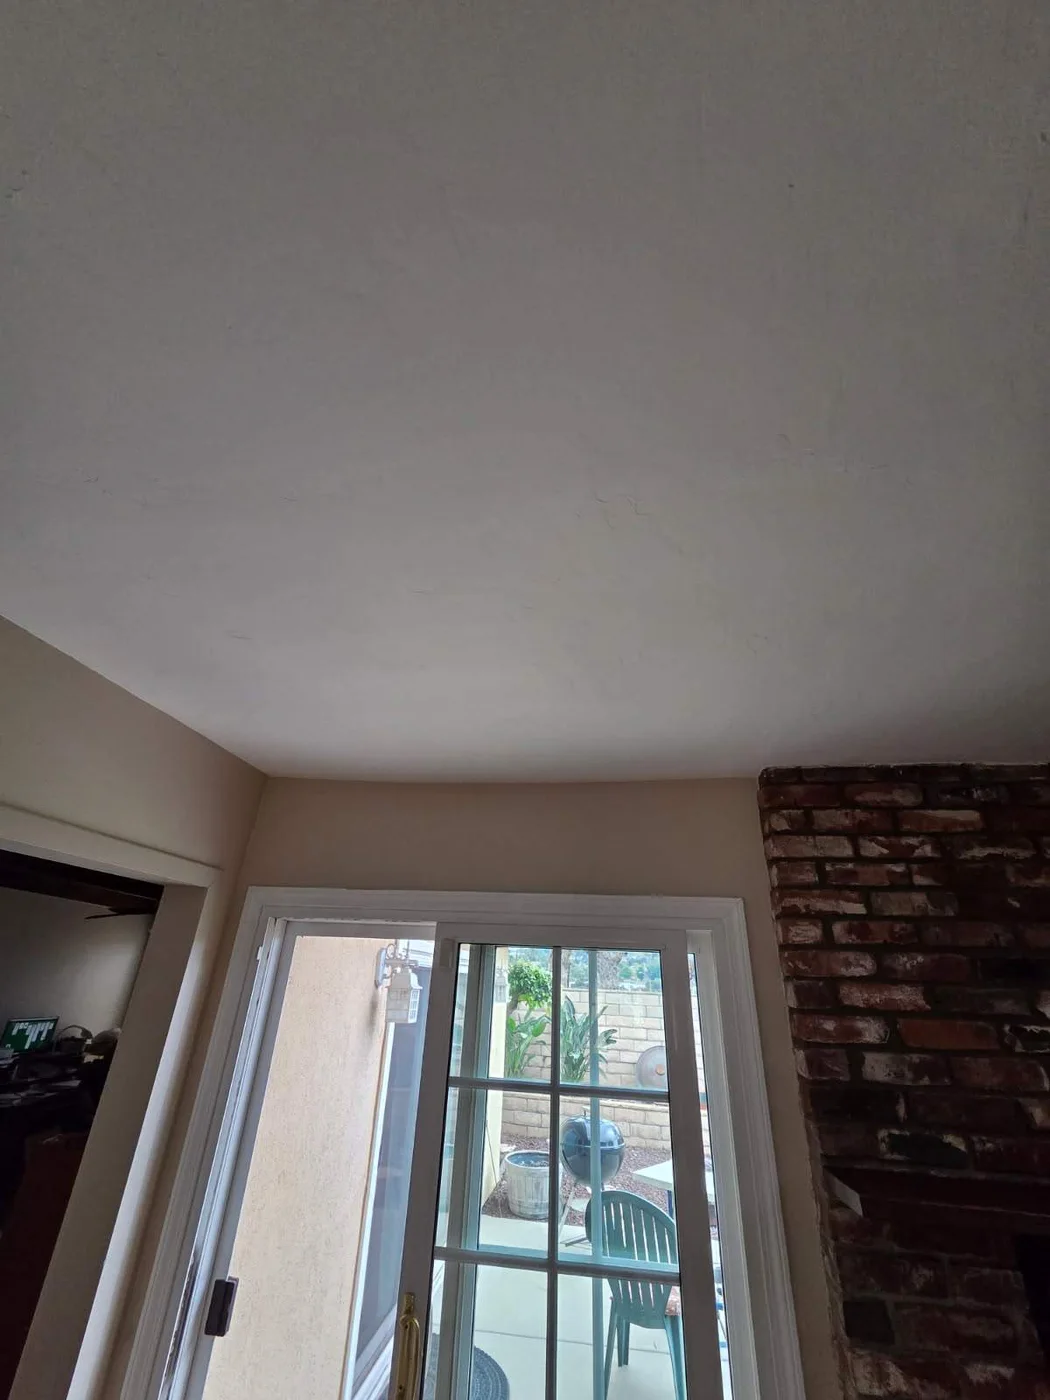
Diamond Bar, CA
AfterFinished ceiling beside brick fireplace
Photo 4 of 4 · Before, progress and after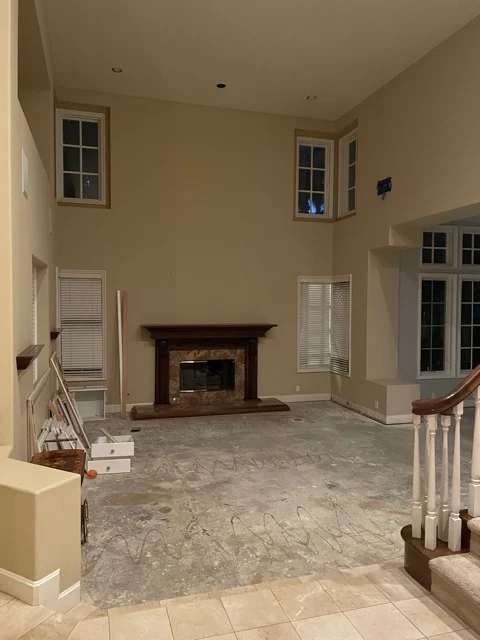
Laguna Niguel, CA
AfterPainted walls and high ceiling in the main living area
Photo 1 of 8 · Completed painting work — owner-confirmed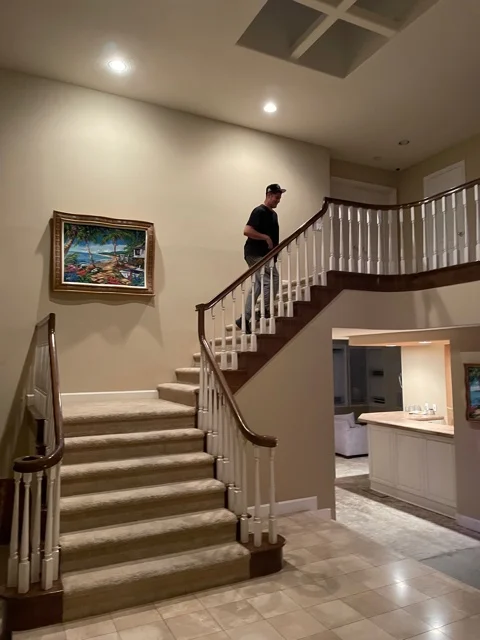
Laguna Niguel, CA
AfterPainted stairwell and entry walls
Photo 2 of 8 · Completed painting work — owner-confirmed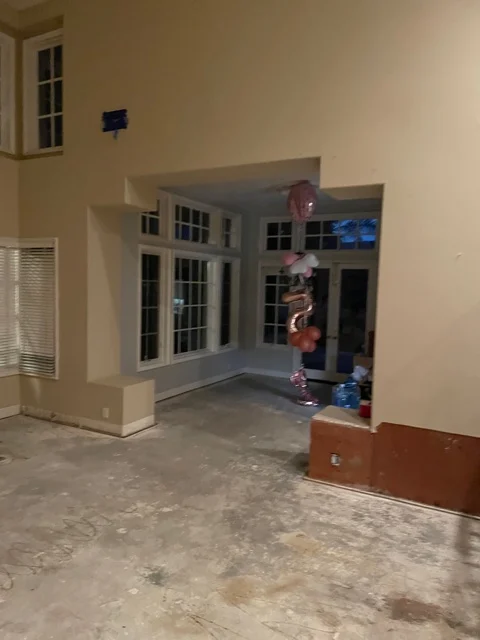
Laguna Niguel, CA
AfterPainted living-area walls beside the kitchen
Photo 3 of 8 · Completed painting work — owner-confirmed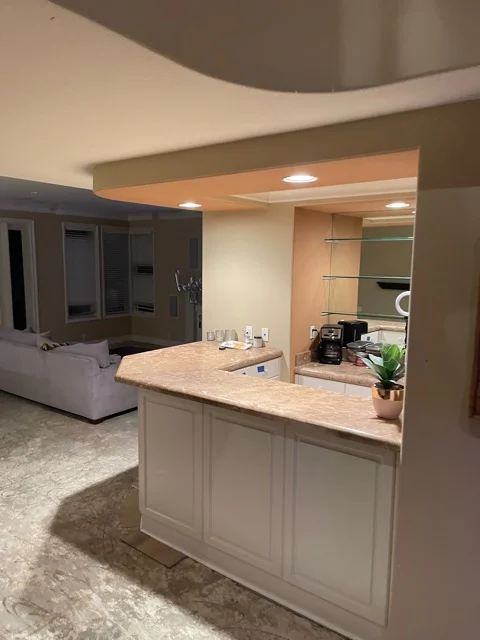
Laguna Niguel, CA
AfterPainted kitchen walls and ceiling
Photo 4 of 8 · Completed painting work — owner-confirmed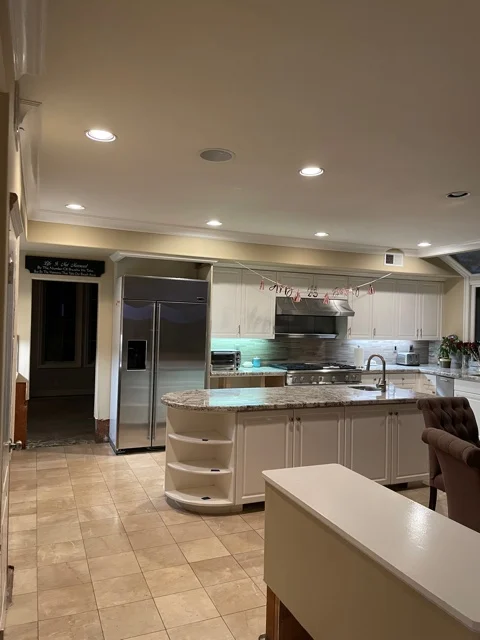
Laguna Niguel, CA
AfterInterior painting across the kitchen and adjoining room
Photo 5 of 8 · Completed painting work — owner-confirmed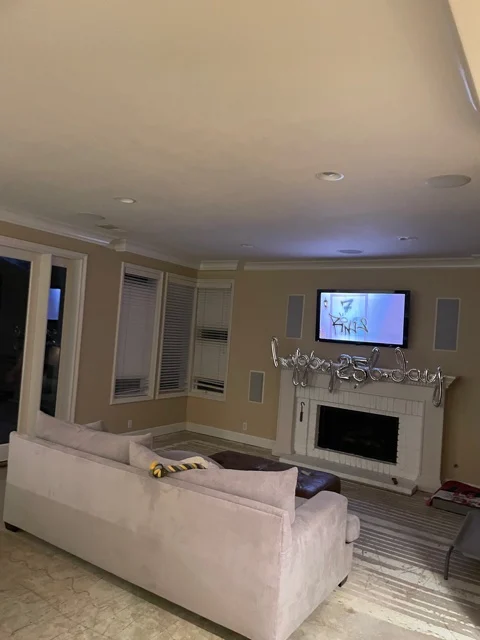
Laguna Niguel, CA
AfterPainted living room and fireplace wall
Photo 6 of 8 · Completed painting work — owner-confirmed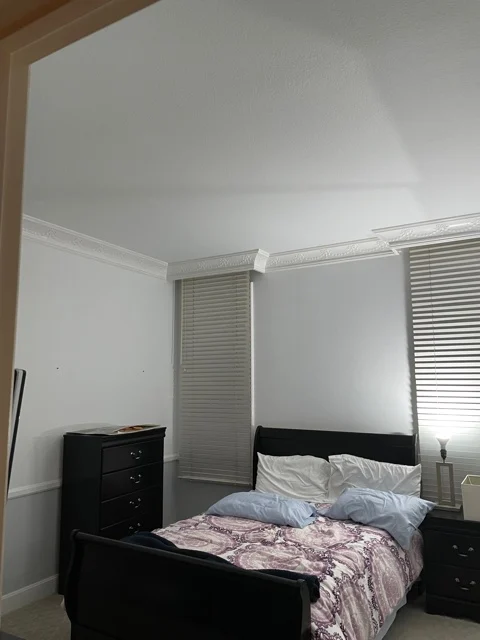
Laguna Niguel, CA
AfterFinished bedroom wall and ceiling painting
Photo 7 of 8 · Completed painting work — owner-confirmed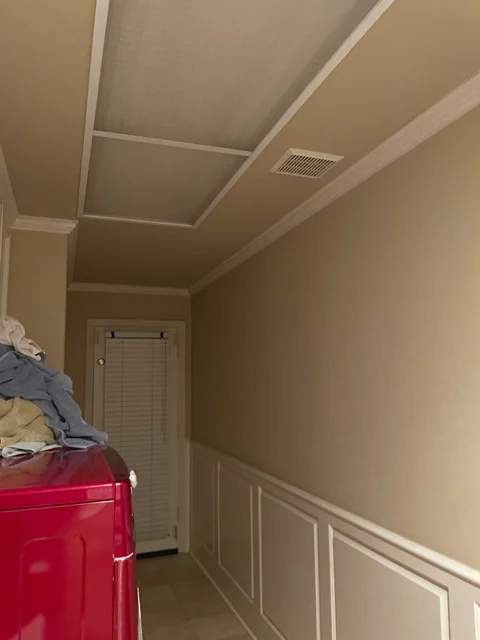
Laguna Niguel, CA
AfterPainted bedroom walls and ceiling details
Photo 8 of 8 · Completed painting work — owner-confirmed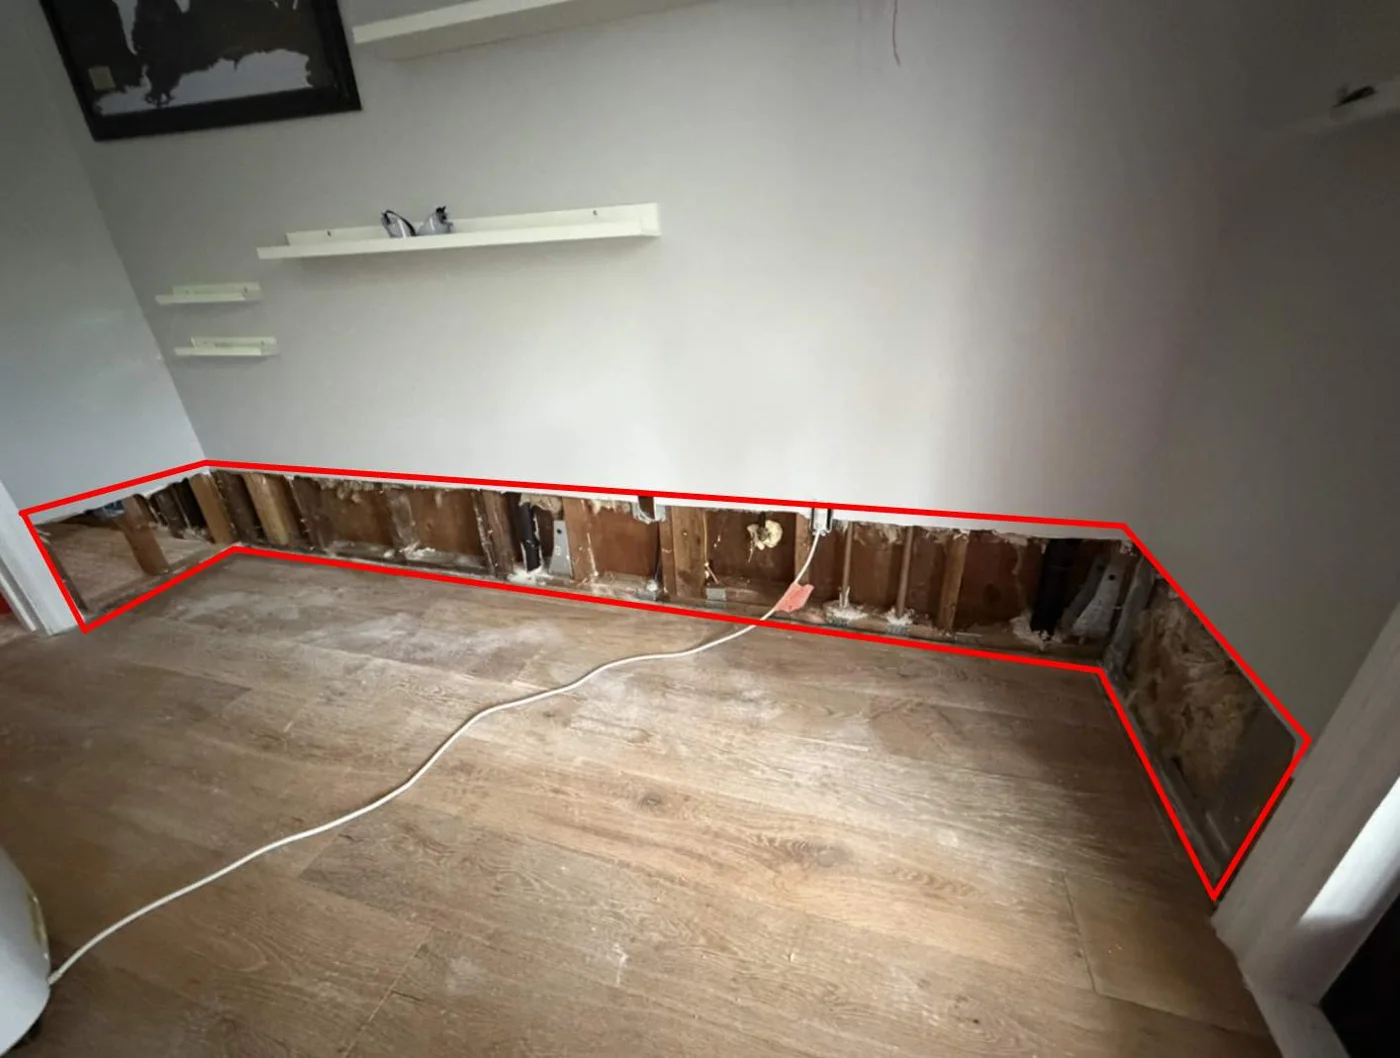
Los Angeles, CA
BeforeLower wall repair area marked for work
Photo 1 of 9 · Before, progress and after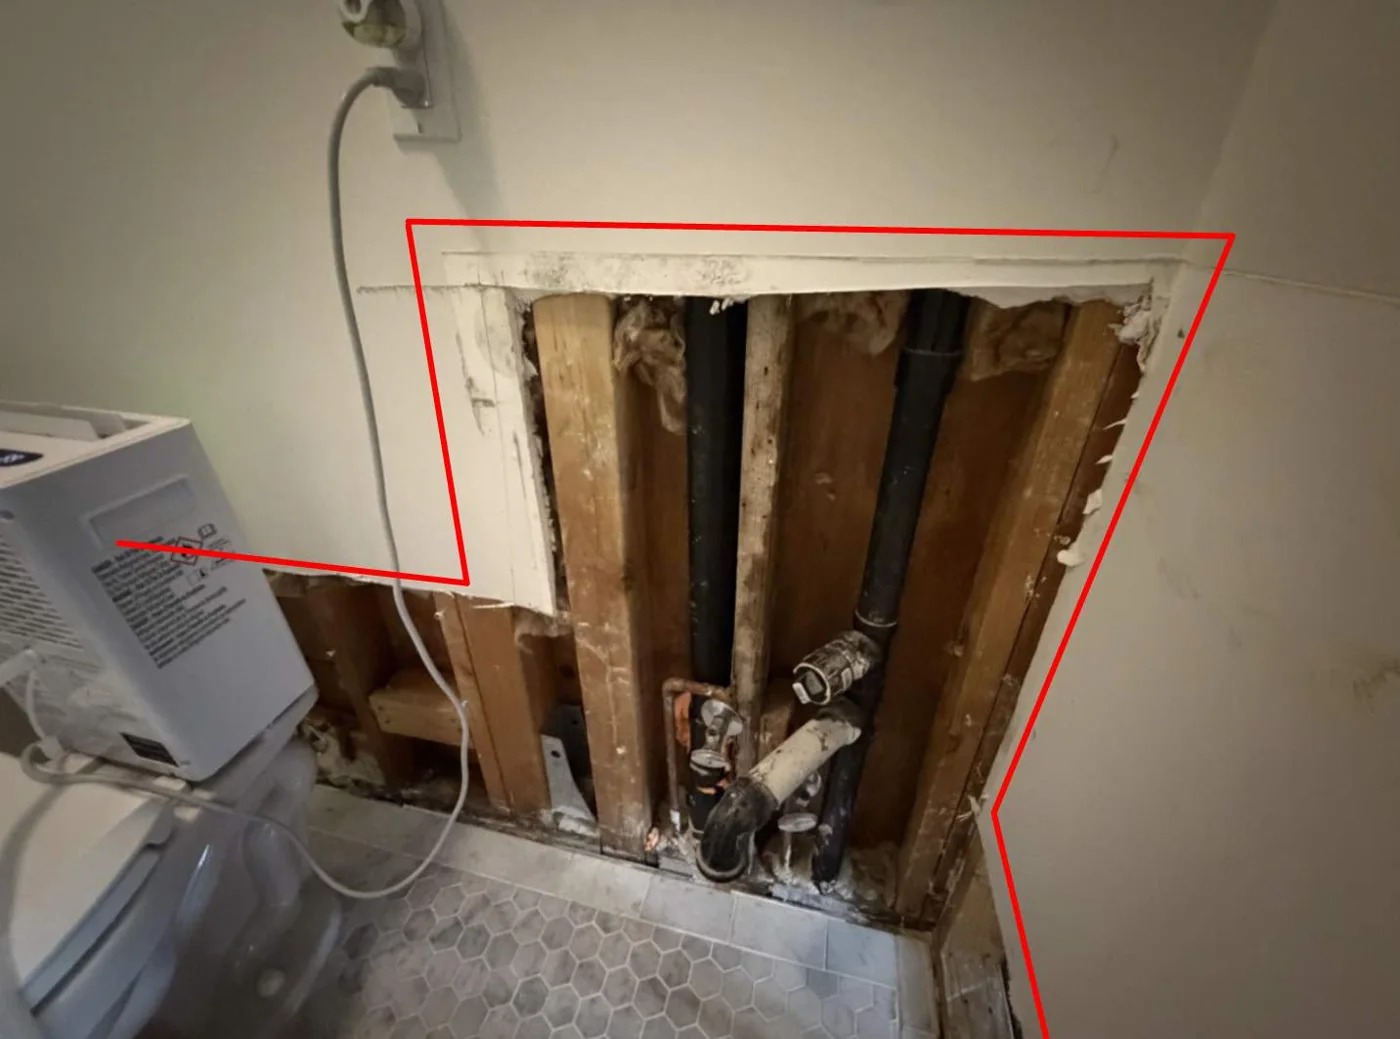
Los Angeles, CA
BeforeWall opening prepared for repair
Photo 2 of 9 · Before, progress and after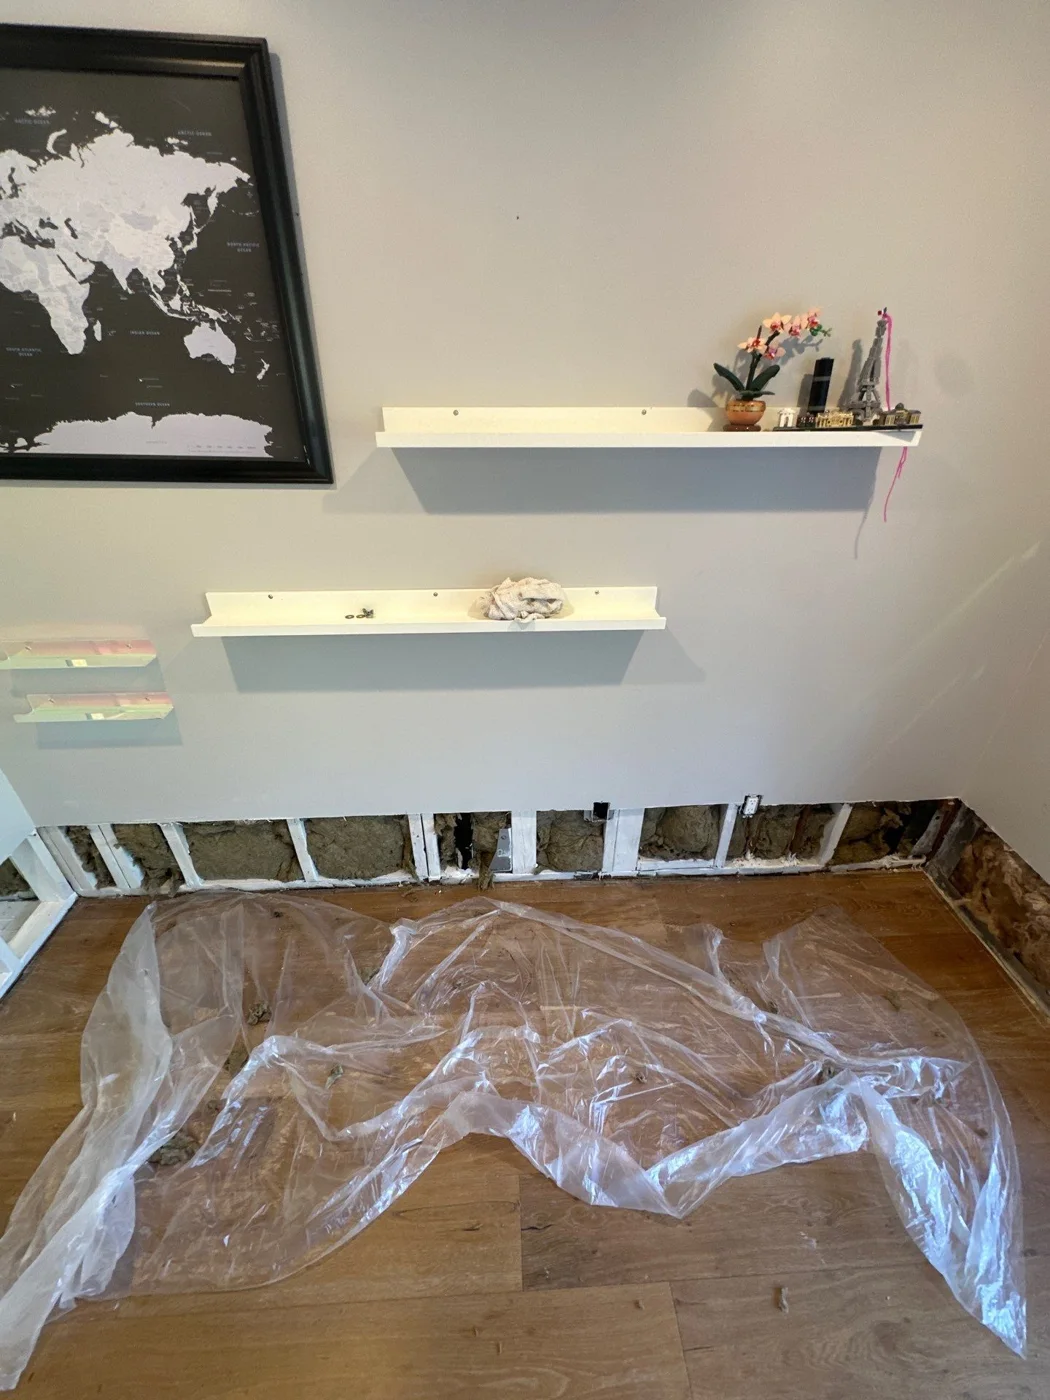
Los Angeles, CA
BeforeOpen lower wall before patching
Photo 3 of 9 · Before, progress and after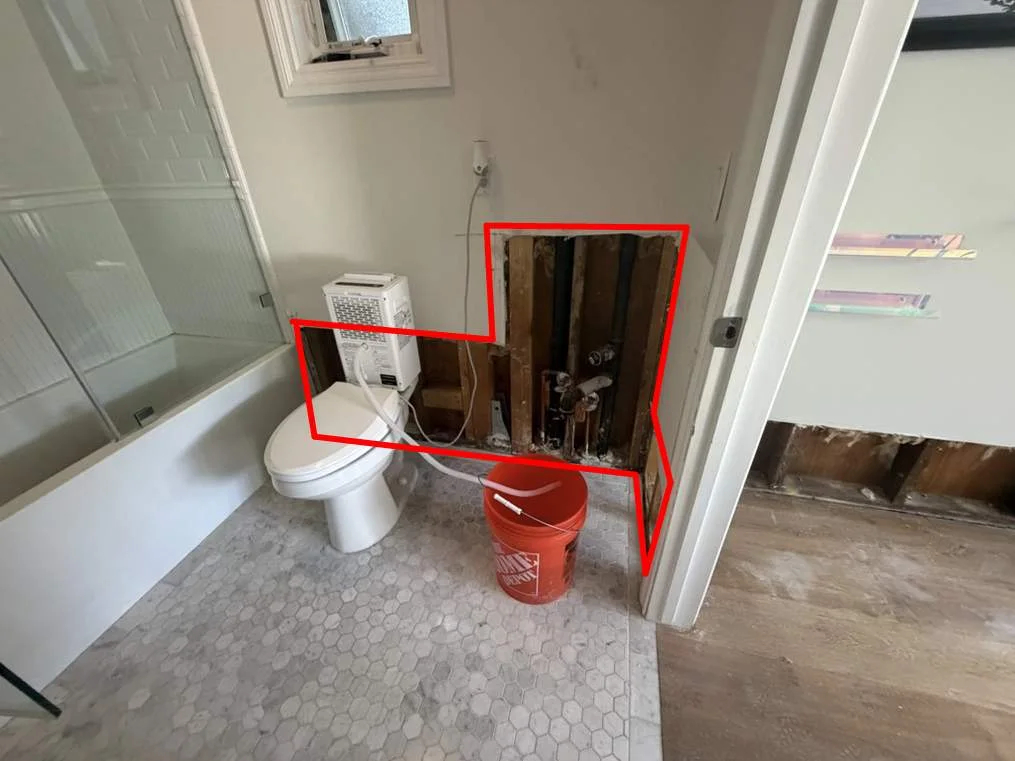
Los Angeles, CA
BeforeBathroom wall opening before repairs
Photo 4 of 9 · Before, progress and after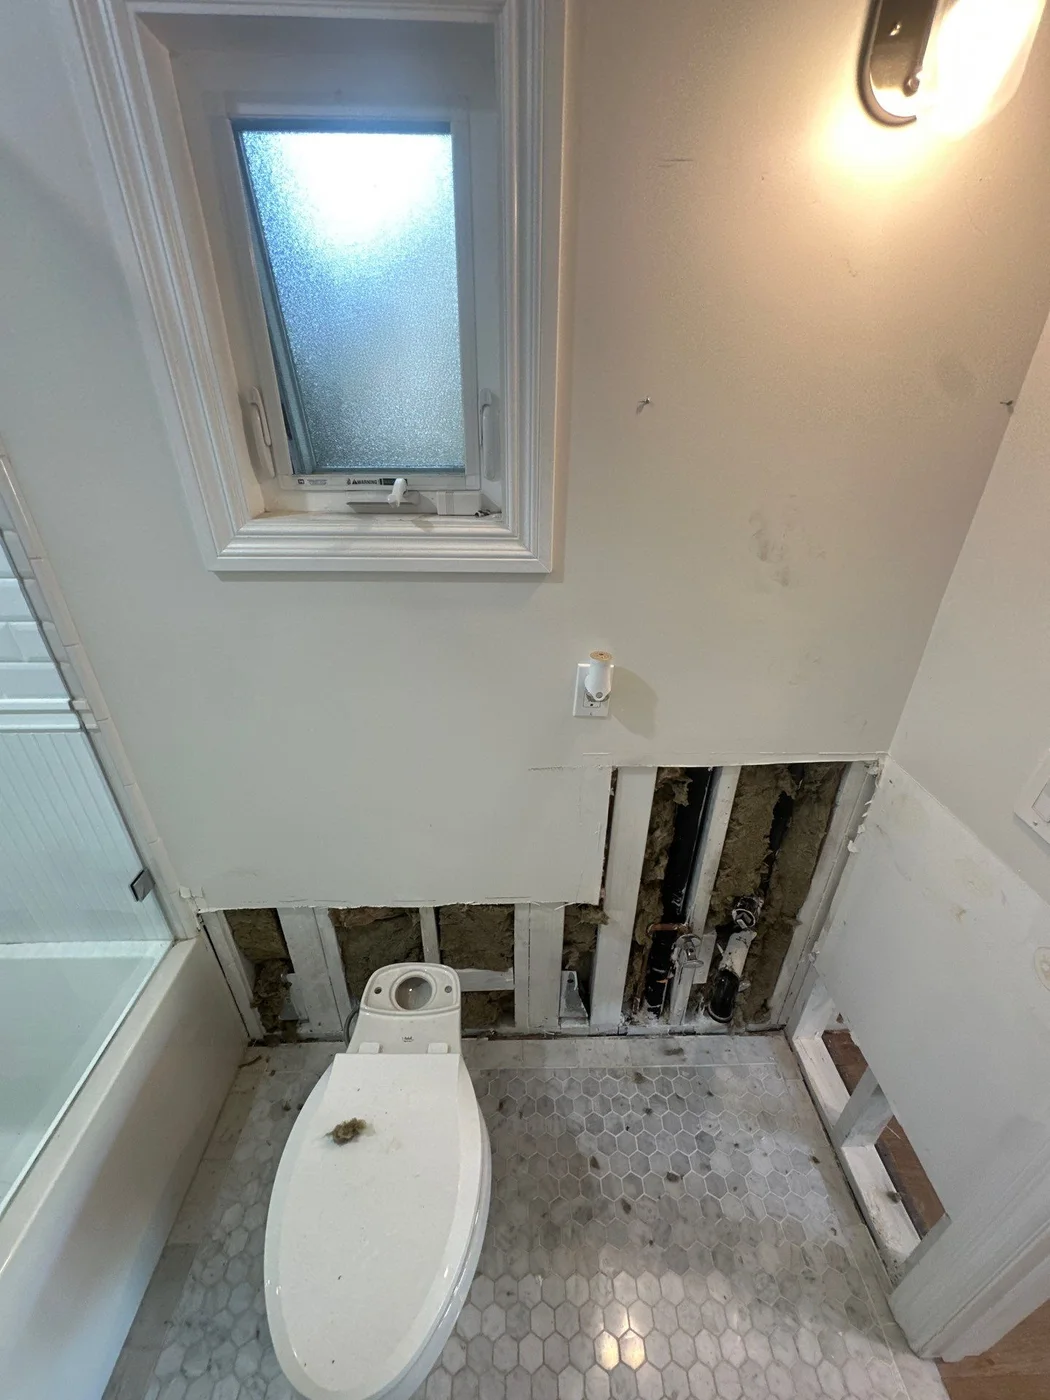
Los Angeles, CA
BeforeLower bathroom wall opened for repair
Photo 5 of 9 · Before, progress and after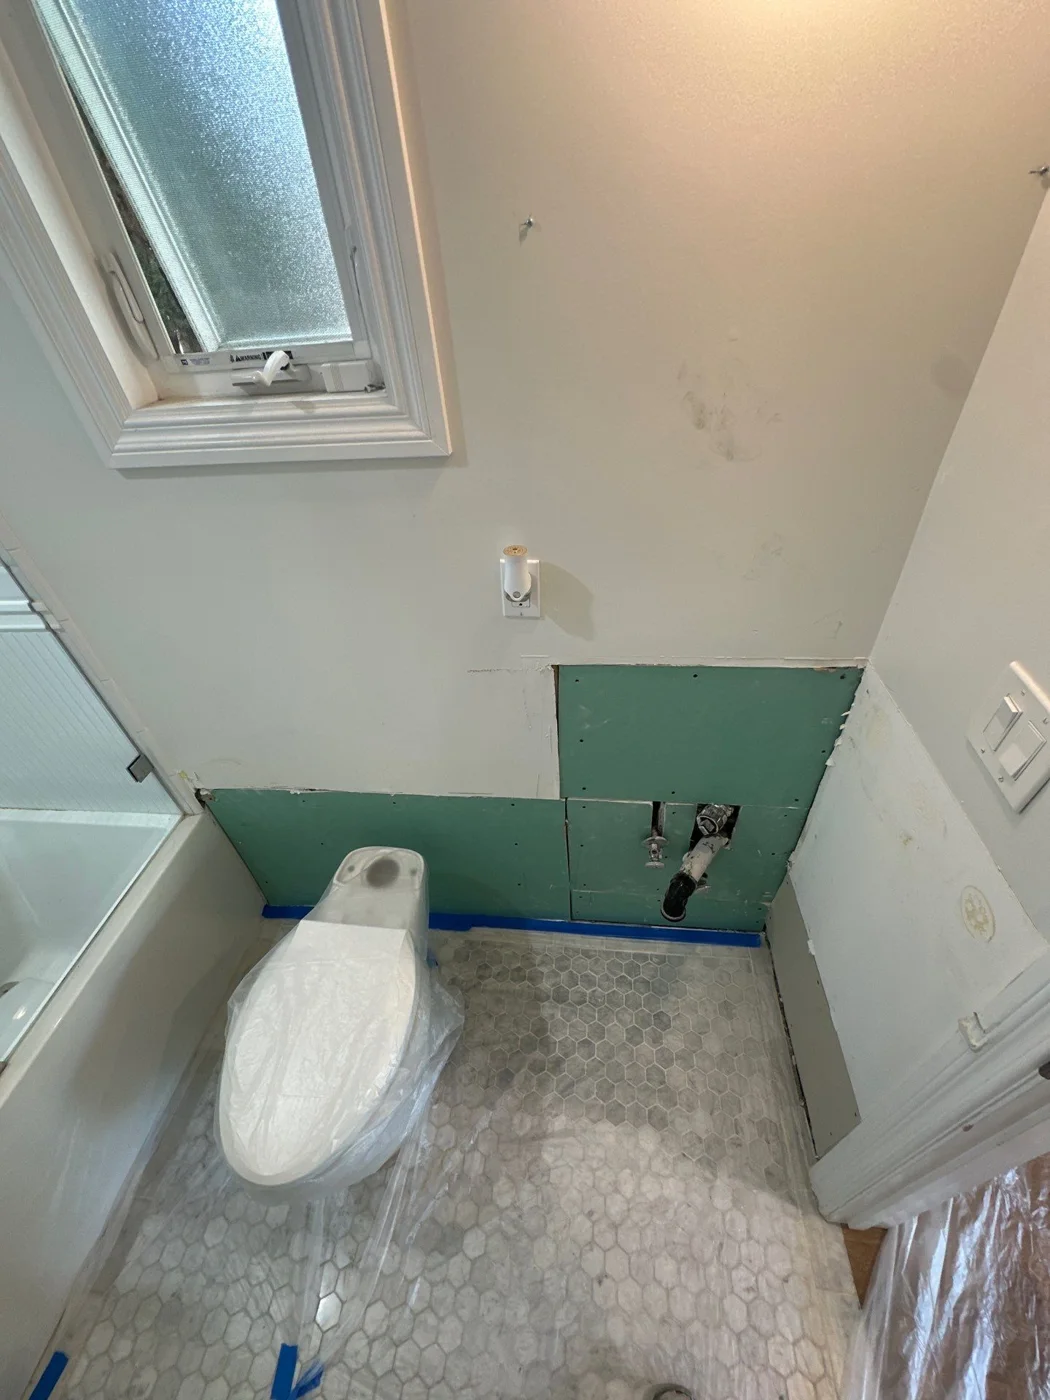
Los Angeles, CA
DuringBathroom wall repair in progress
Photo 6 of 9 · Before, progress and after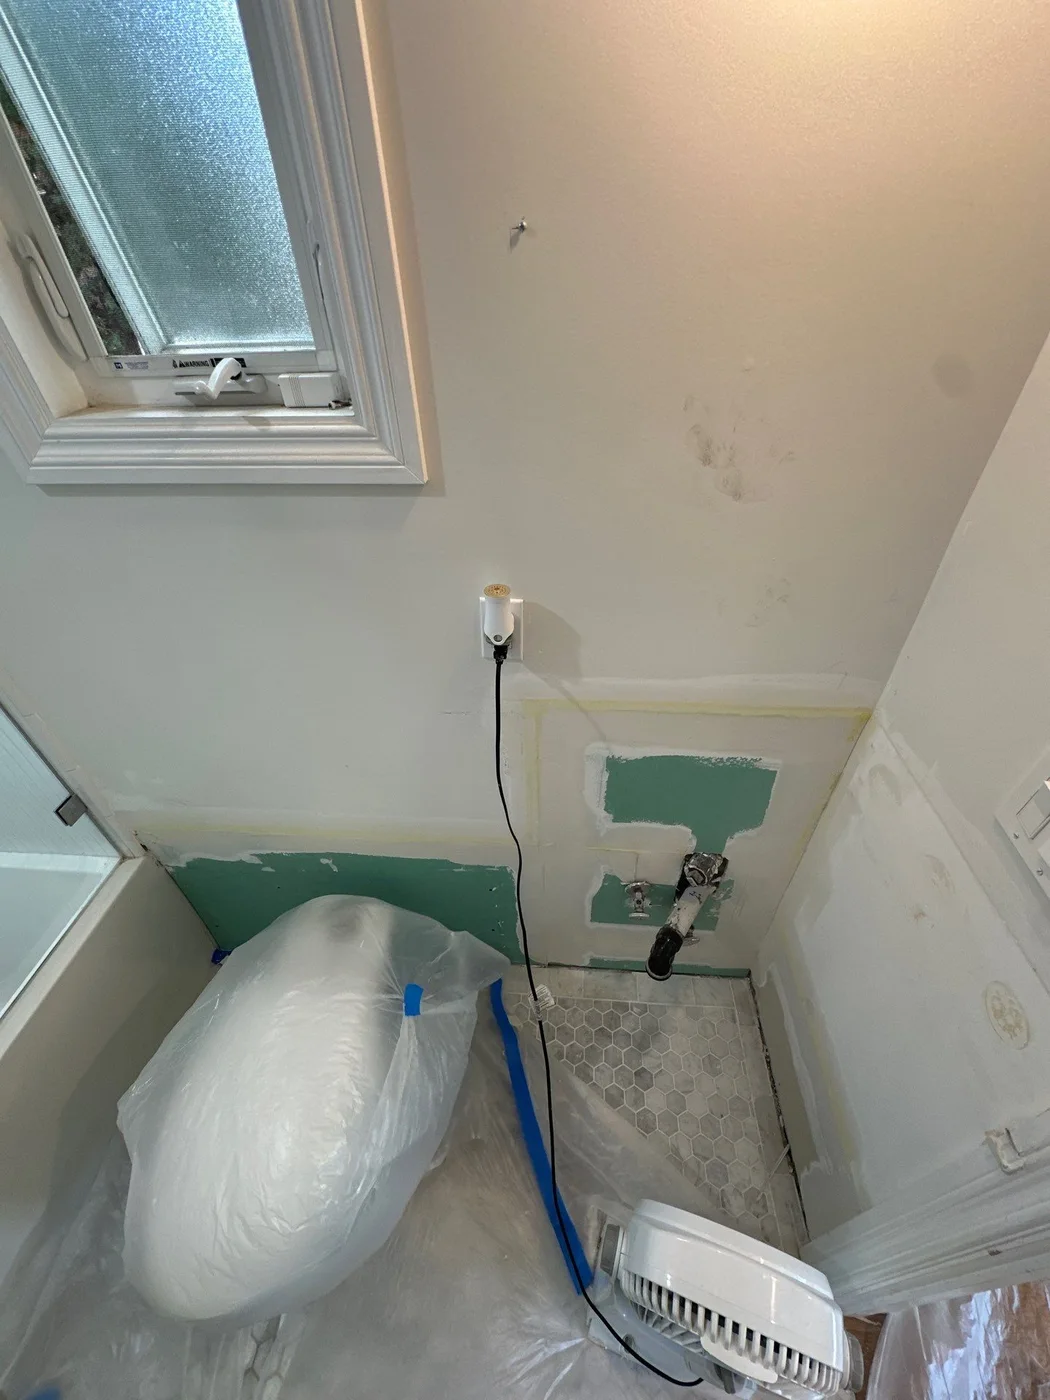
Los Angeles, CA
ProgressBathroom drywall patch in progress
Photo 7 of 9 · Before, progress and after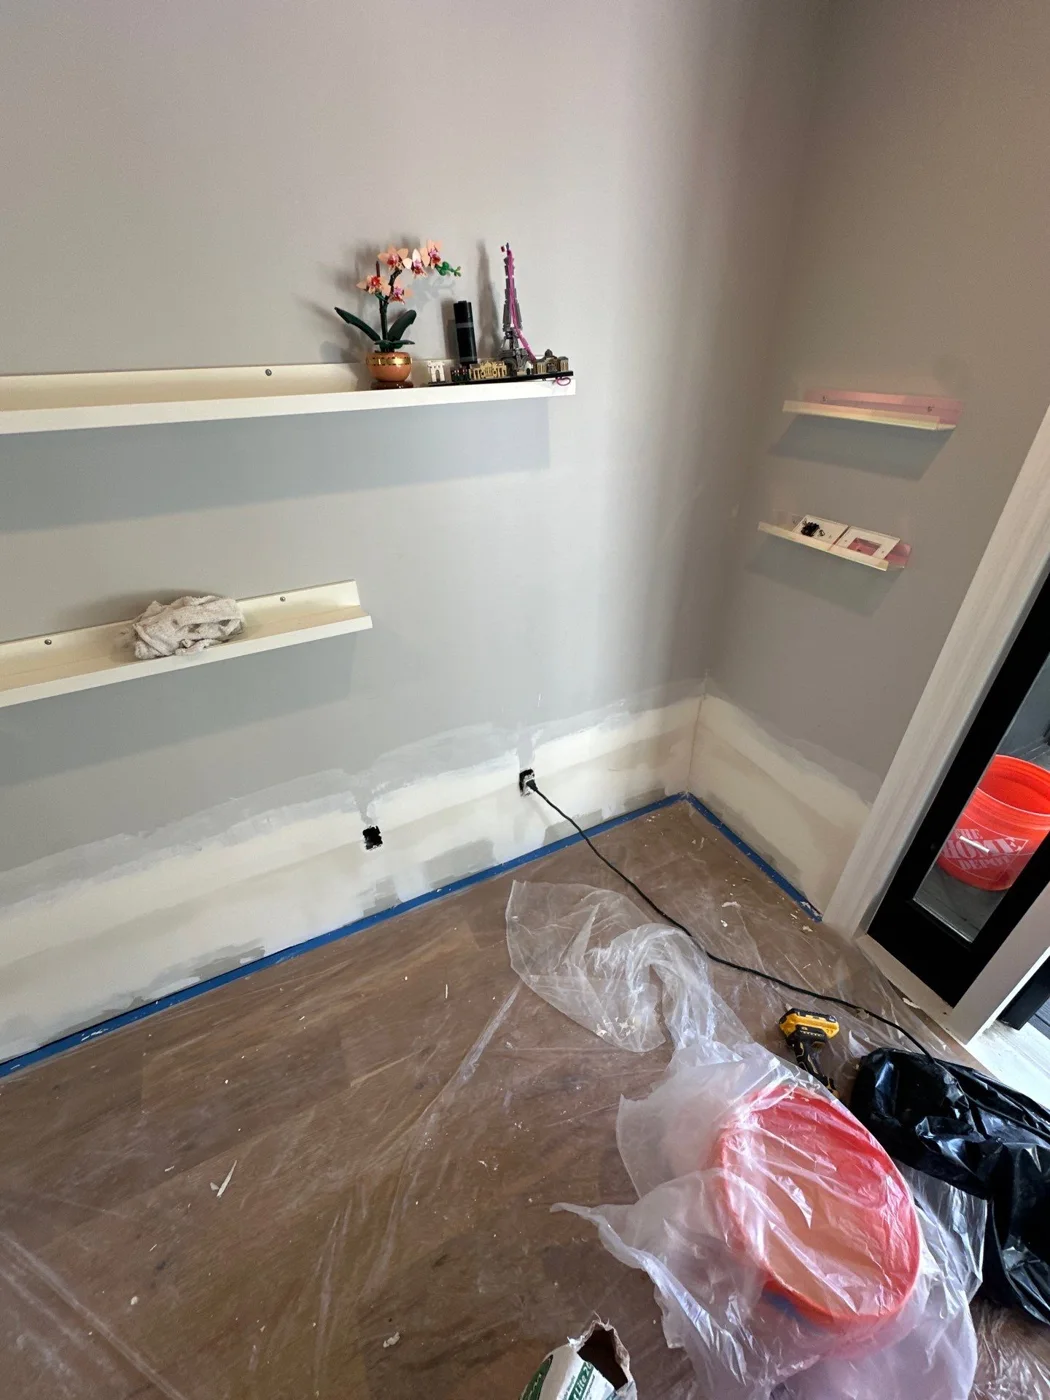
Los Angeles, CA
AfterRepaired lower bathroom wall
Photo 8 of 9 · Before, progress and after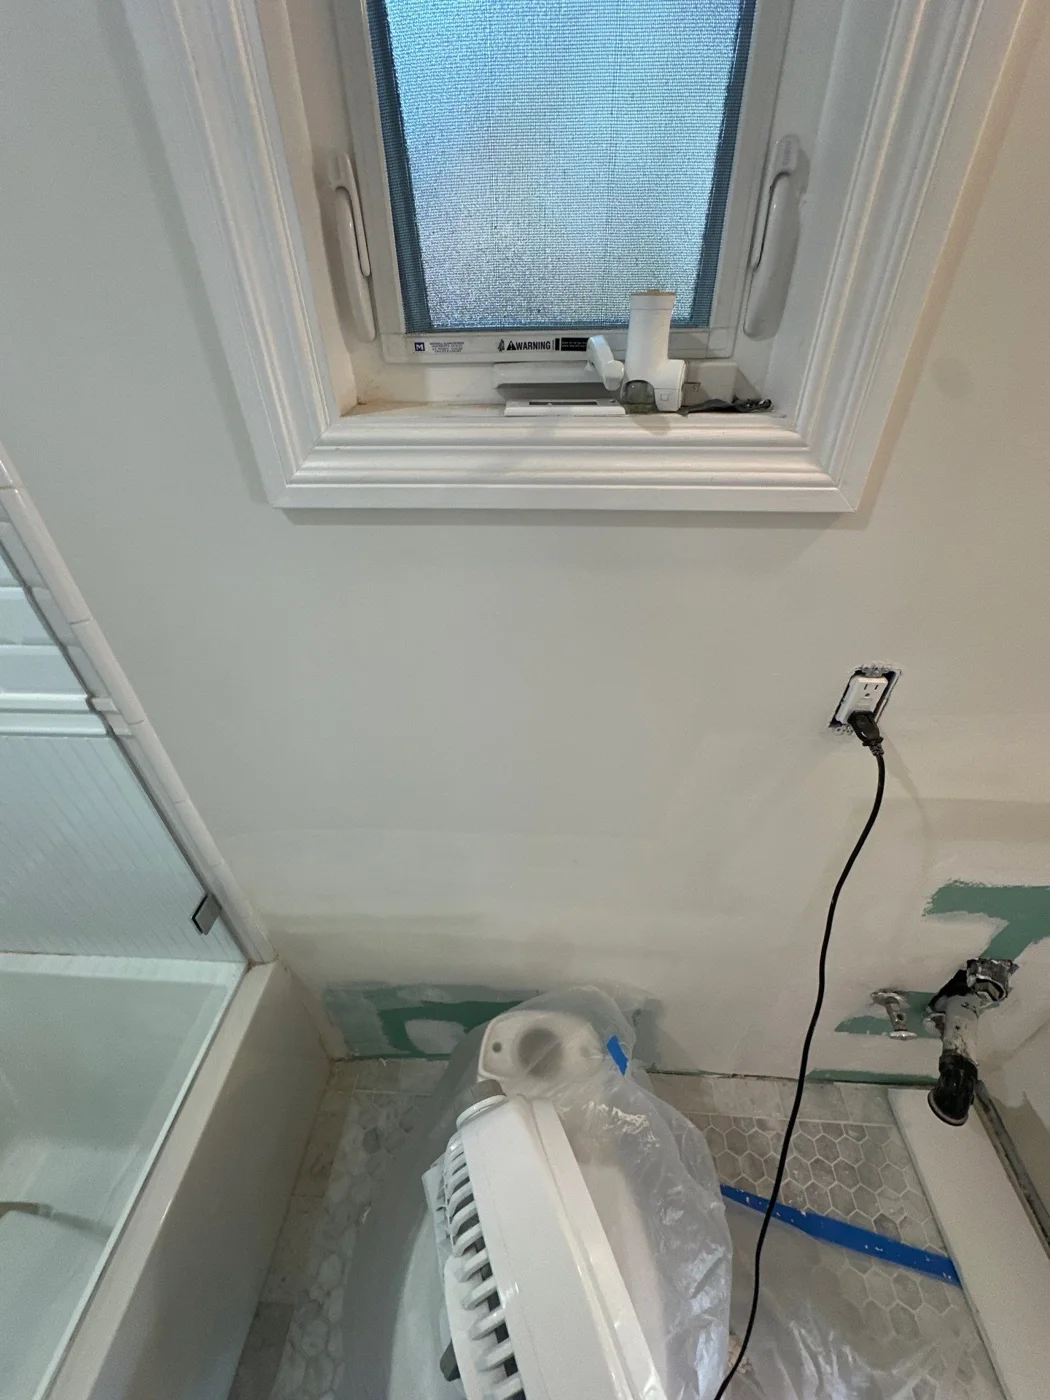
Los Angeles, CA
AfterFinished bathroom wall around window
Photo 9 of 9 · Before, progress and after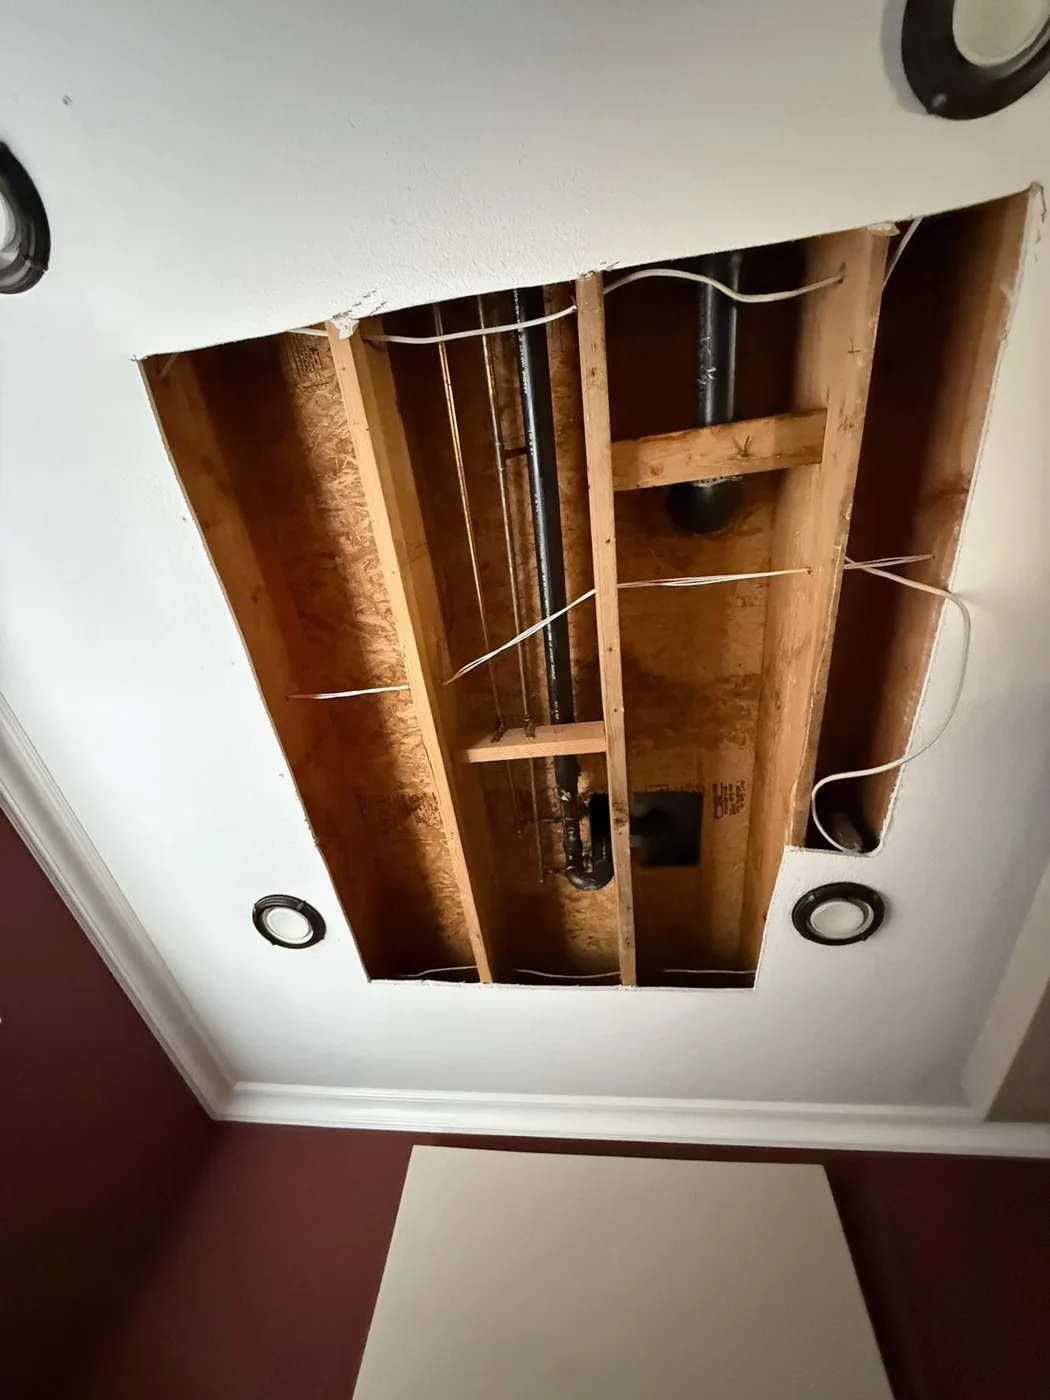
Los Angeles, CA
BeforeCeiling framing exposed during repair
Photo 1 of 1 · Before photo only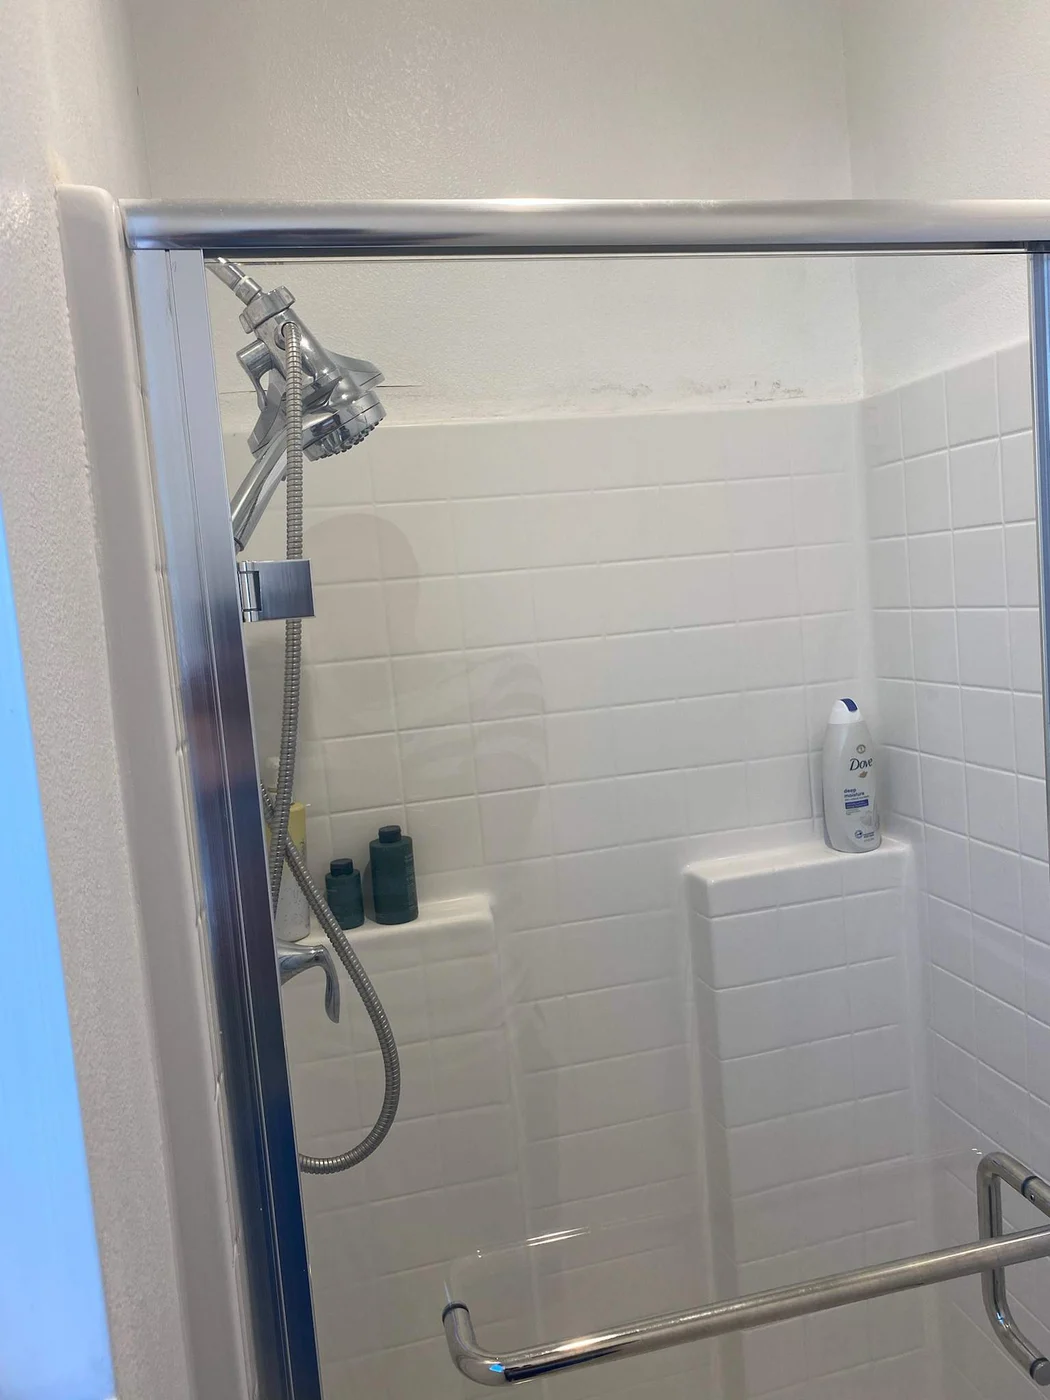
Los Angeles, CA
BeforeShower enclosure and damaged wall edge before repair
Photo 1 of 8 · Before and completed shower-wall views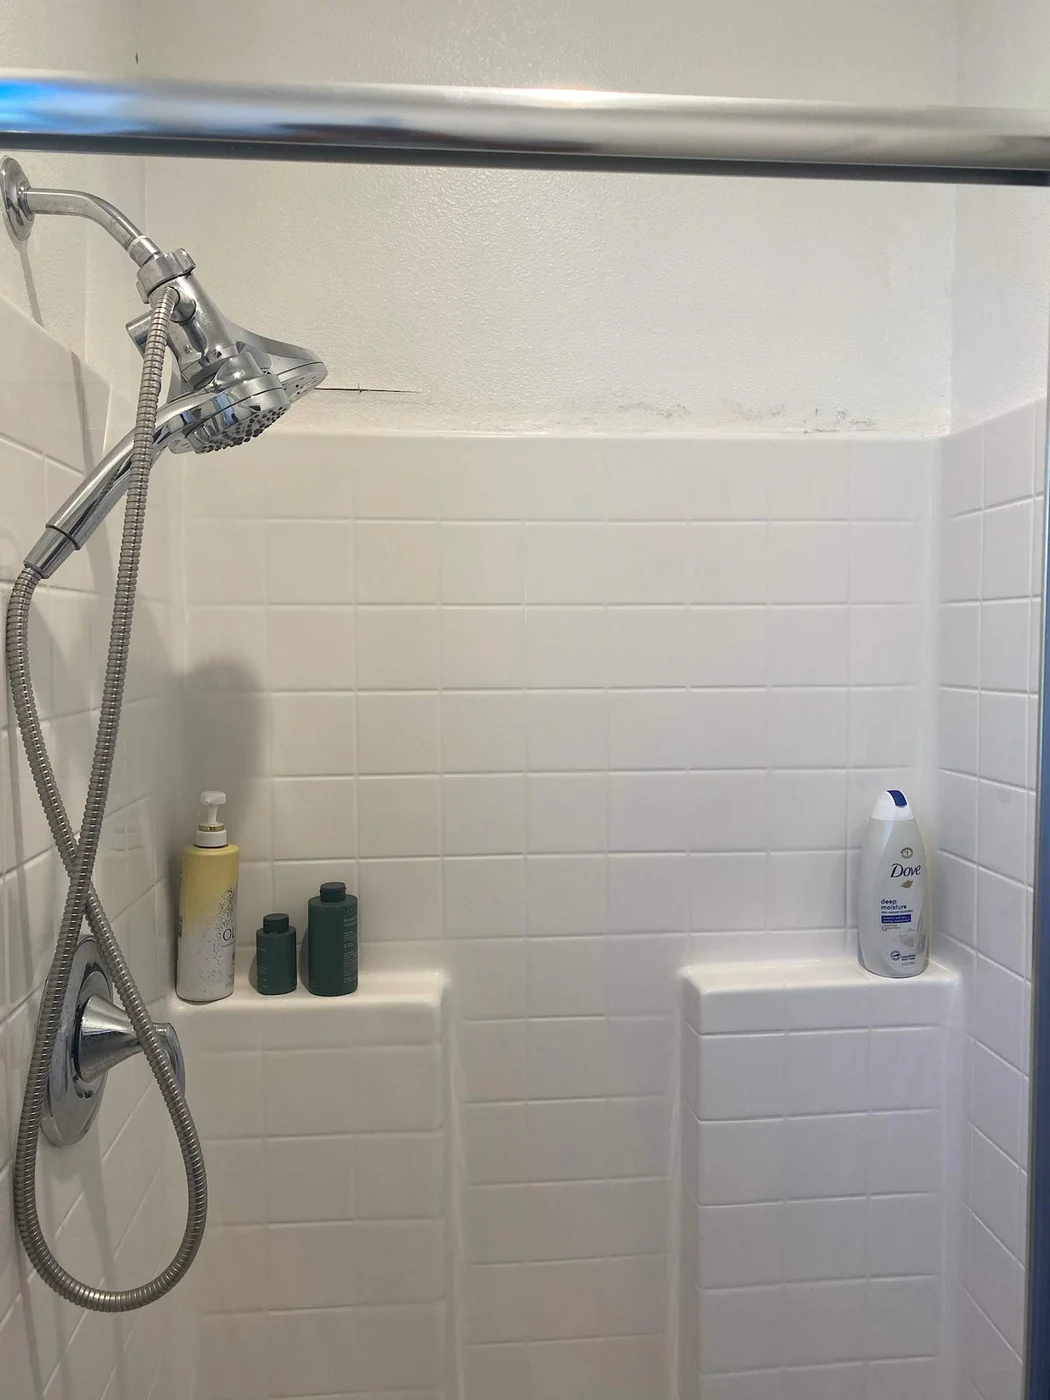
Los Angeles, CA
BeforeWider view of the shower wall before repair
Photo 2 of 8 · Before and completed shower-wall views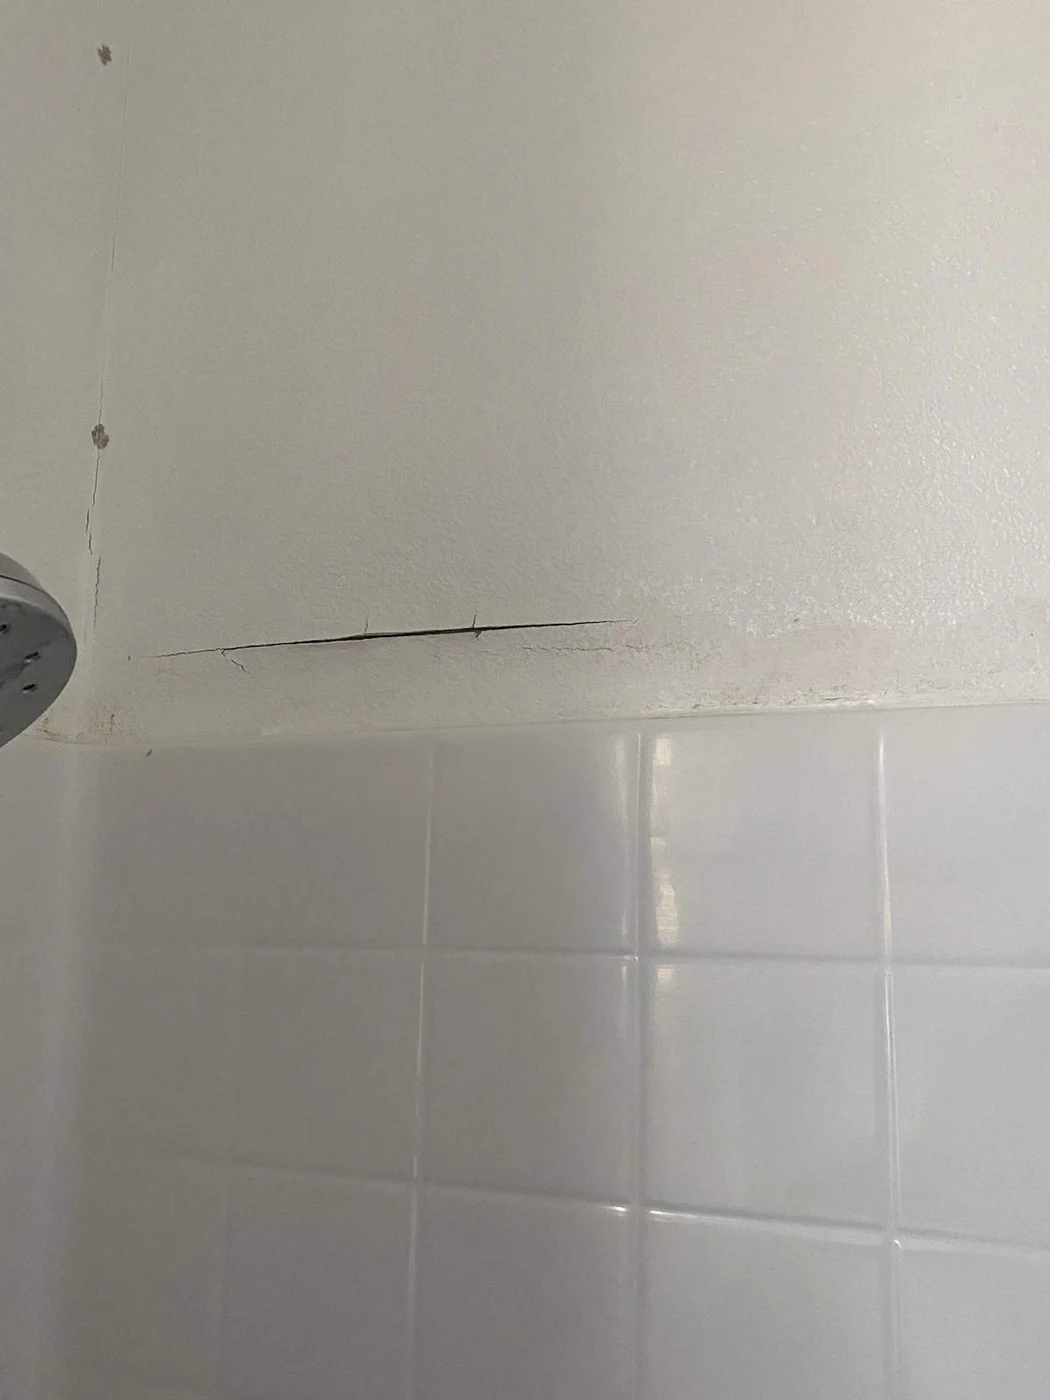
Los Angeles, CA
BeforeCracked wall finish above the shower tile before repair
Photo 3 of 8 · Before and completed shower-wall views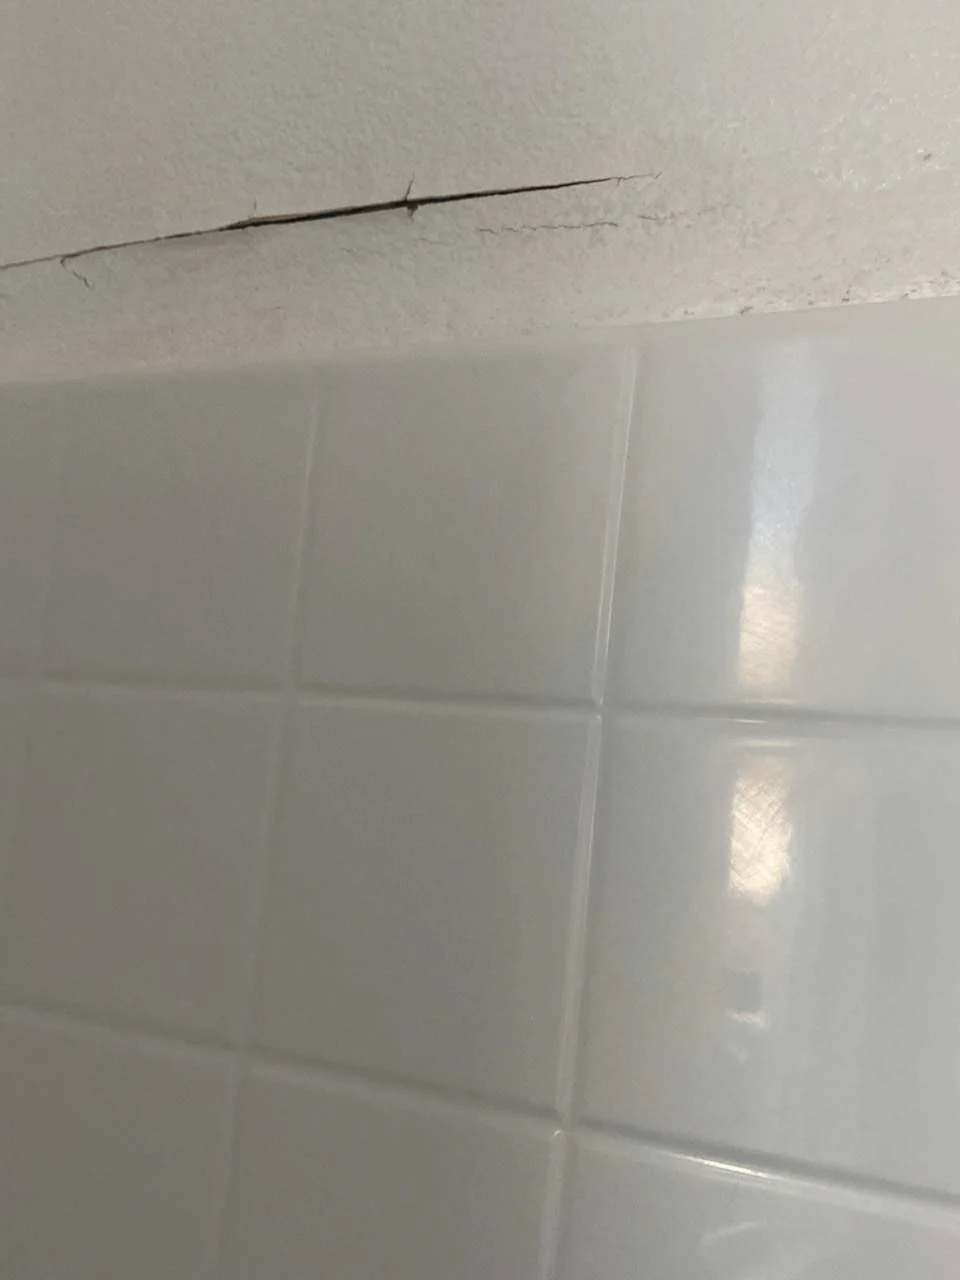
Los Angeles, CA
BeforeClose-up of the damaged wall edge above the shower tile
Photo 4 of 8 · Before and completed shower-wall views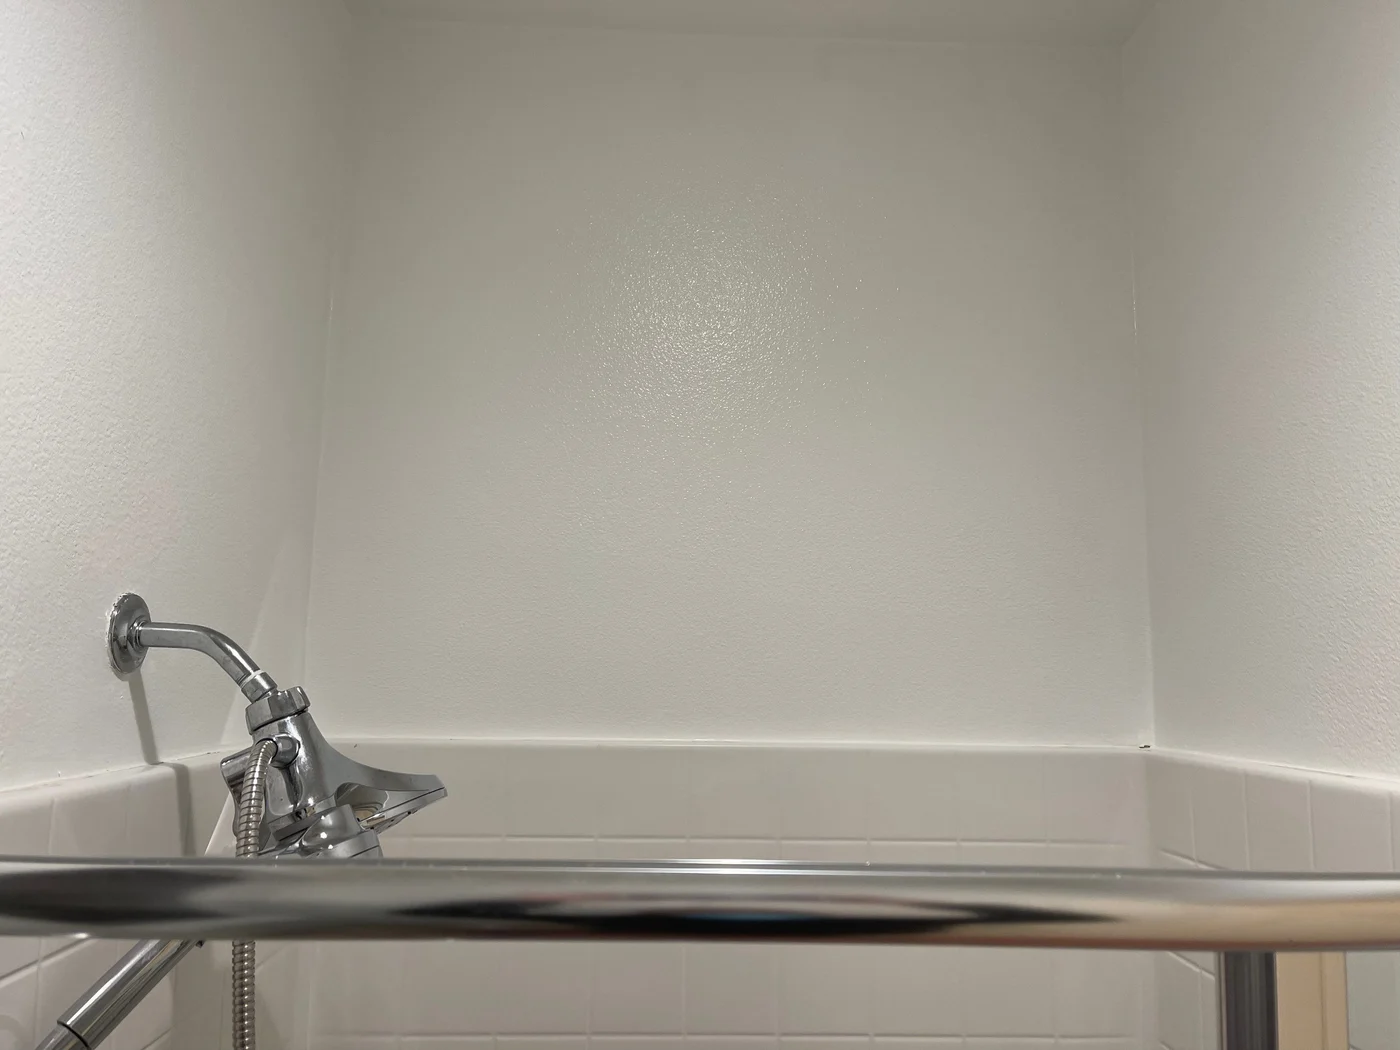
Los Angeles, CA
AfterRepaired wall surface above the shower tile and showerhead
Photo 5 of 8 · Before and completed shower-wall views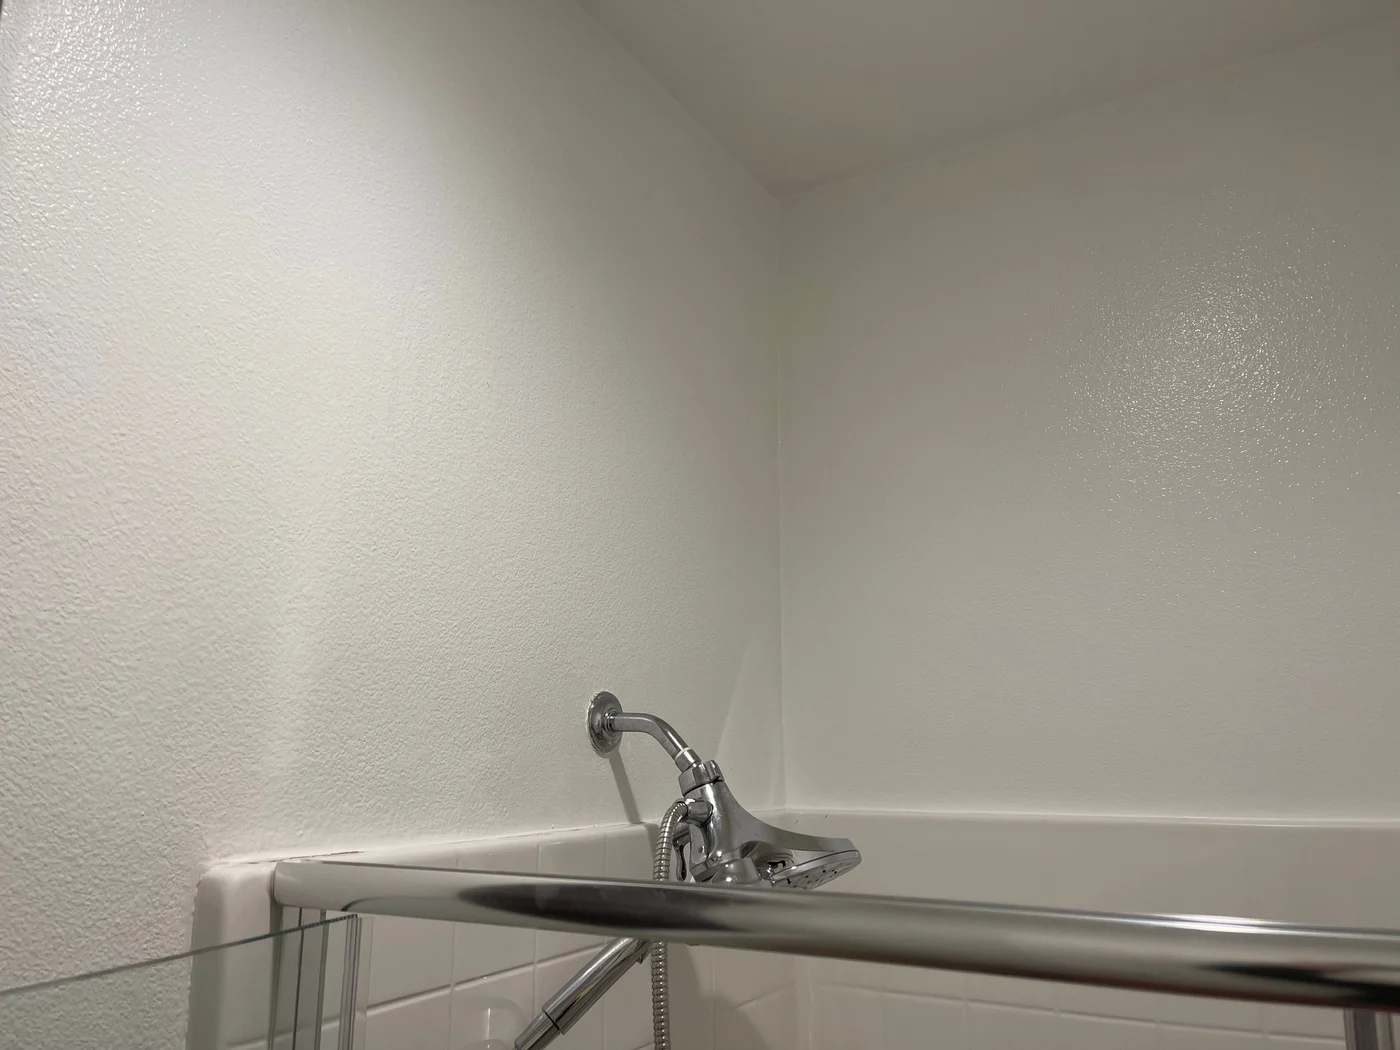
Los Angeles, CA
AfterFinished shower-wall corner and repaired tile-edge transition
Photo 6 of 8 · Before and completed shower-wall views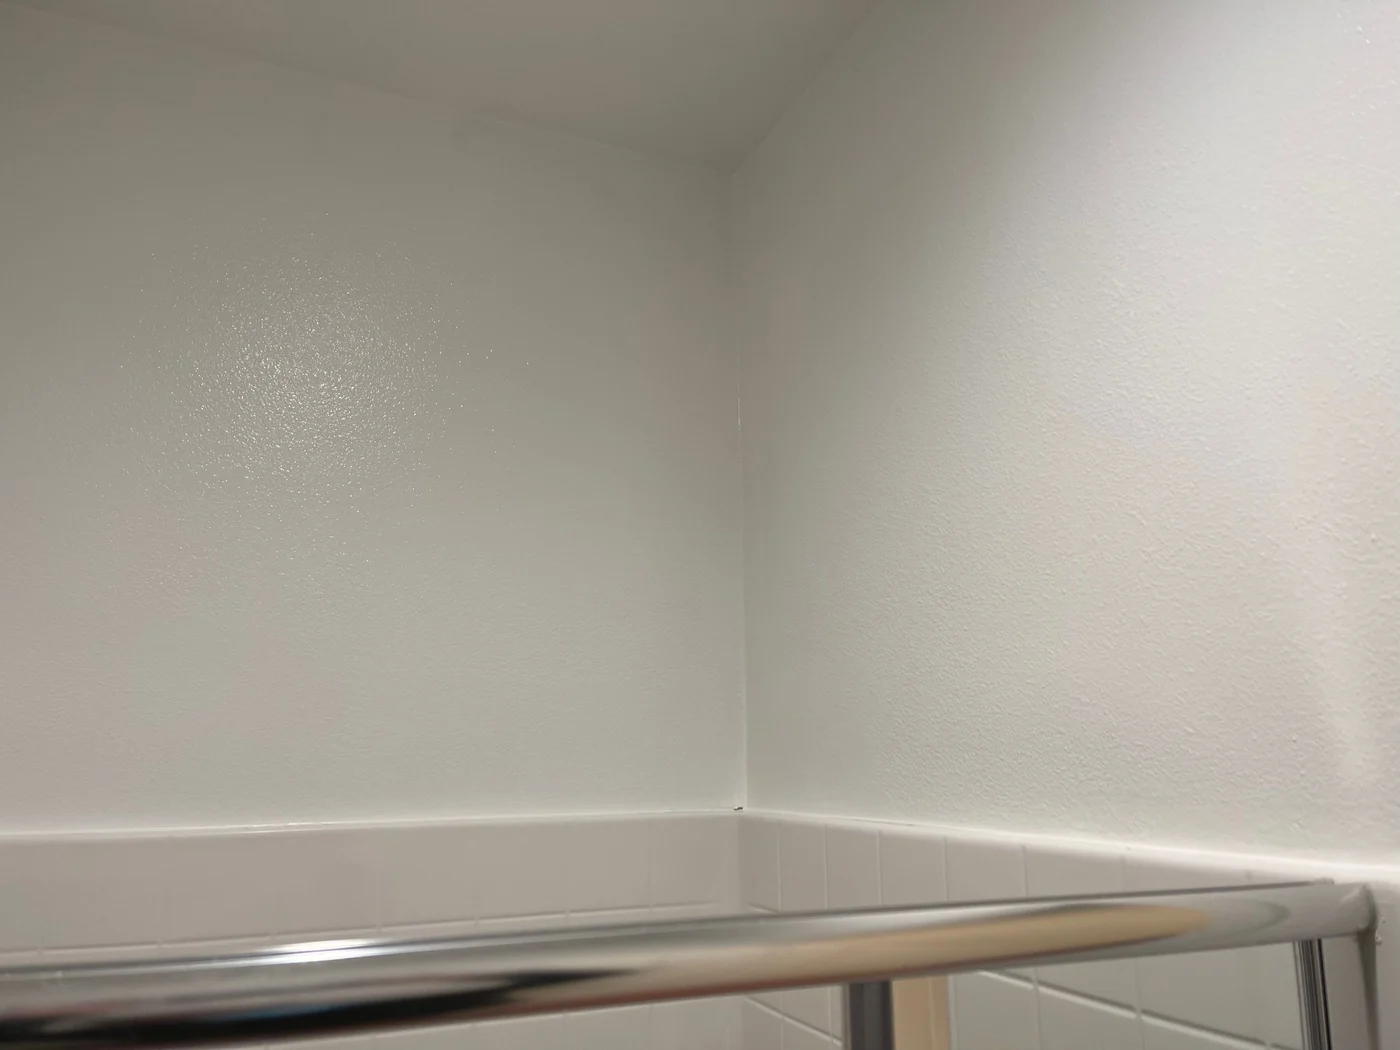
Los Angeles, CA
AfterFinished wall surfaces at the upper shower corner
Photo 7 of 8 · Before and completed shower-wall views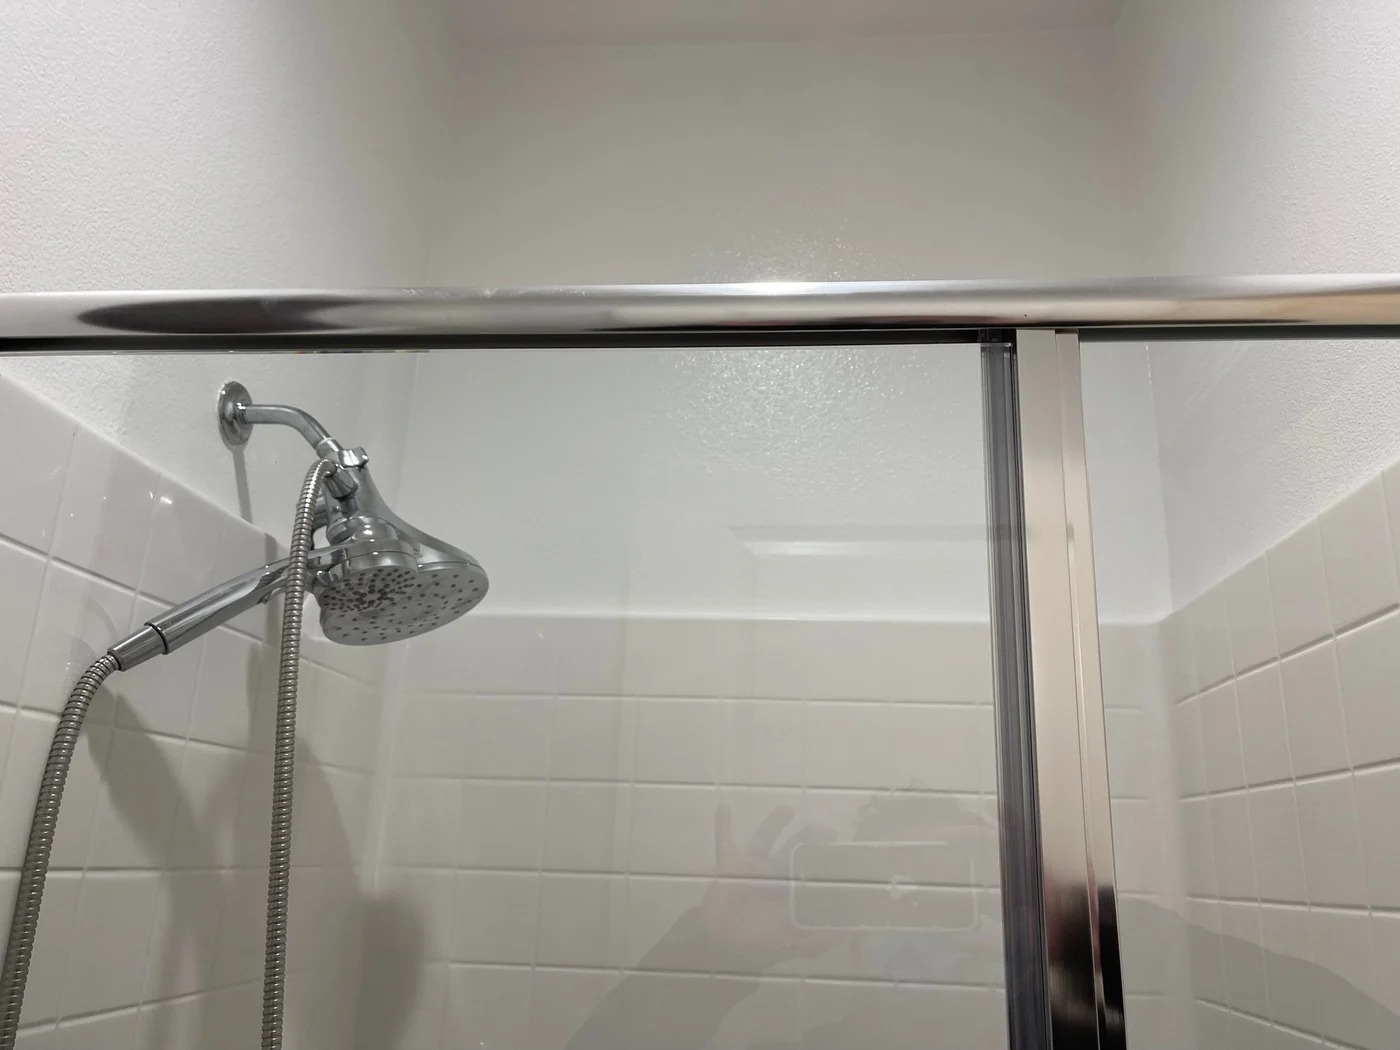
Los Angeles, CA
AfterCompleted shower-wall repair viewed through the enclosure
Photo 8 of 8 · Before and completed shower-wall views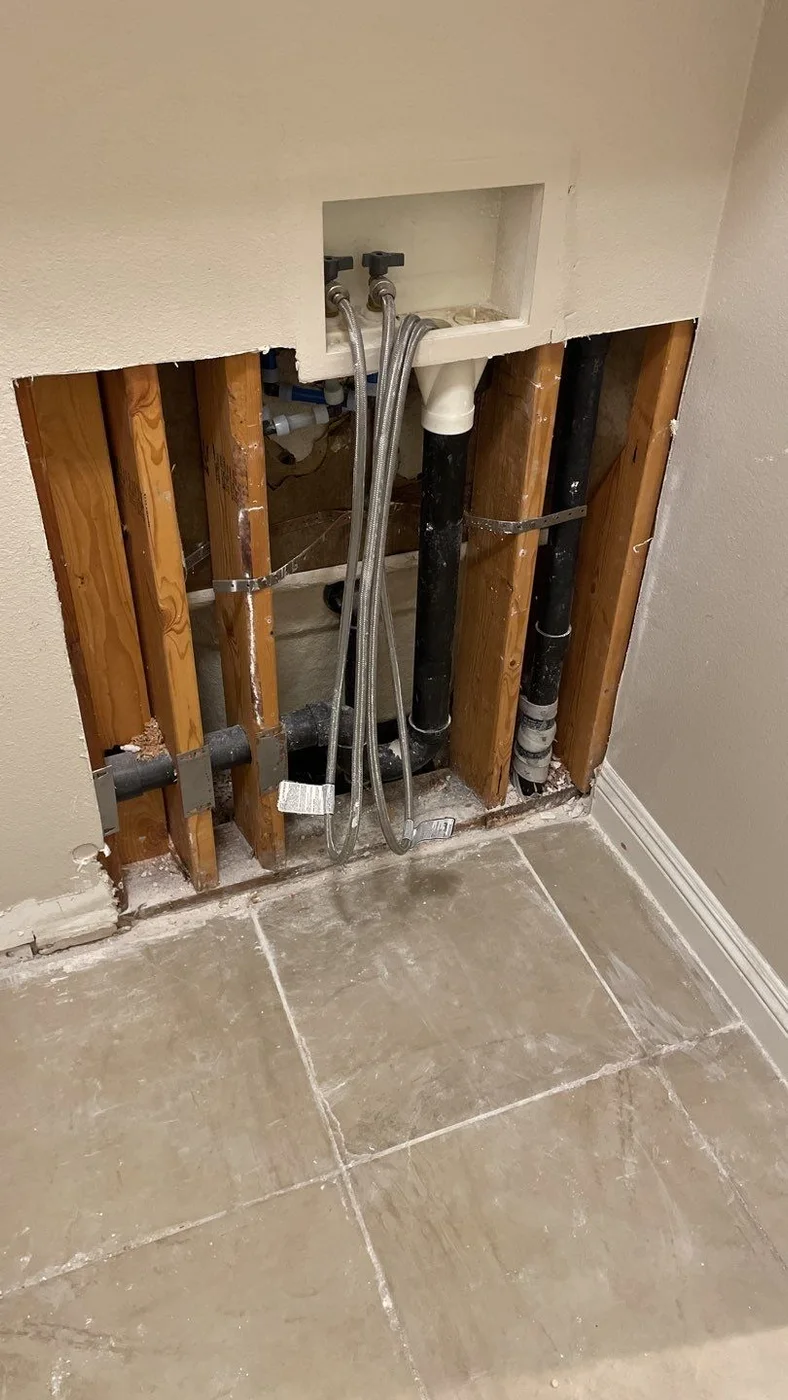
Mission Viejo, CA
BeforeBathroom wall opened around plumbing
Photo 1 of 4 · Before and after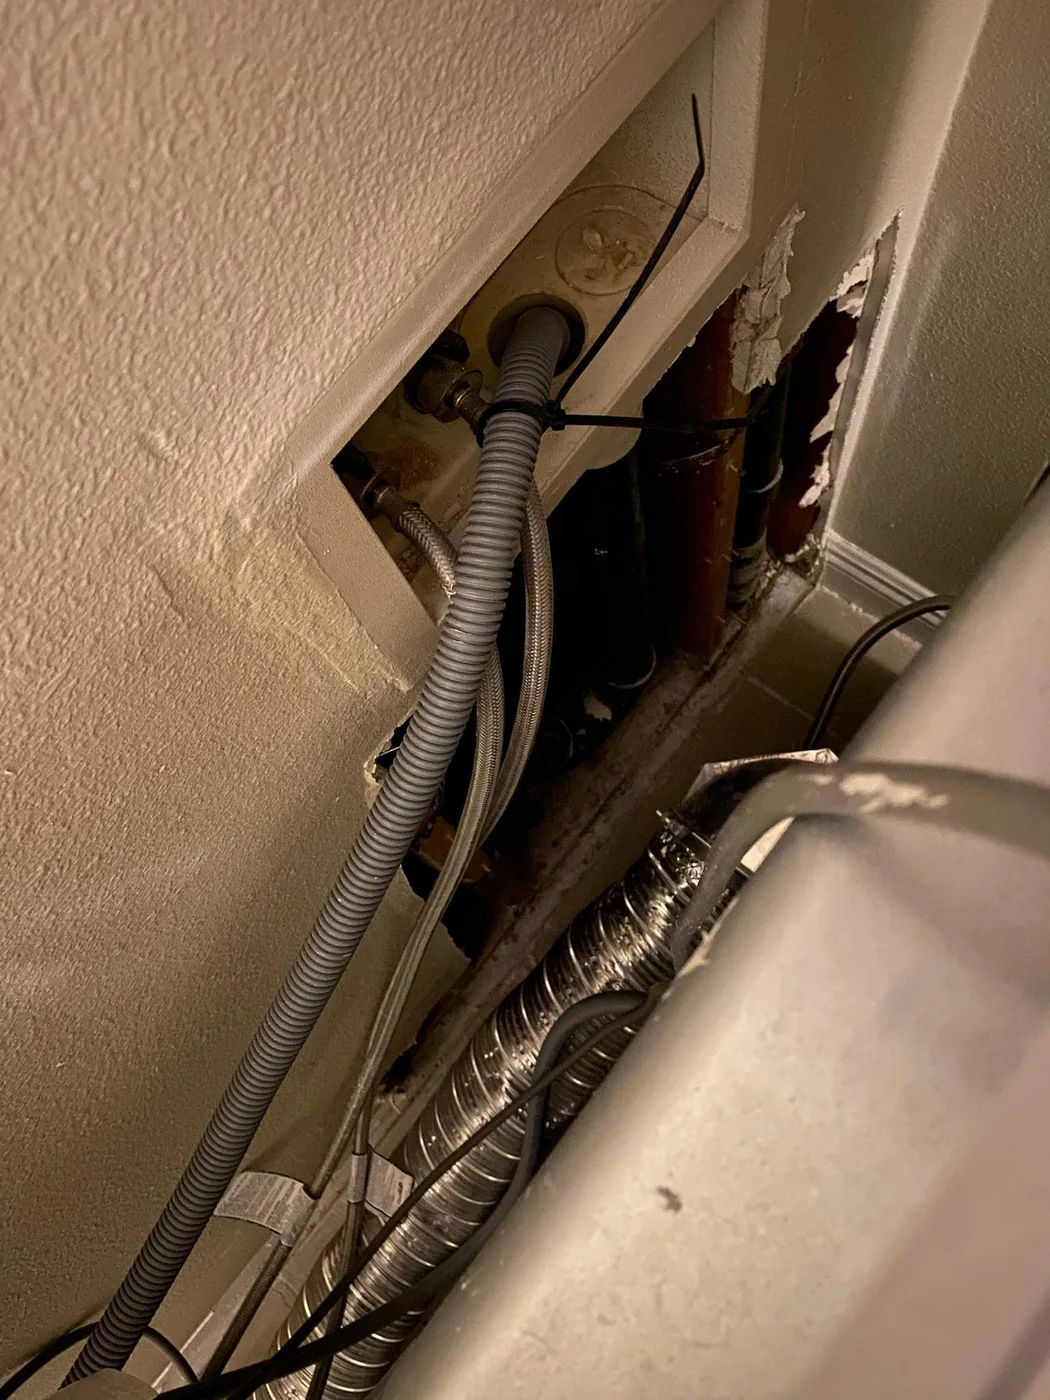
Mission Viejo, CA
BeforeClose view of plumbing access opening
Photo 2 of 4 · Before and after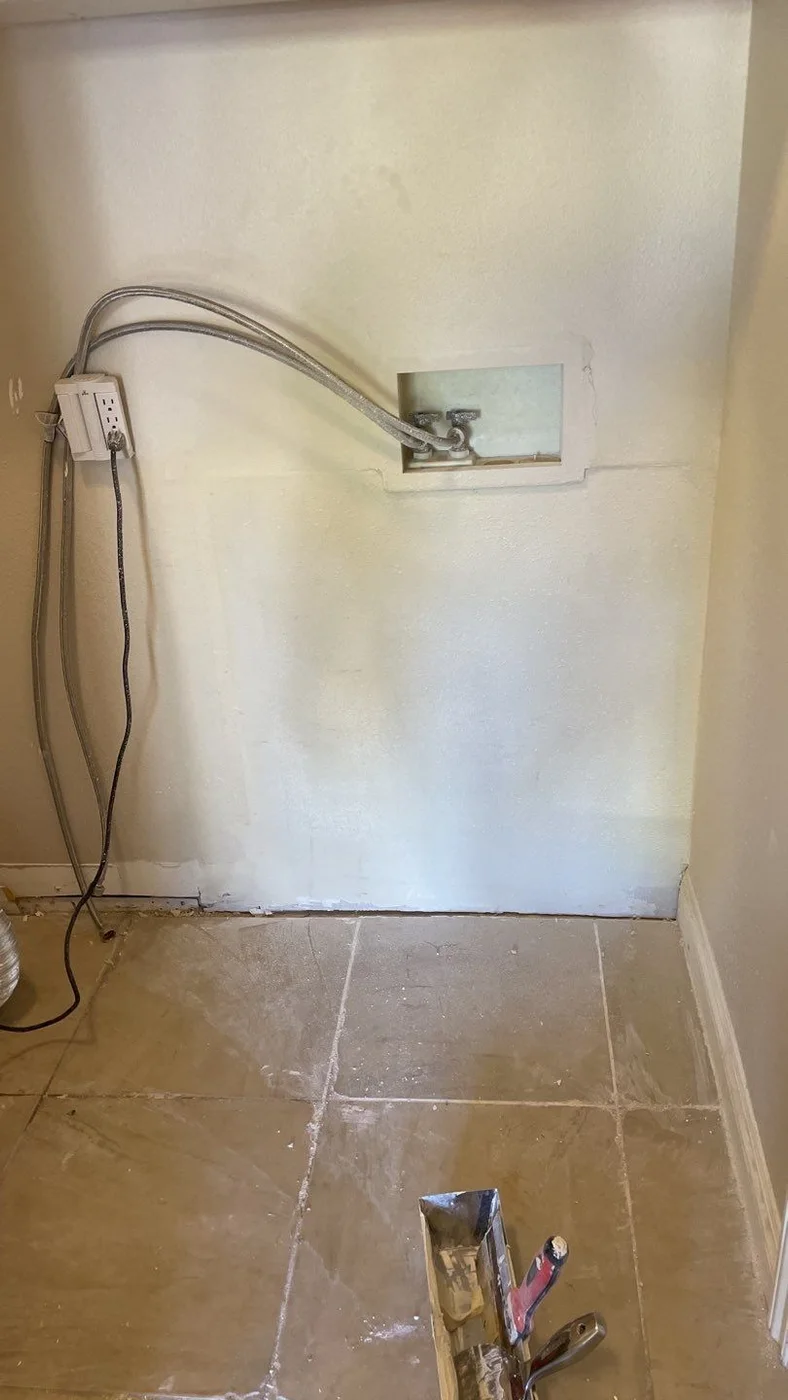
Mission Viejo, CA
AfterFinished bathroom wall
Photo 3 of 4 · Before and after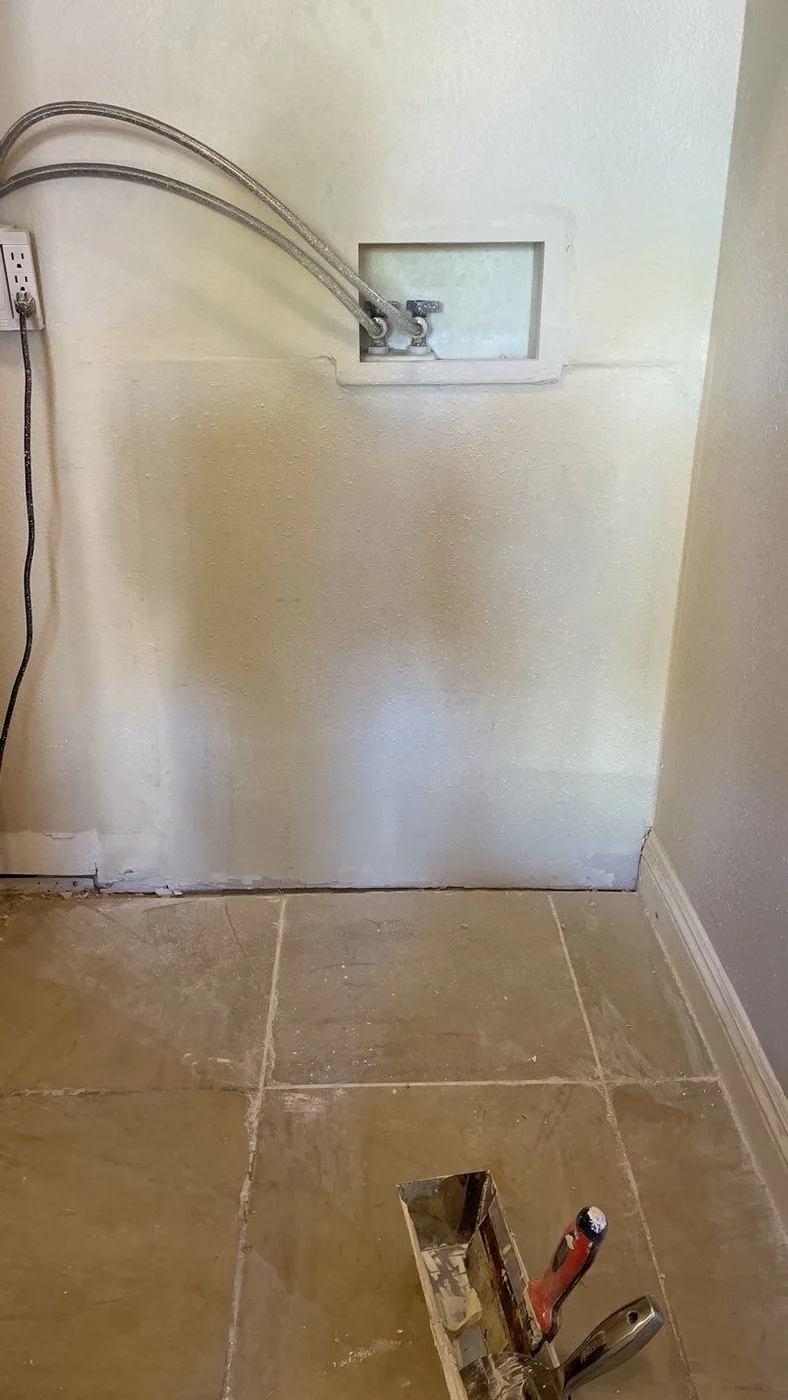
Mission Viejo, CA
AfterAnother view of finished bathroom wall
Photo 4 of 4 · Before and after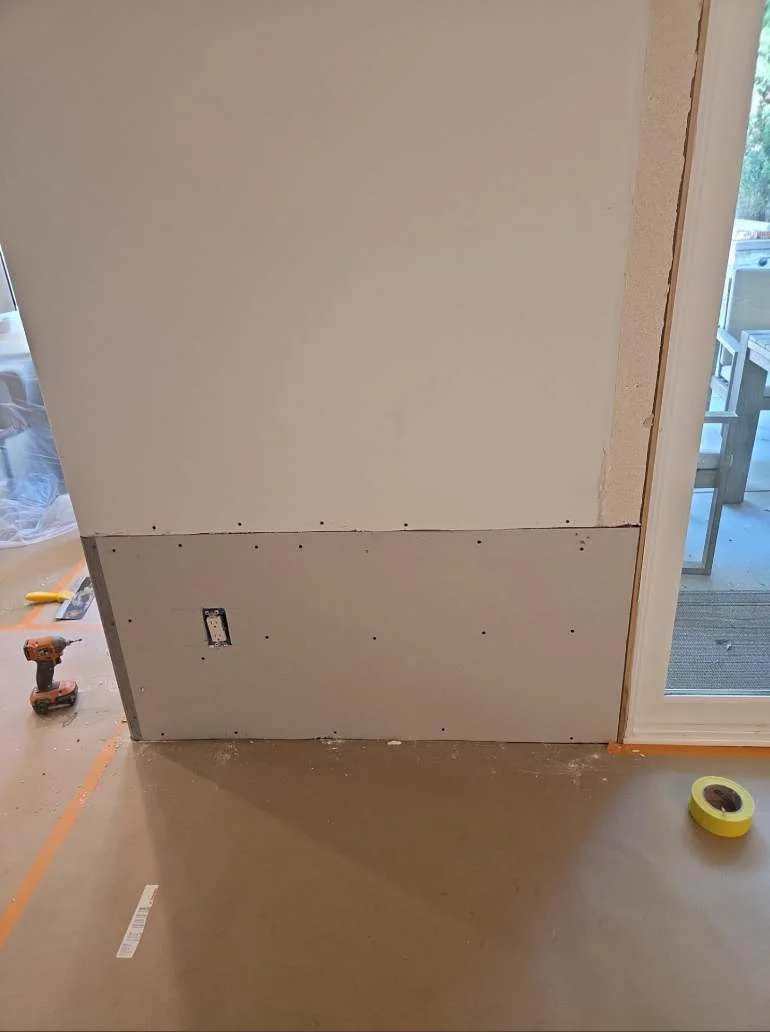
Newport Beach, CA
BeforeLower drywall panel installed
Photo 1 of 3 · Before and after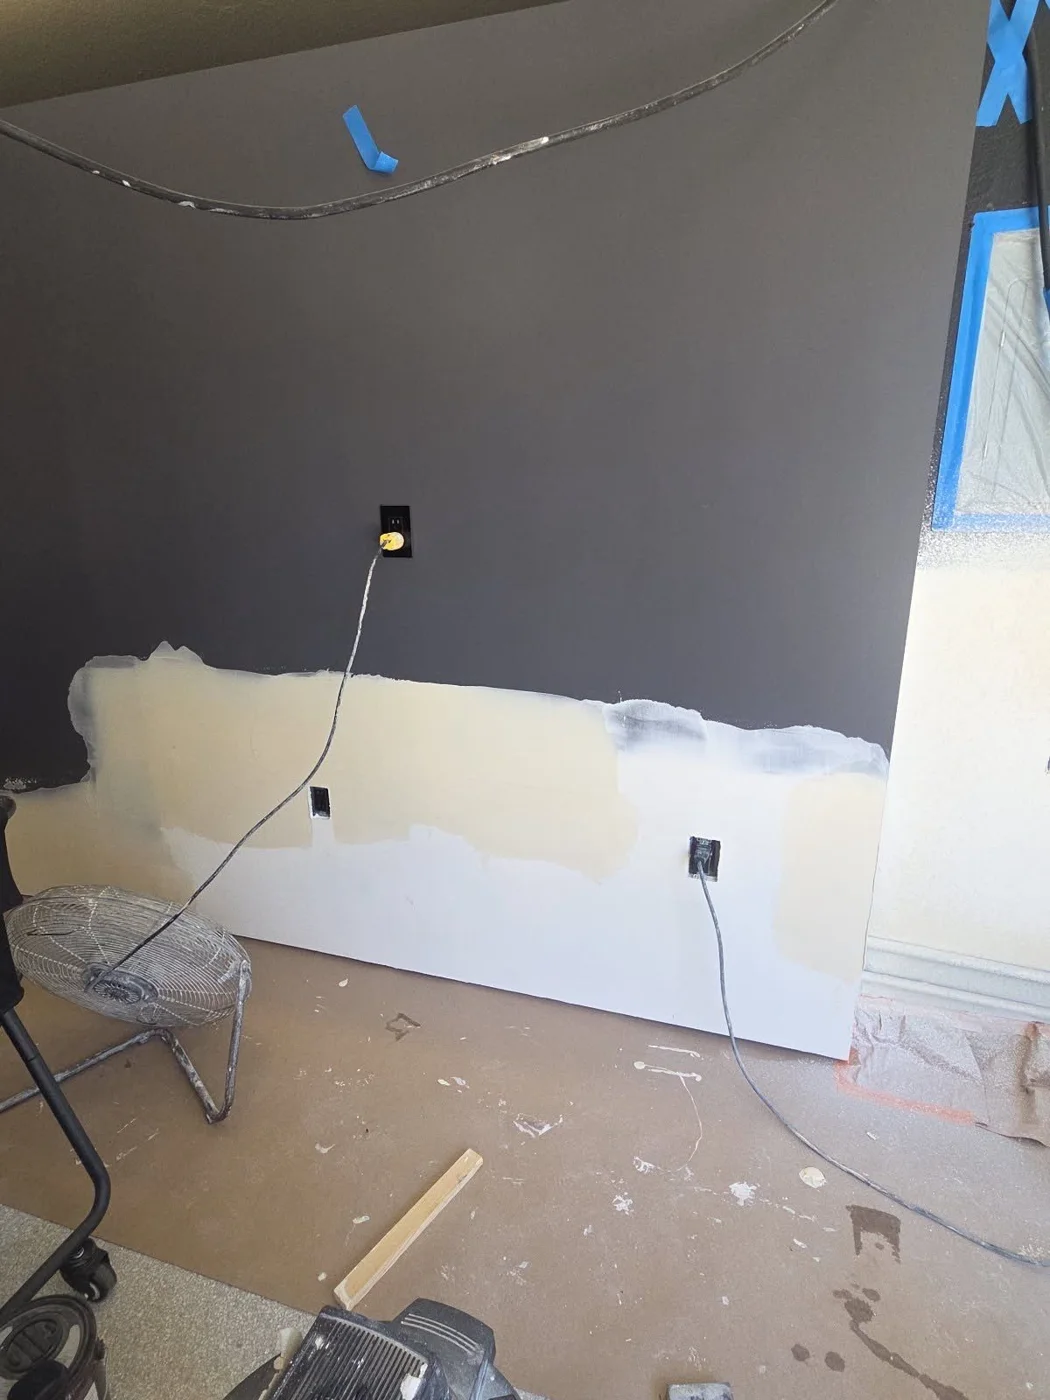
Newport Beach, CA
DuringWall patch prepared for paint
Photo 2 of 3 · Before and after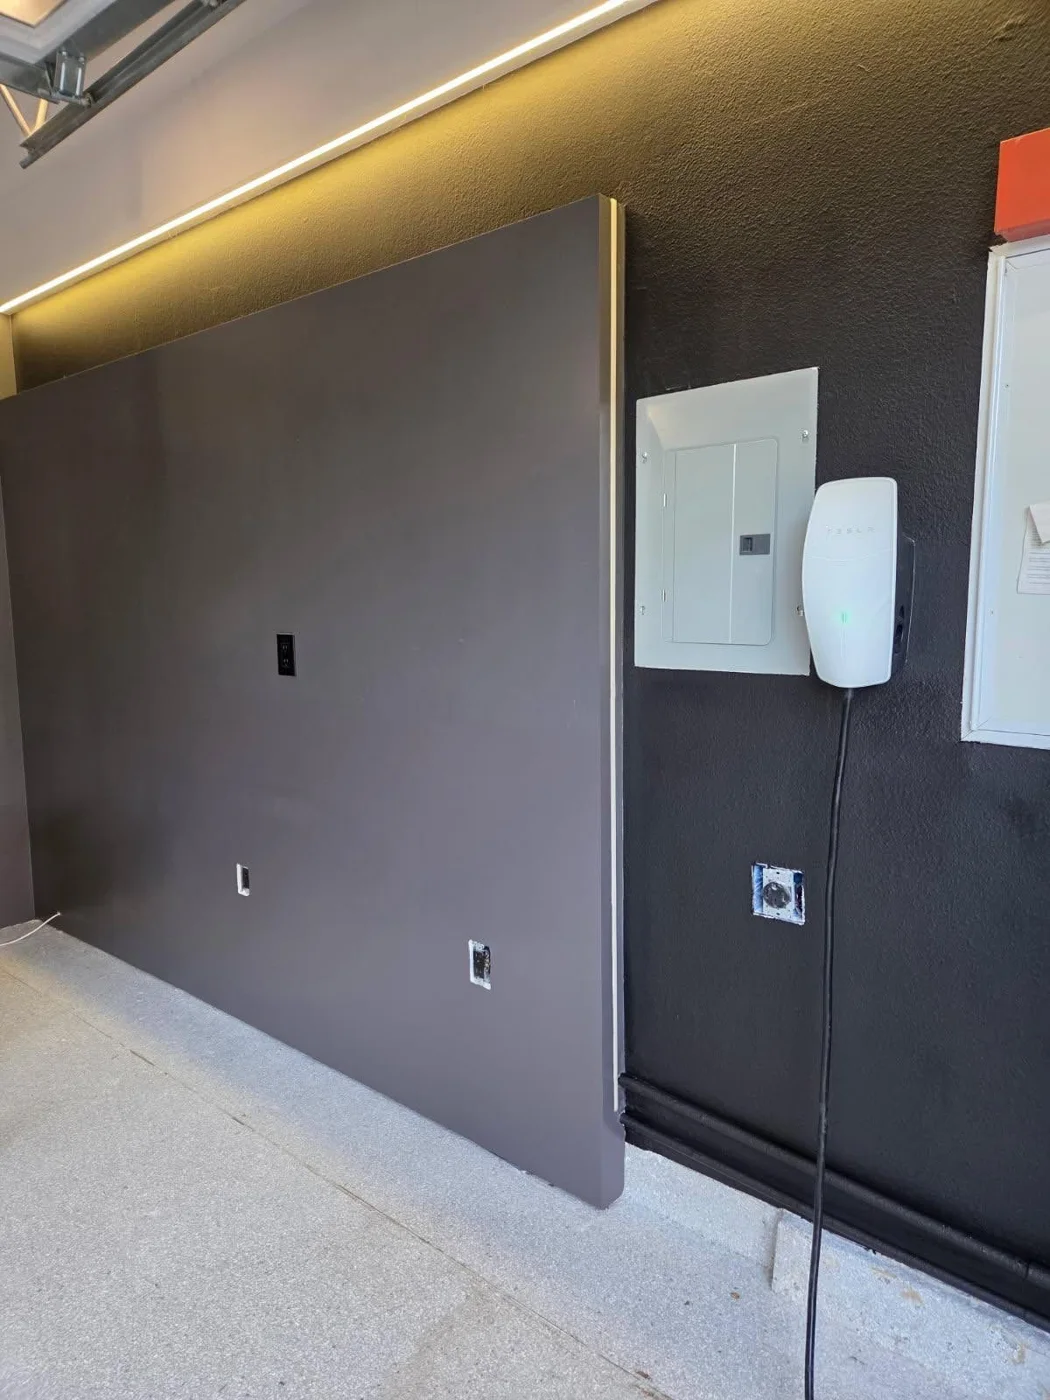
Newport Beach, CA
AfterFinished dark accent wall
Photo 3 of 3 · Before and after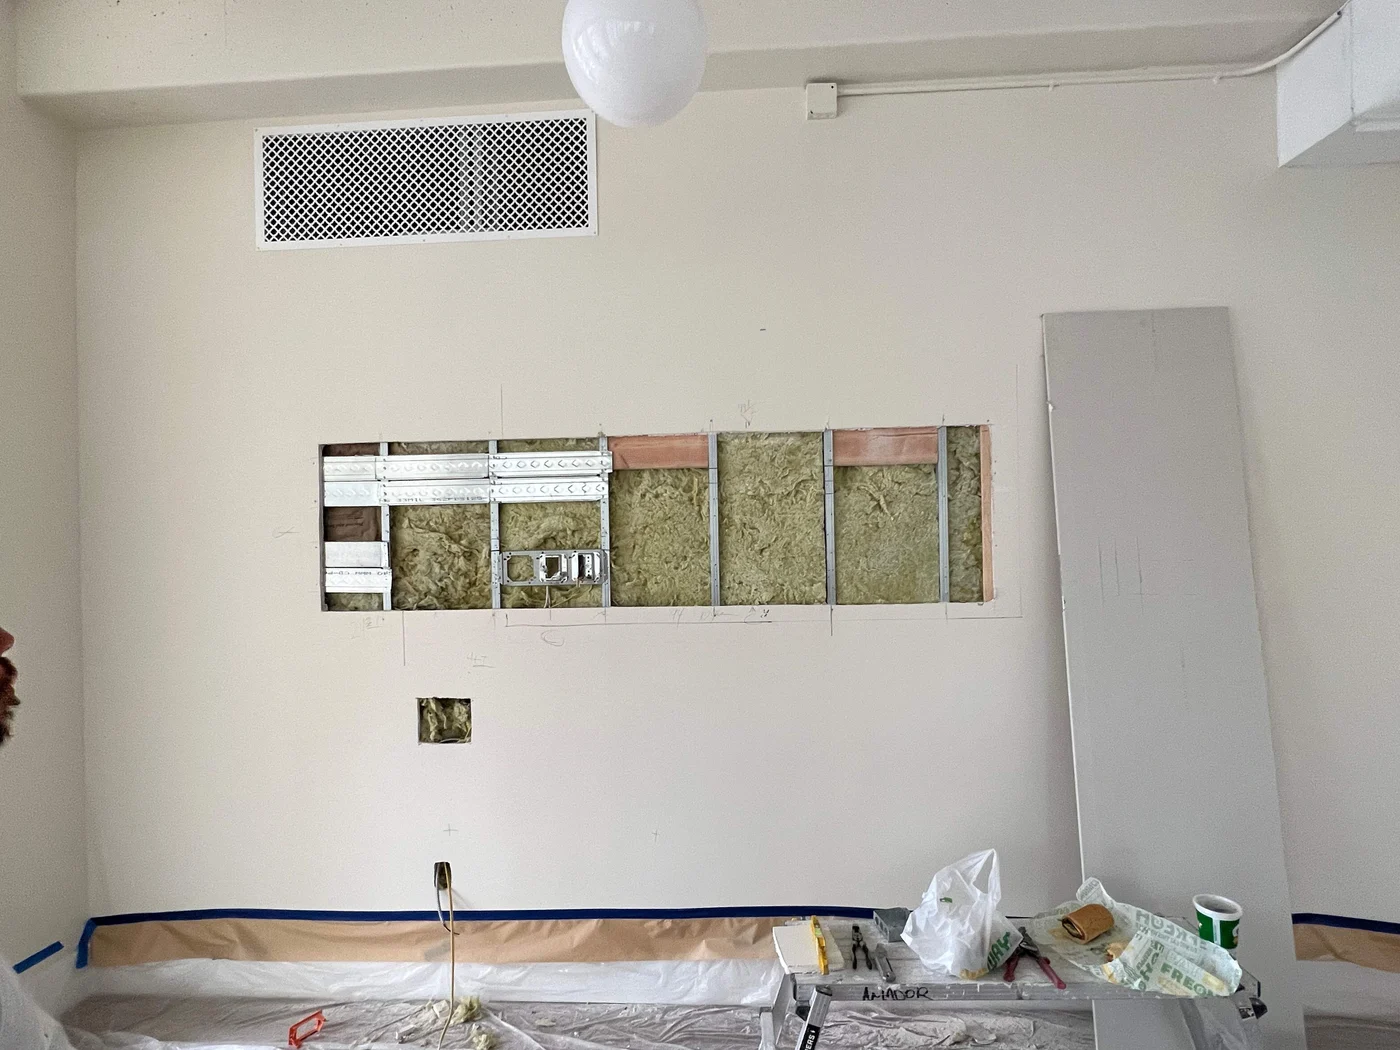
Newport Beach, CA
BeforeWall opened beneath ventilation grille before drywall repair
Photo 1 of 6 · TV-wall and exam-room repair sequences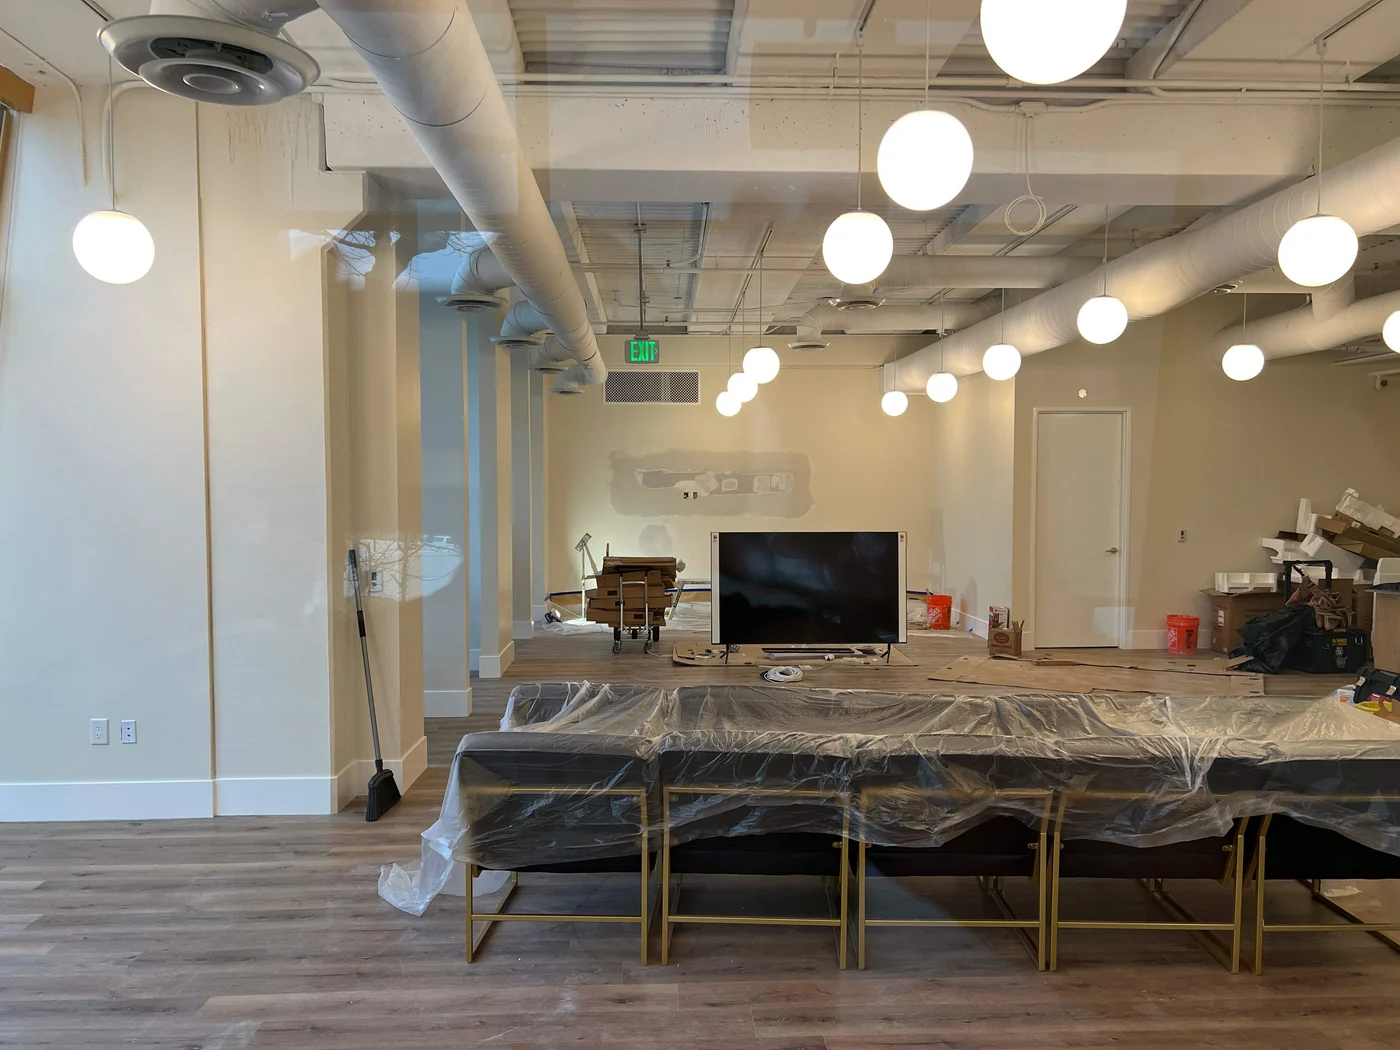
Newport Beach, CA
ProgressDrywall patch finishing in progress before painting
Photo 2 of 6 · TV-wall and exam-room repair sequences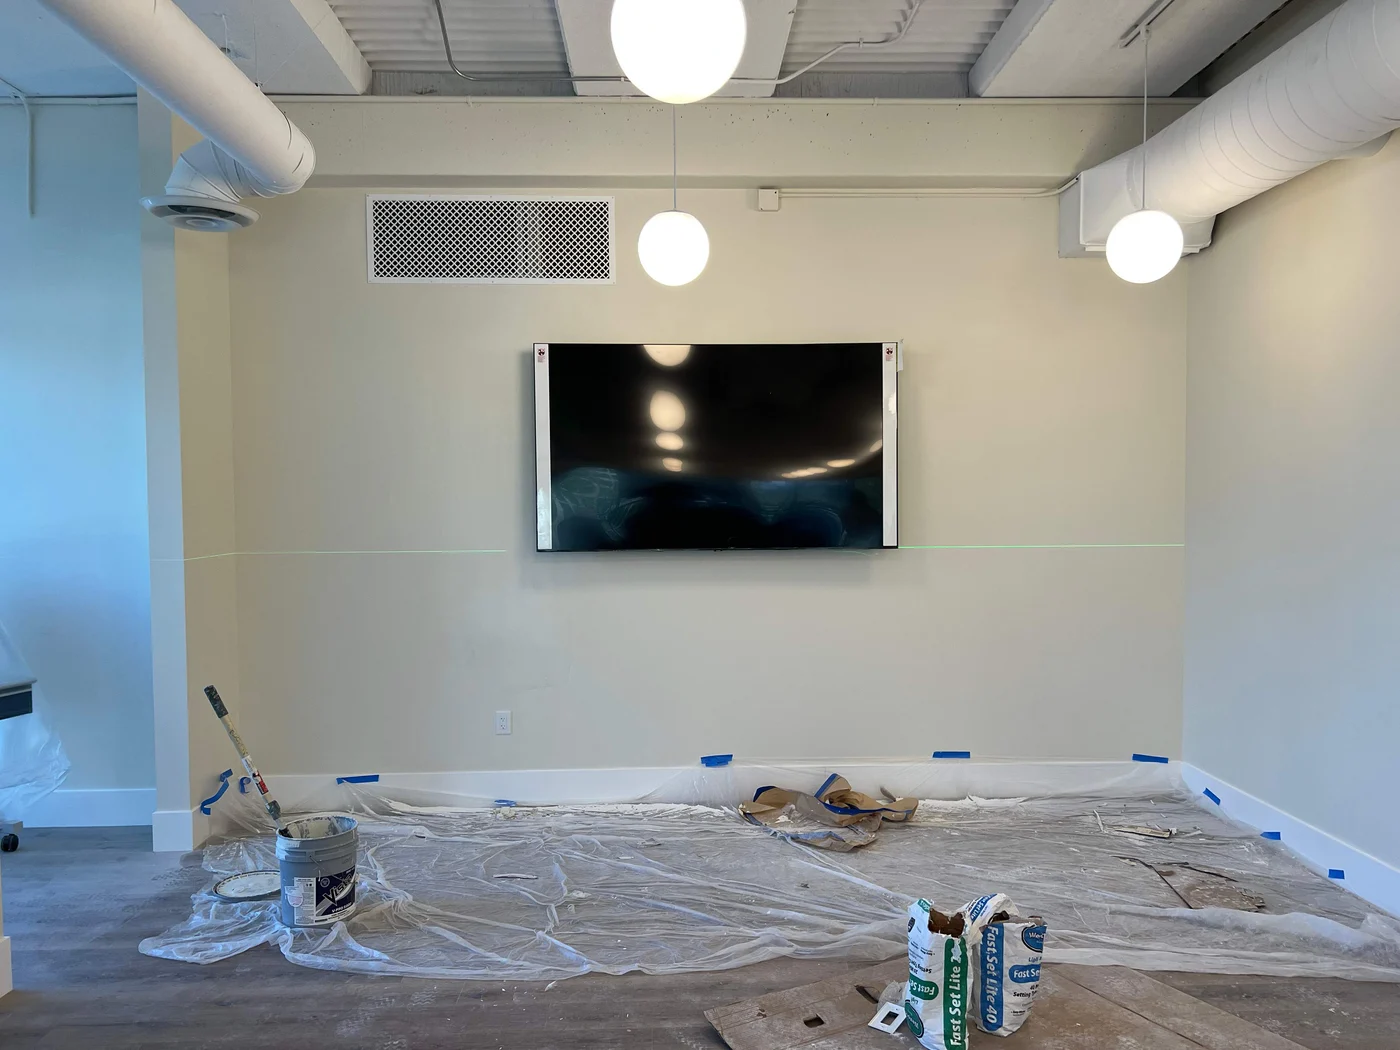
Newport Beach, CA
AfterRepaired and painted TV wall with television mounted; floor protection and tools remain
Photo 3 of 6 · TV-wall and exam-room repair sequences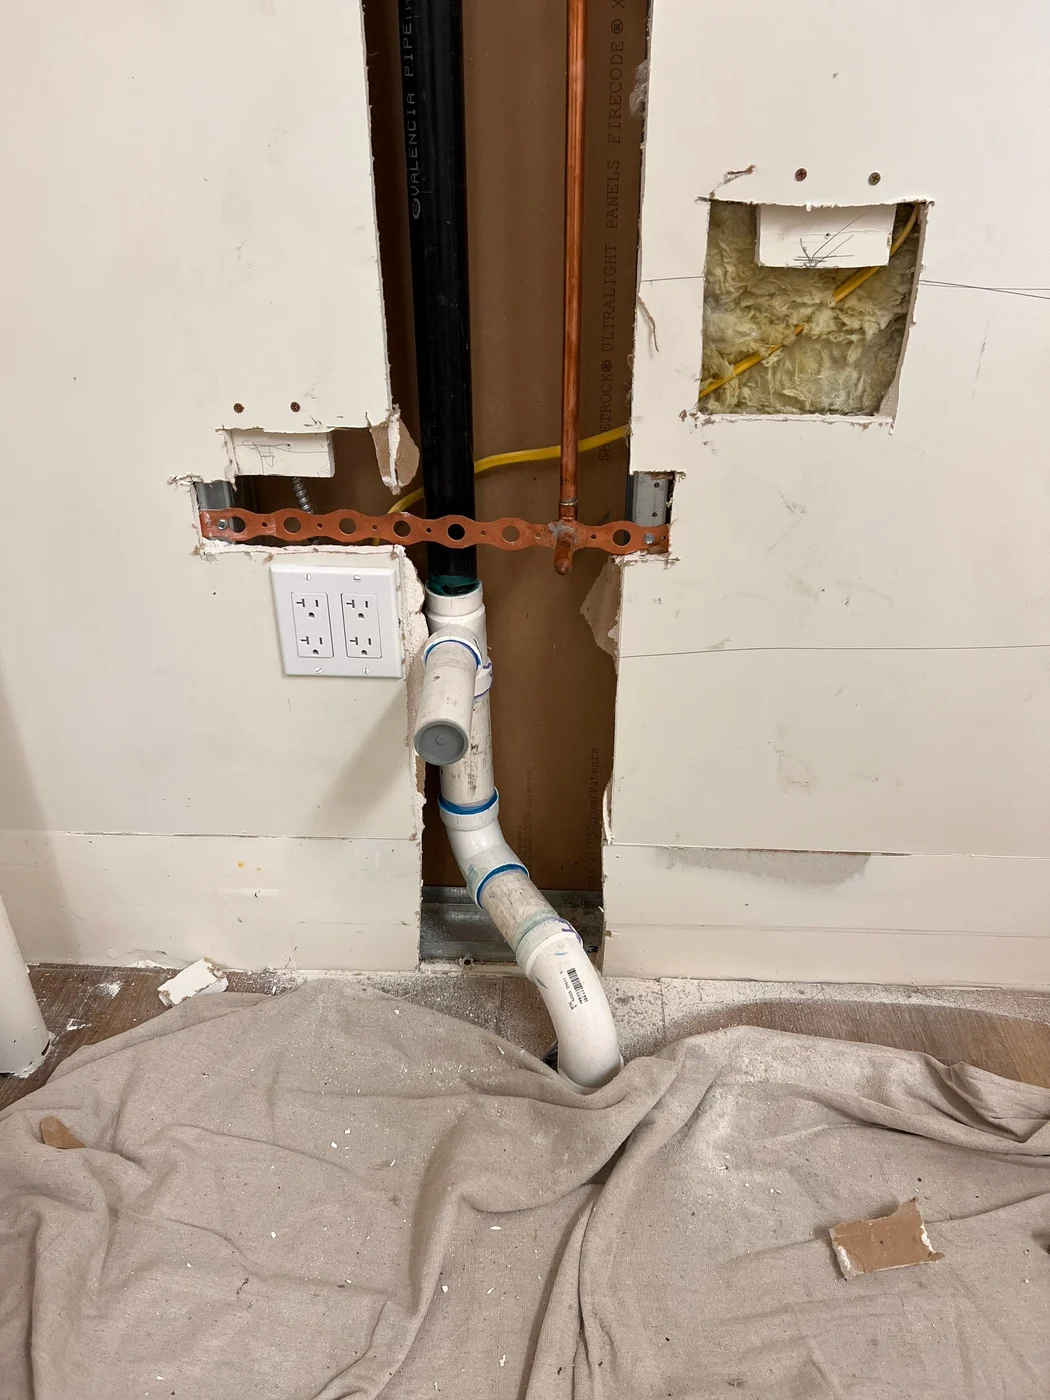
Newport Beach, CA
BeforeExam-room plumbing-wall opening before repair, close-up
Photo 4 of 6 · TV-wall and exam-room repair sequences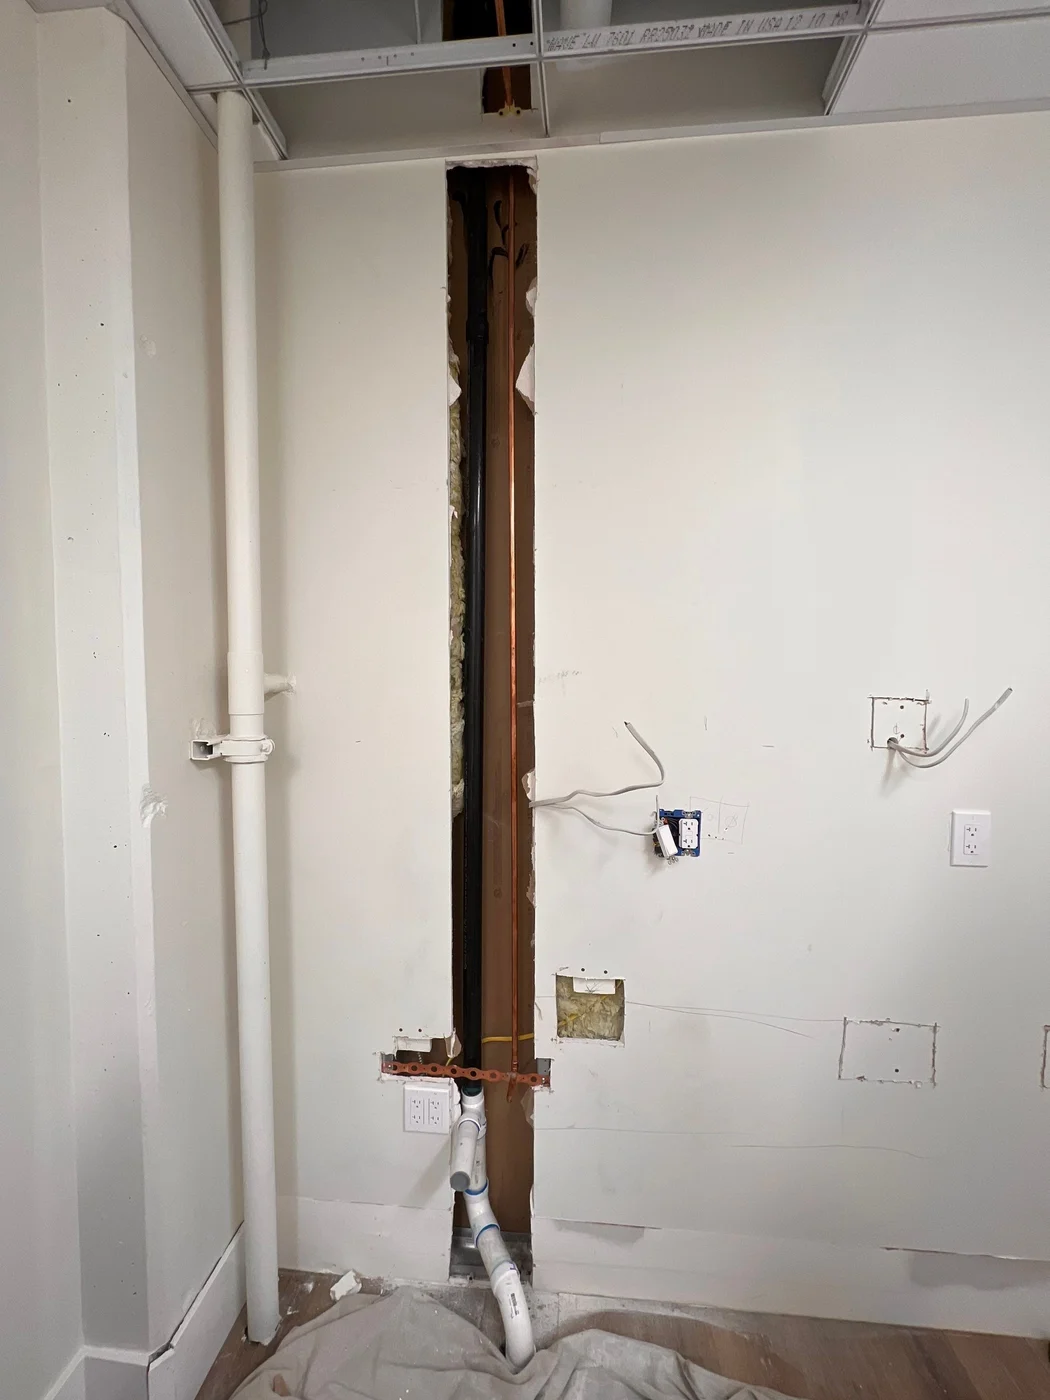
Newport Beach, CA
BeforeWider view of exam-room plumbing-wall opening before repair
Photo 5 of 6 · TV-wall and exam-room repair sequences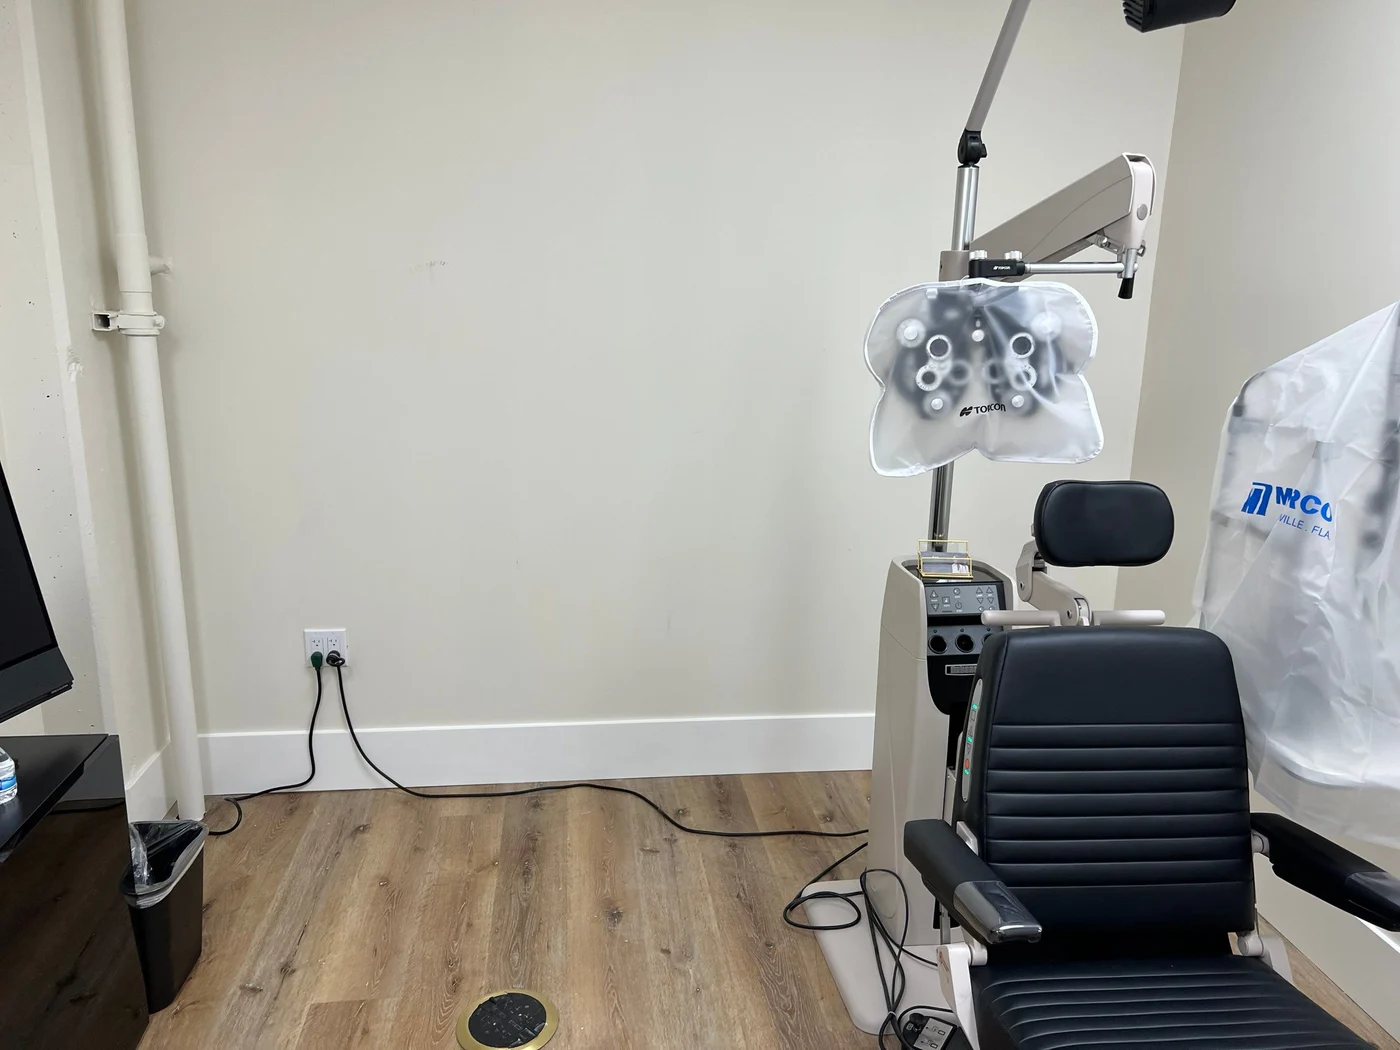
Newport Beach, CA
AfterRepaired and painted exam-room wall with outlet, baseboard and exam equipment
Photo 6 of 6 · TV-wall and exam-room repair sequences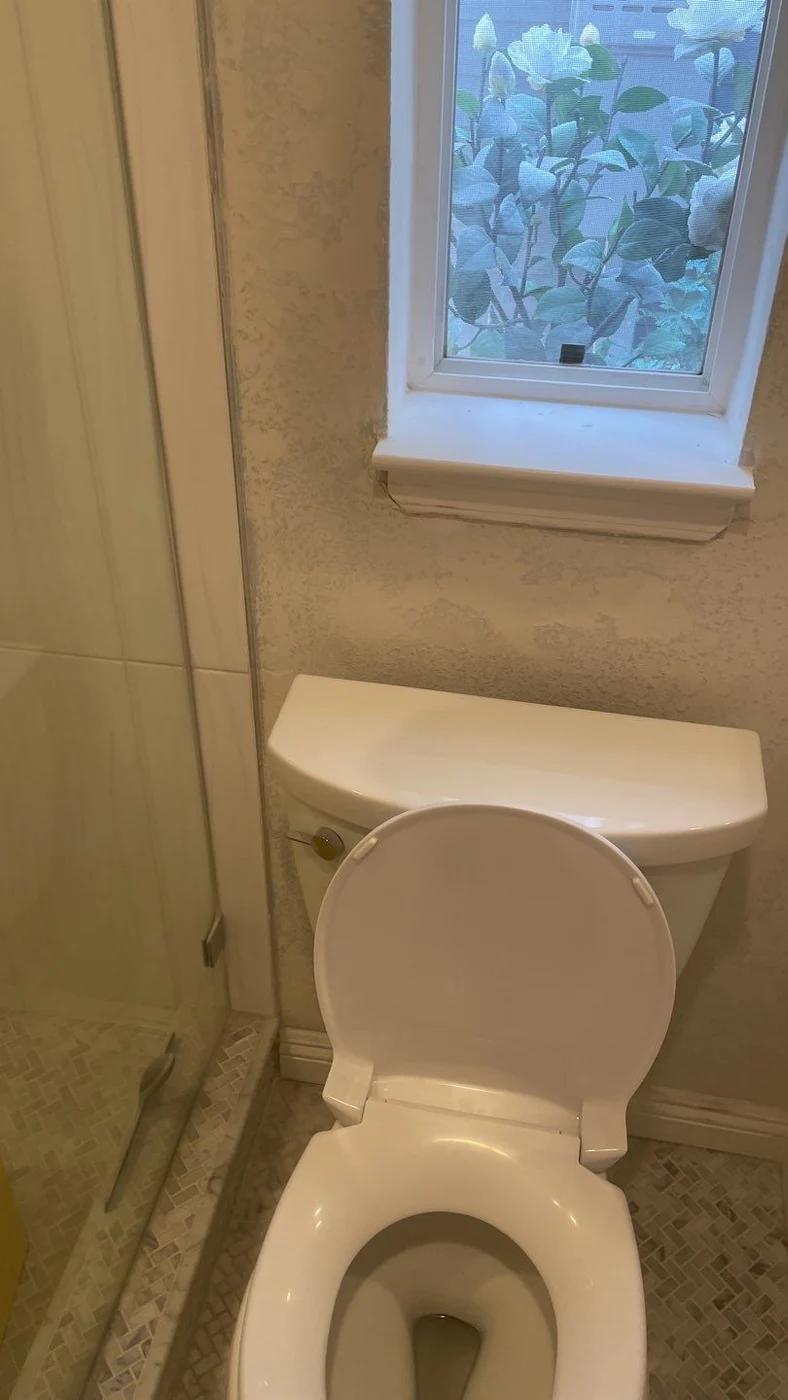
Newport Beach, CA
DuringBathroom window and toilet area during wall preparation
Photo 1 of 15 · Wall preparation followed by finished bathroom views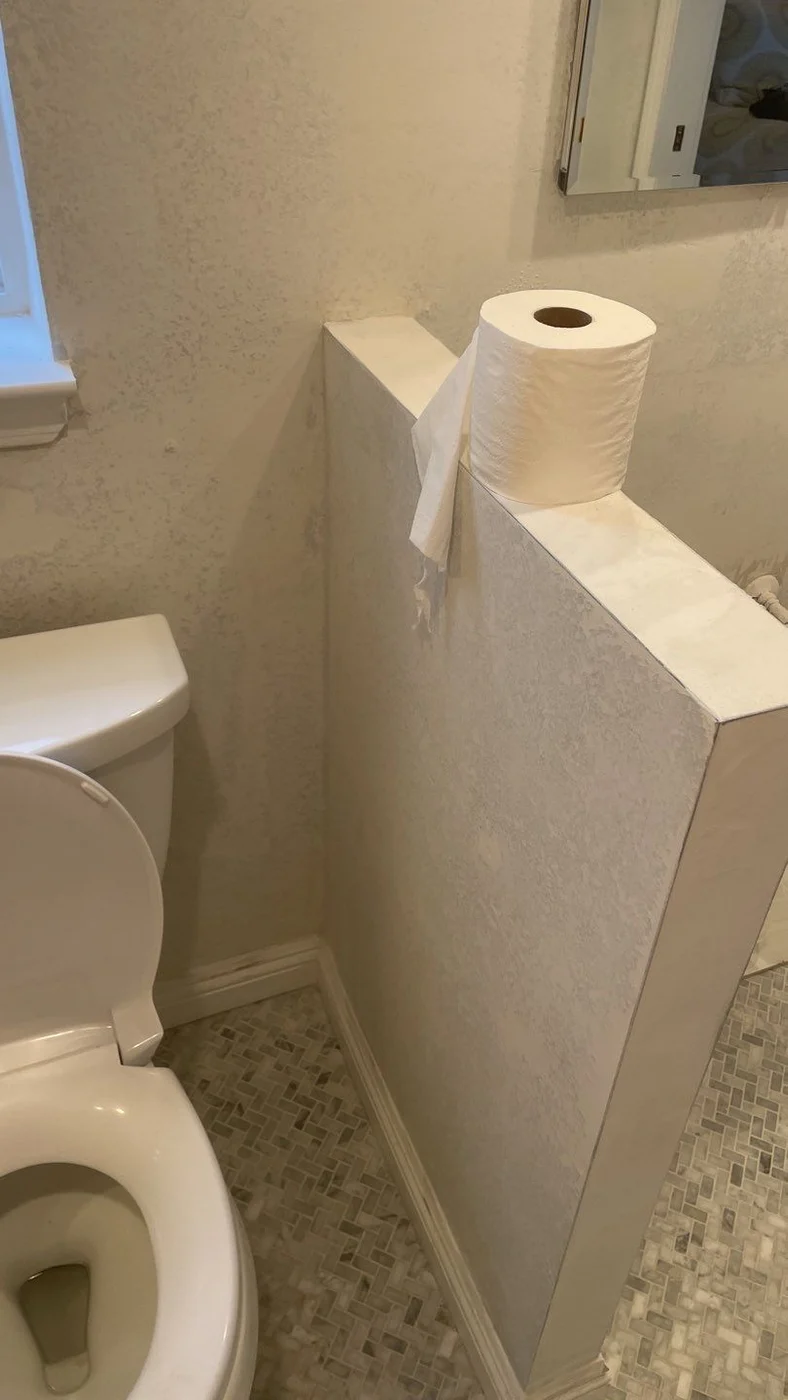
Newport Beach, CA
DuringHalf-wall surface during bathroom finishing
Photo 2 of 15 · Wall preparation followed by finished bathroom views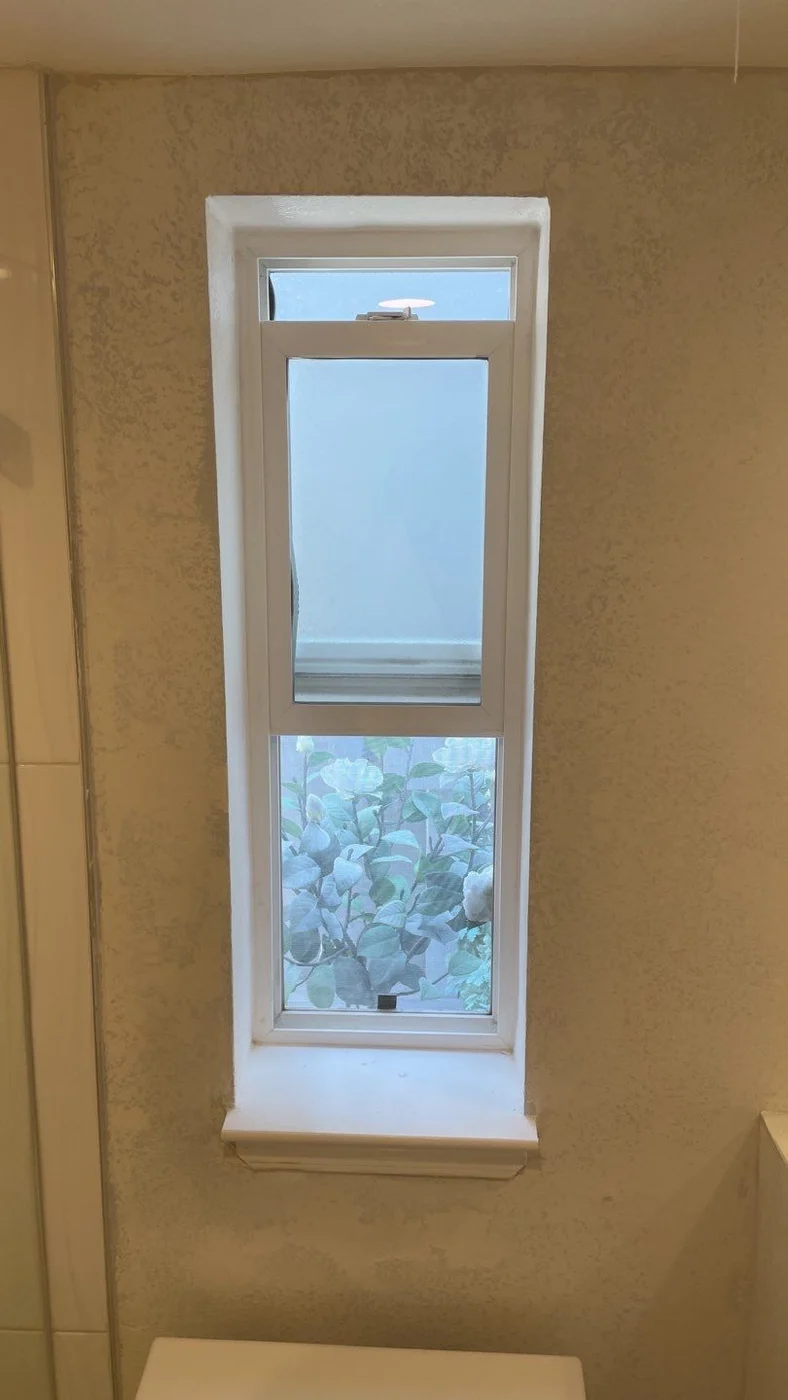
Newport Beach, CA
DuringWall preparation around the bathroom window
Photo 3 of 15 · Wall preparation followed by finished bathroom views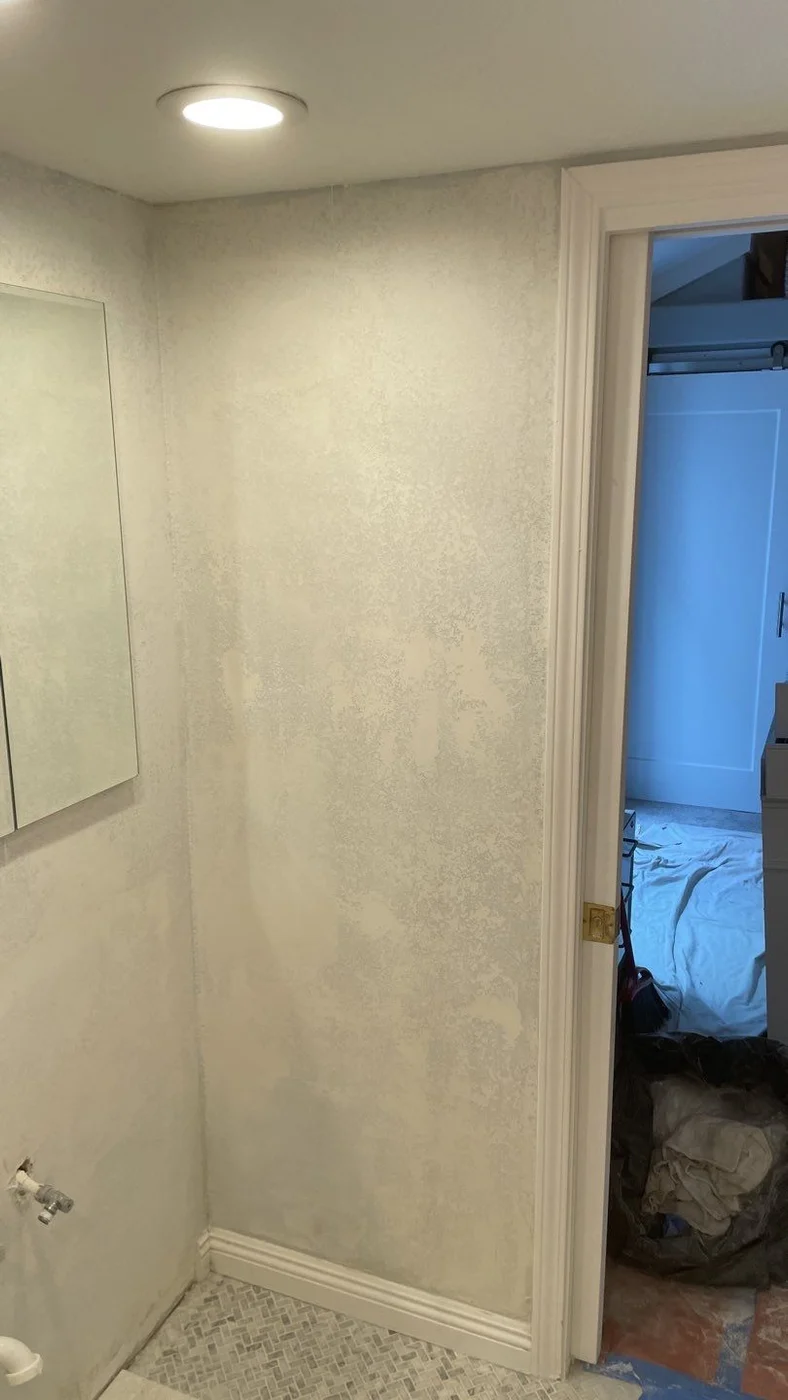
Newport Beach, CA
DuringBathroom wall and doorway during surface preparation
Photo 4 of 15 · Wall preparation followed by finished bathroom views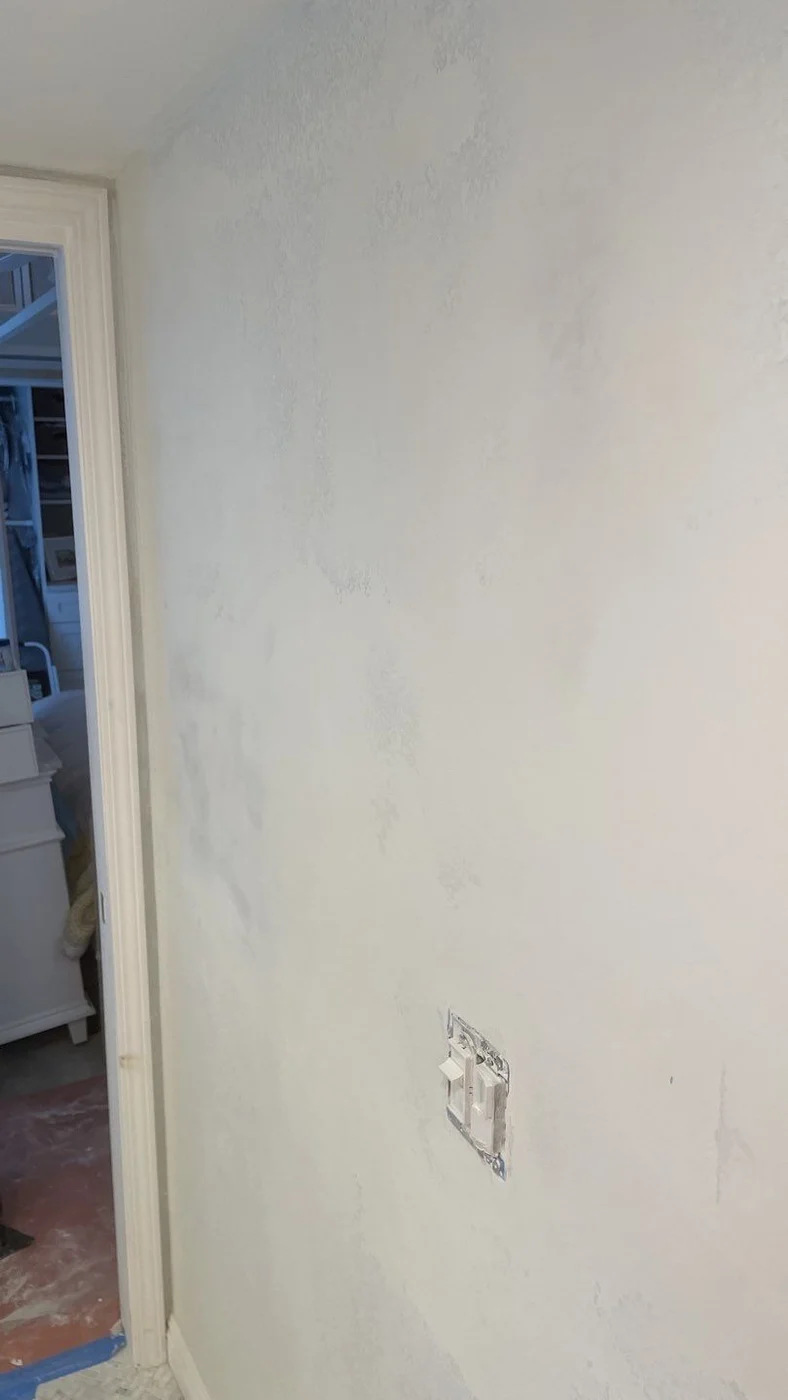
Newport Beach, CA
DuringWall surface during skim-coat preparation
Photo 5 of 15 · Wall preparation followed by finished bathroom views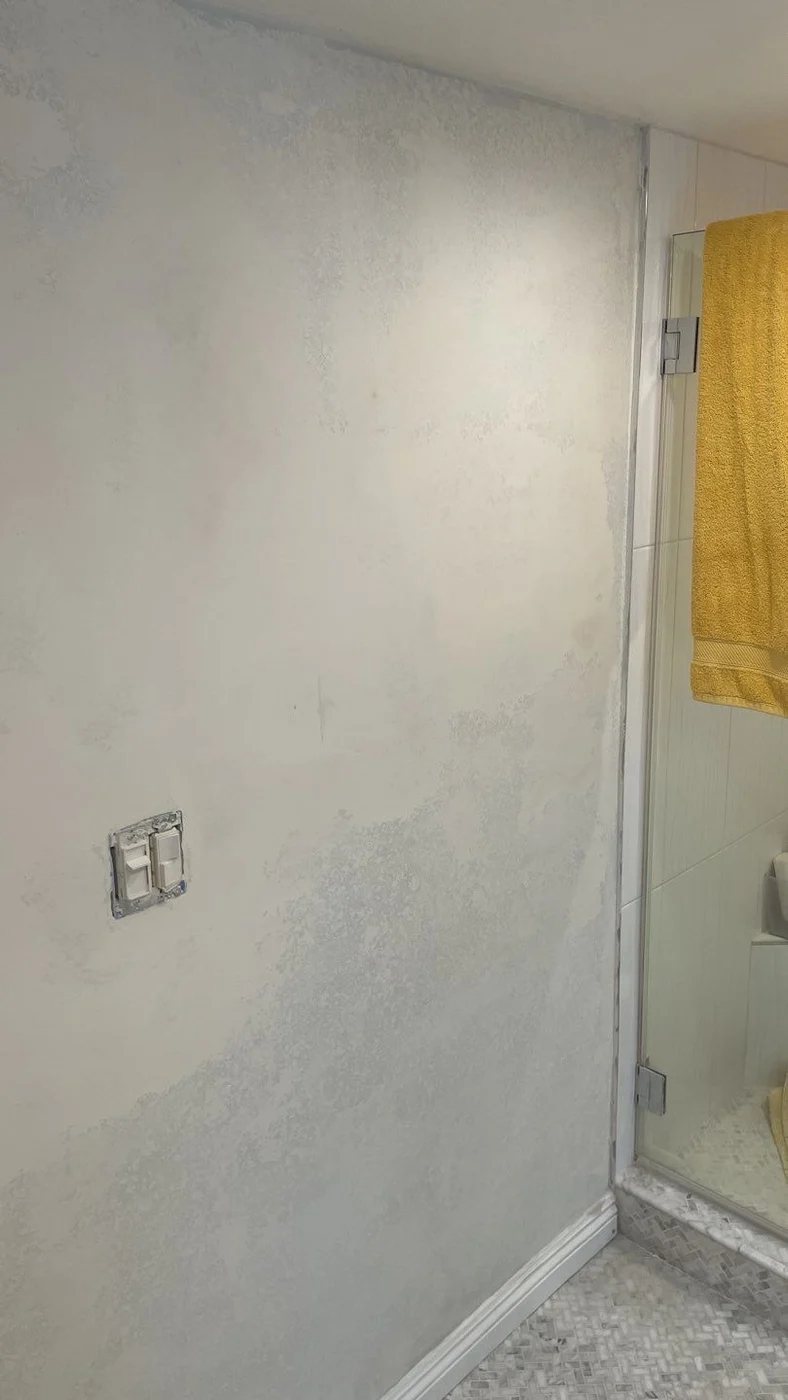
Newport Beach, CA
DuringPrepared bathroom wall beside the doorway
Photo 6 of 15 · Wall preparation followed by finished bathroom views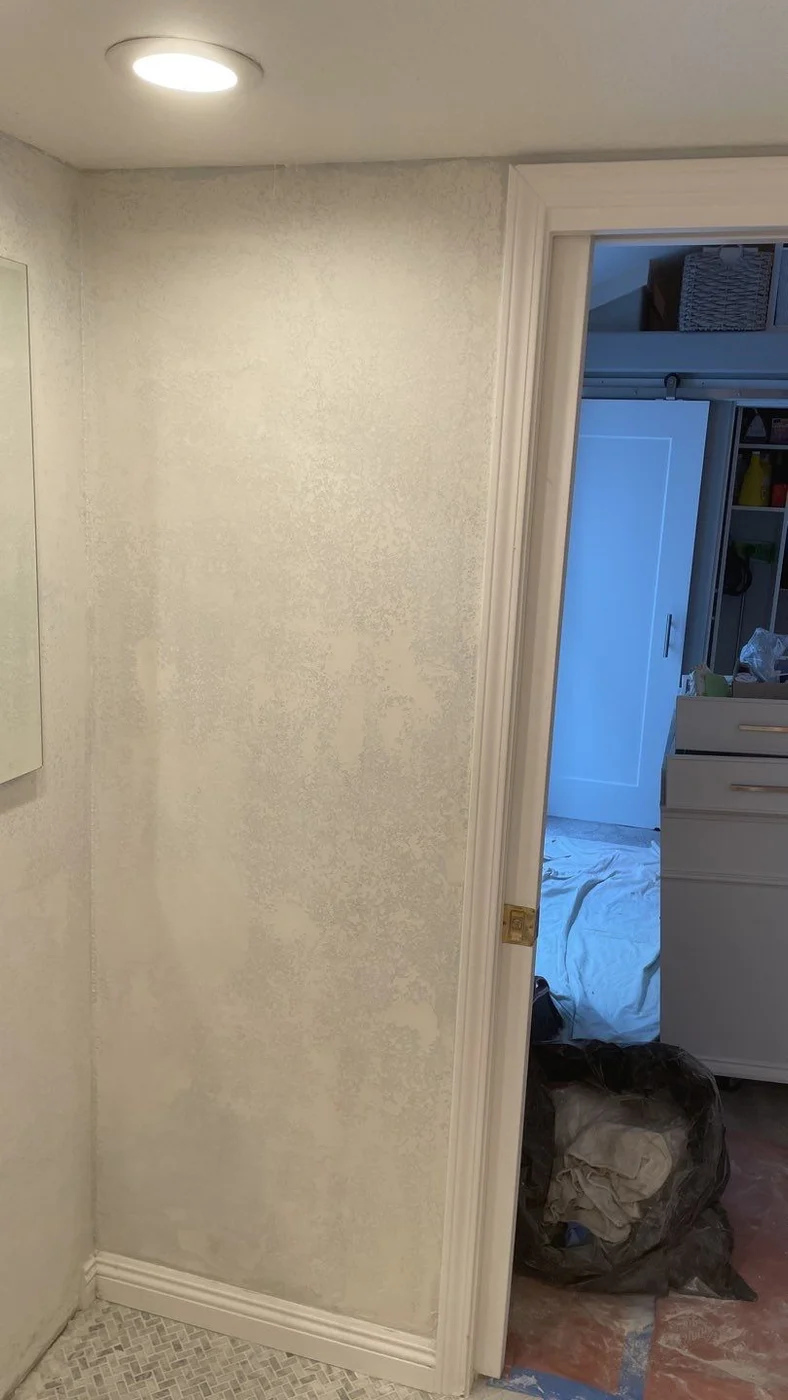
Newport Beach, CA
DuringBathroom corner and doorway during wall finishing
Photo 7 of 15 · Wall preparation followed by finished bathroom views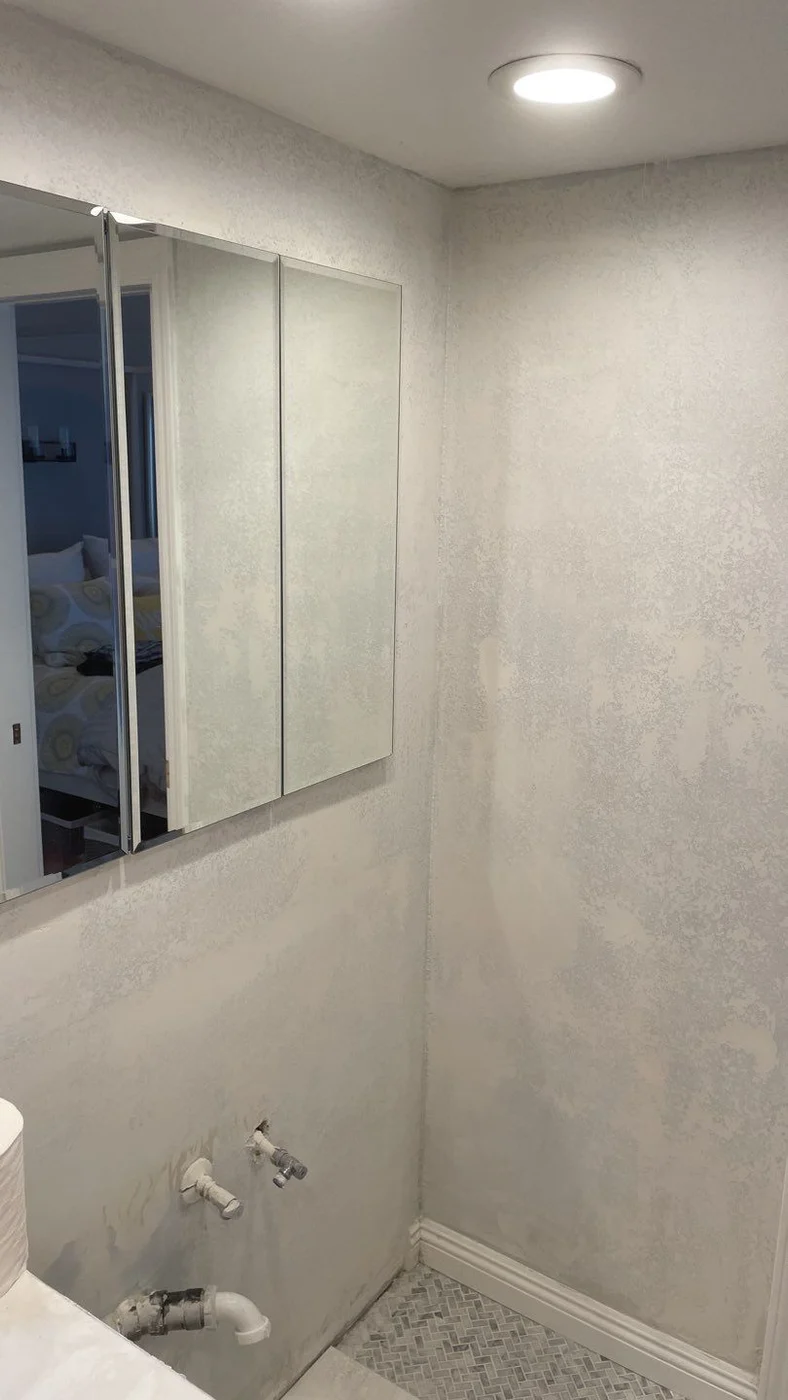
Newport Beach, CA
DuringVanity wall during preparation with fixtures removed
Photo 8 of 15 · Wall preparation followed by finished bathroom views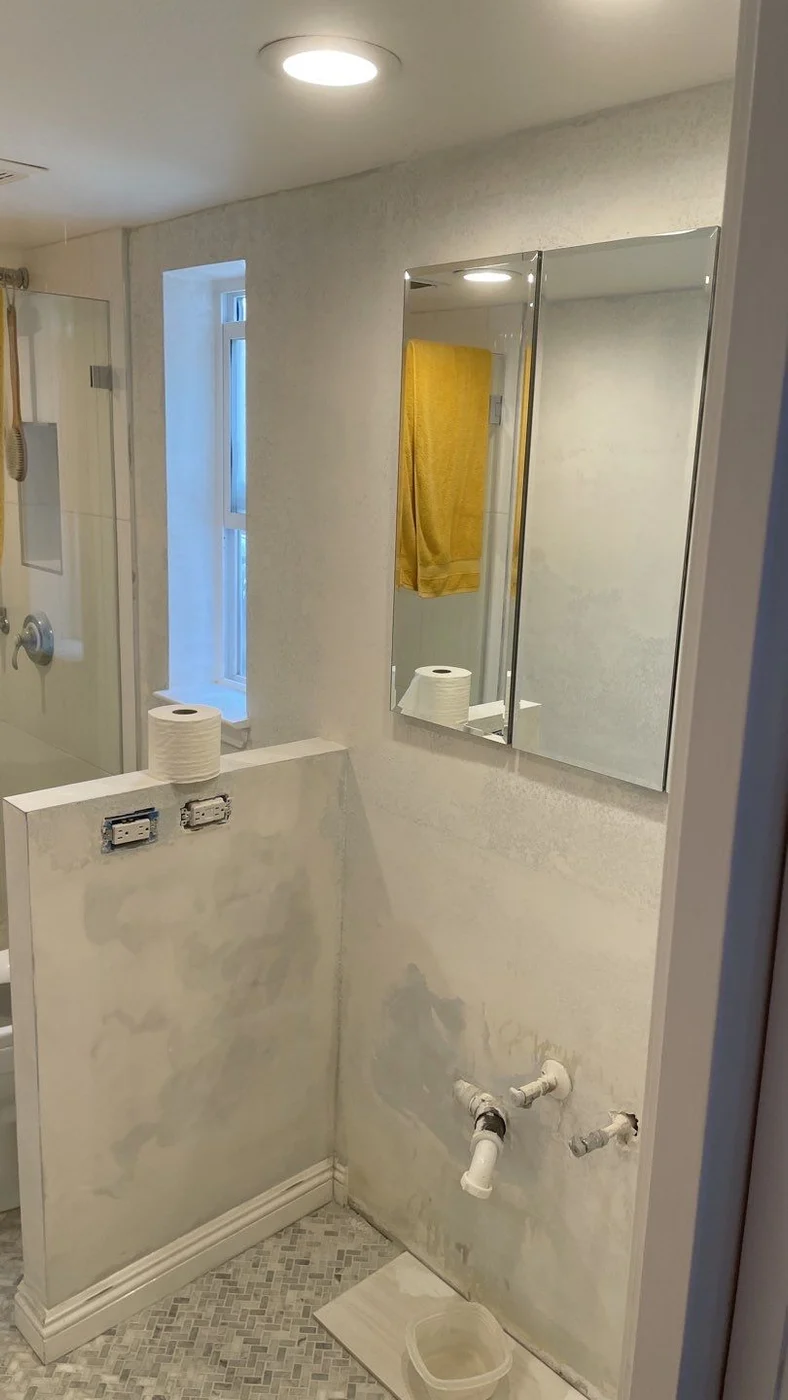
Newport Beach, CA
DuringBathroom wall finishing around exposed vanity plumbing
Photo 9 of 15 · Wall preparation followed by finished bathroom views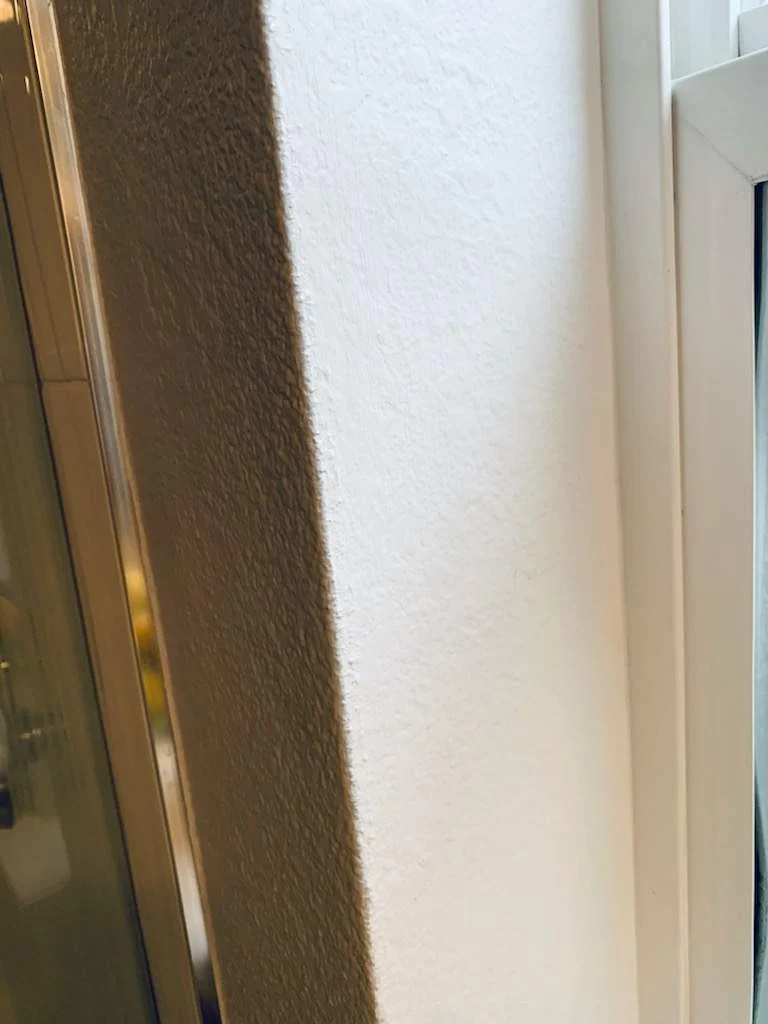
Newport Beach, CA
AfterClose-up of the finished wall texture
Photo 10 of 15 · Wall preparation followed by finished bathroom views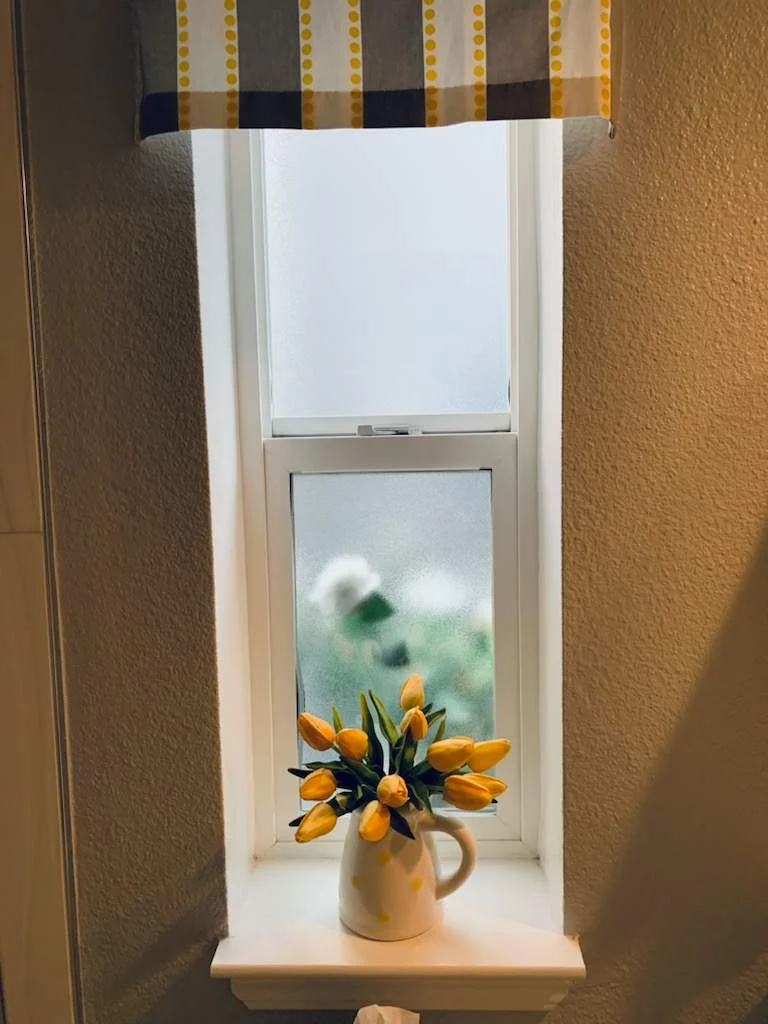
Newport Beach, CA
AfterFinished bathroom window wall
Photo 11 of 15 · Wall preparation followed by finished bathroom views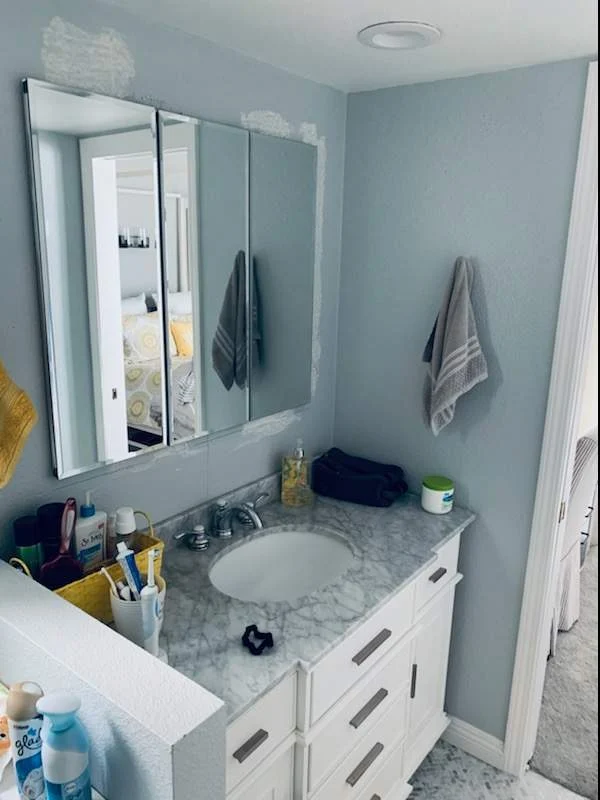
Newport Beach, CA
AfterFinished vanity and mirror wall
Photo 12 of 15 · Wall preparation followed by finished bathroom views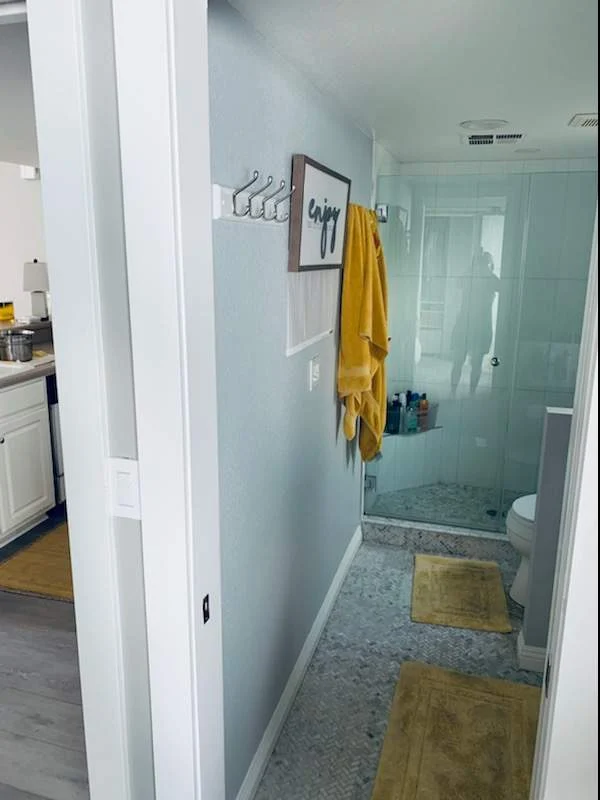
Newport Beach, CA
AfterFinished shower enclosure and bathroom wall
Photo 13 of 15 · Wall preparation followed by finished bathroom views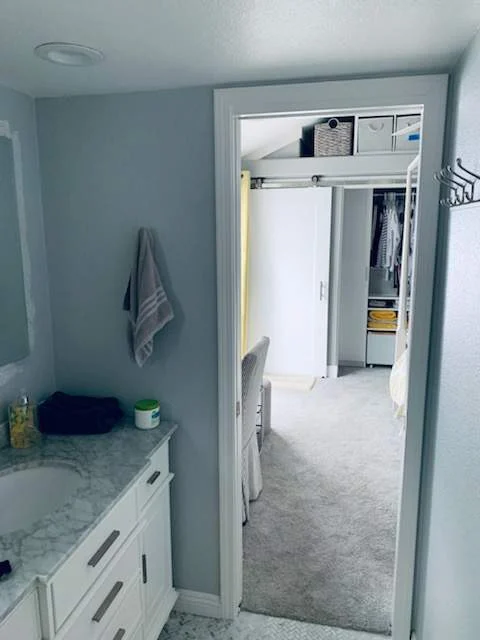
Newport Beach, CA
AfterFinished bathroom vanity and doorway
Photo 14 of 15 · Wall preparation followed by finished bathroom views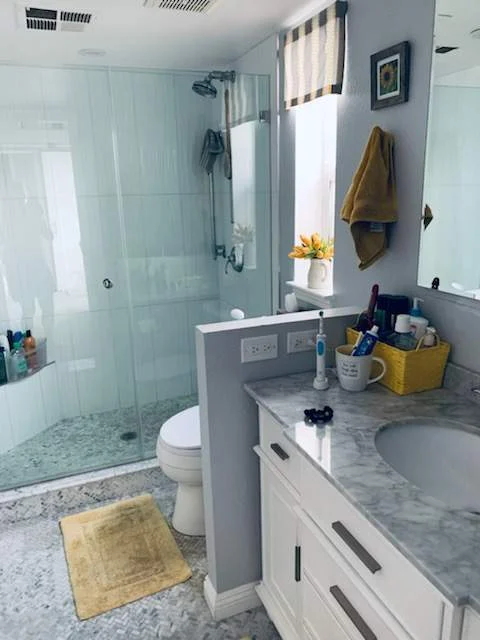
Newport Beach, CA
AfterCompleted bathroom and shower
Photo 15 of 15 · Wall preparation followed by finished bathroom views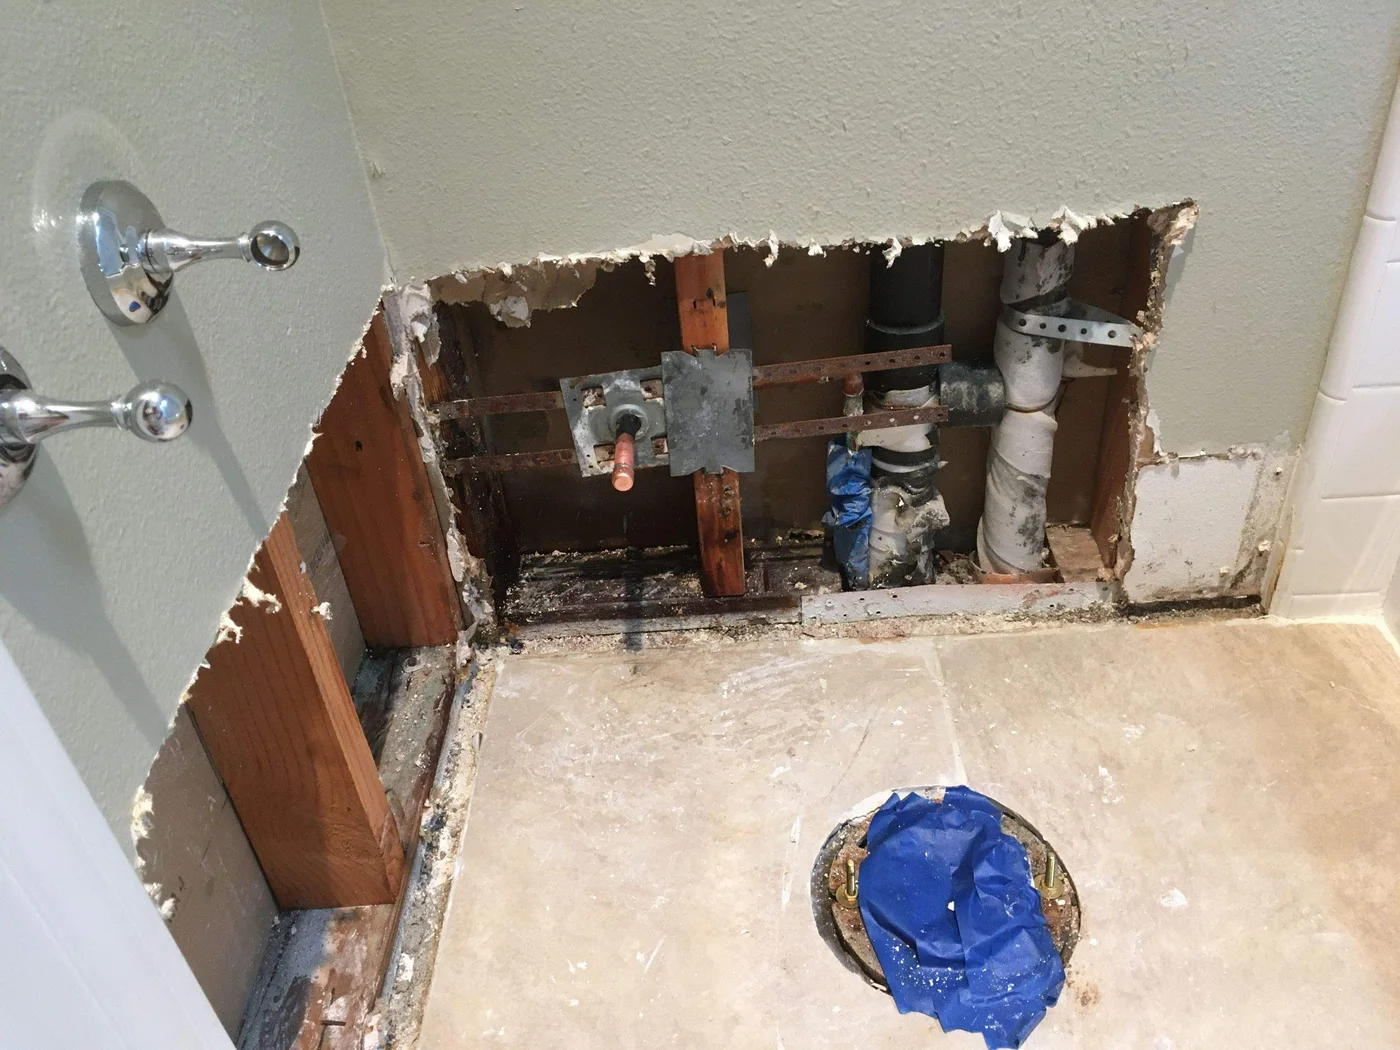
Newport Coast, CA
BeforeBathroom plumbing access opening
Photo 1 of 5 · Before, progress and after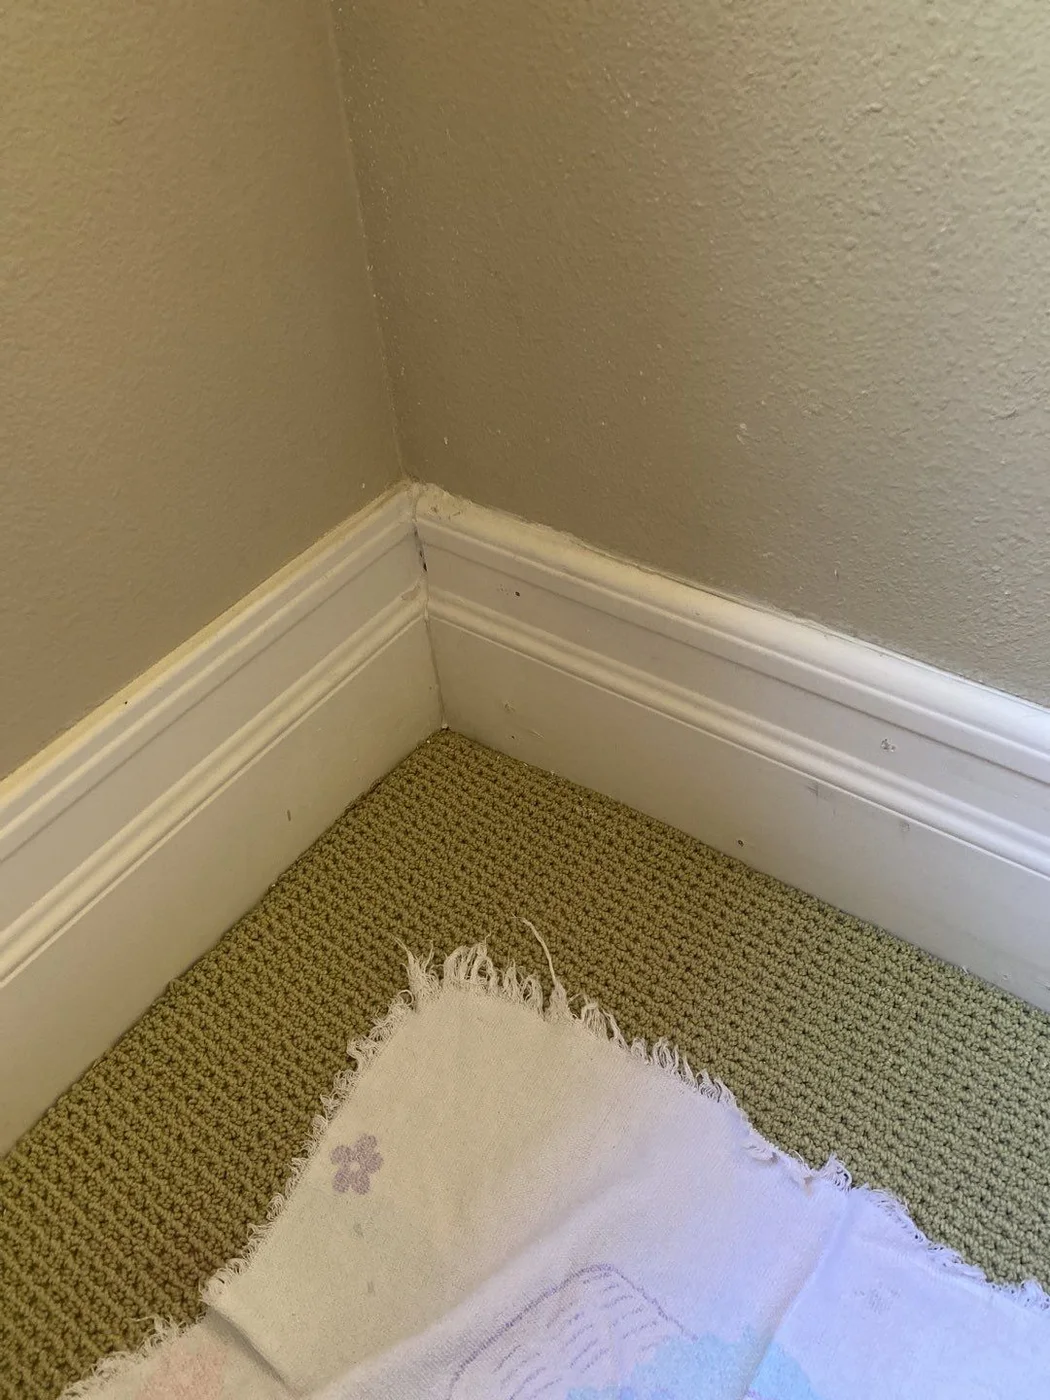
Newport Coast, CA
ProgressWall preparation beside base trim
Photo 2 of 5 · Before, progress and after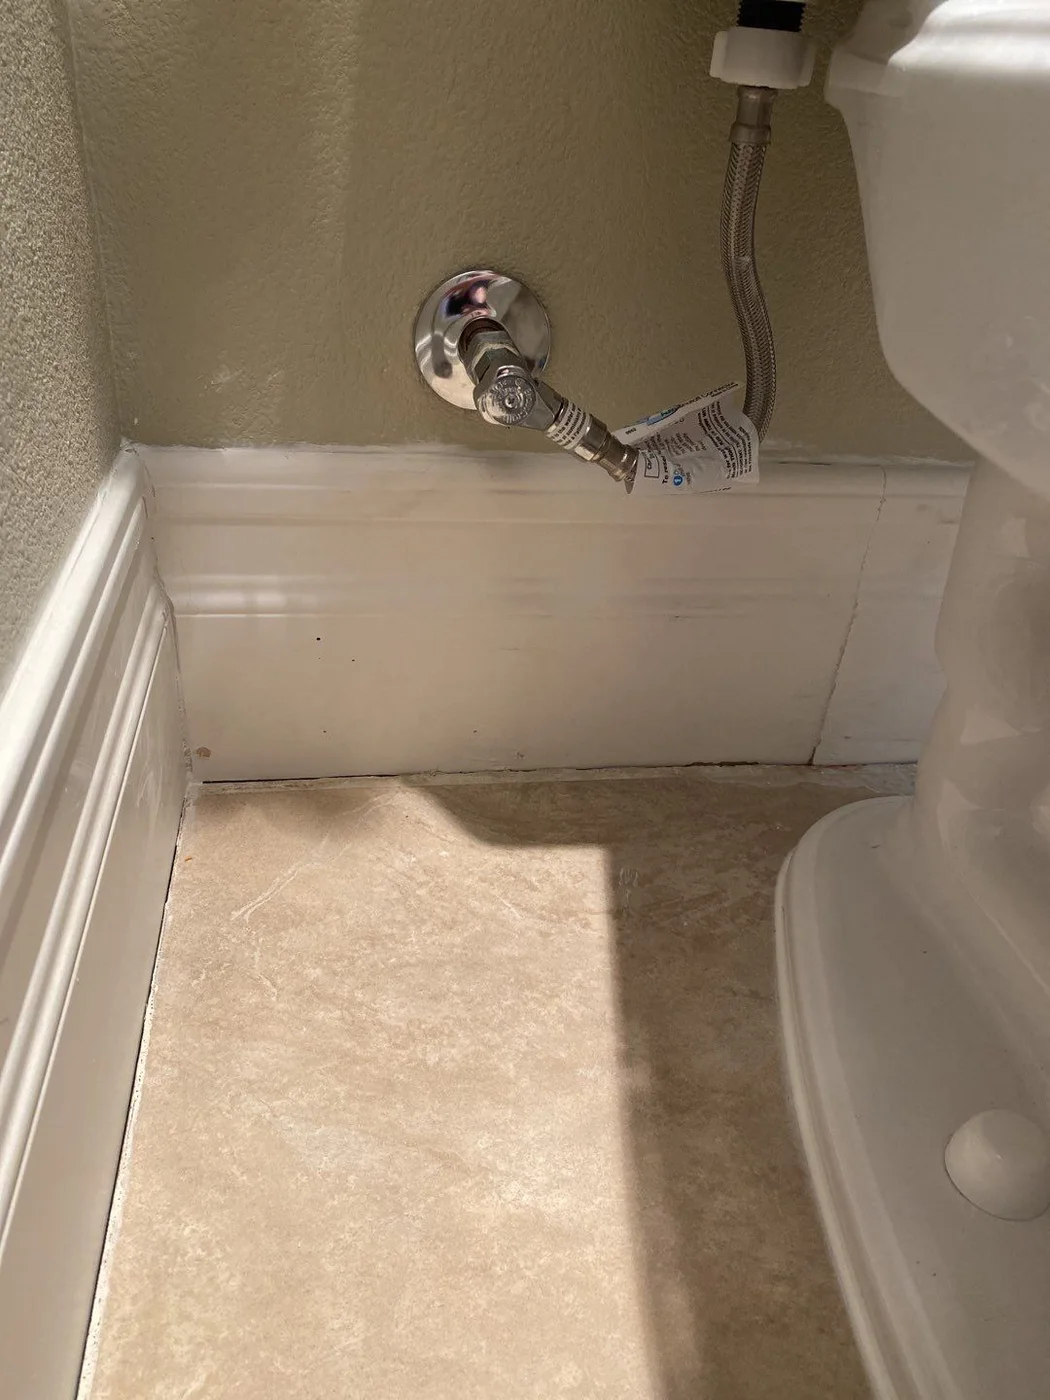
Newport Coast, CA
AfterRepaired bathroom wall
Photo 3 of 5 · Before, progress and after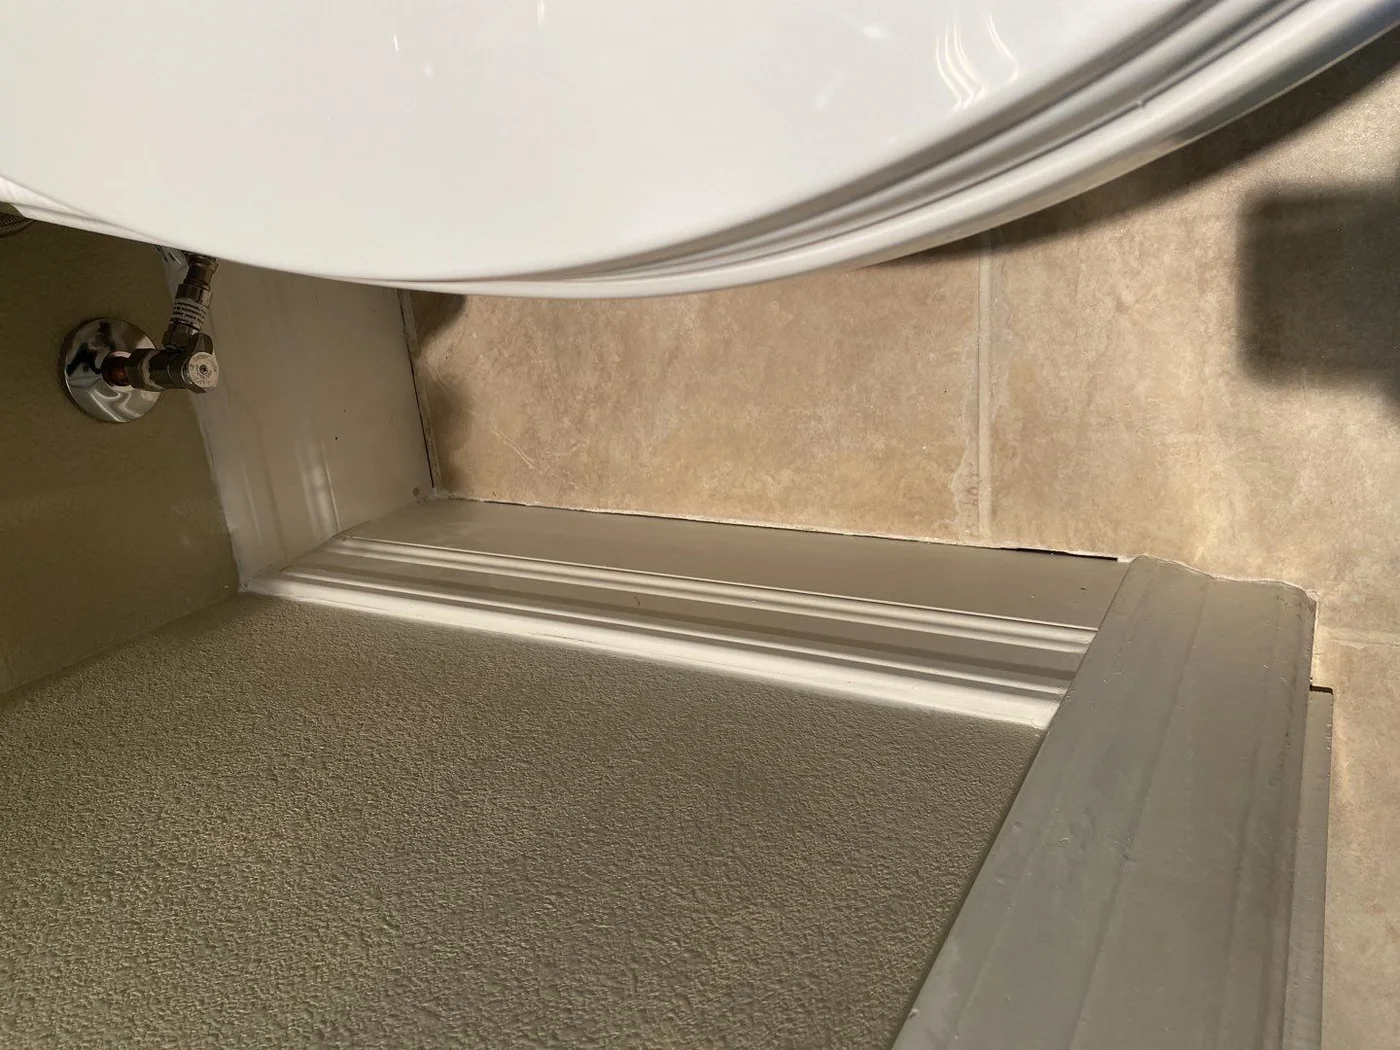
Newport Coast, CA
AfterFinished bathroom base trim
Photo 4 of 5 · Before, progress and after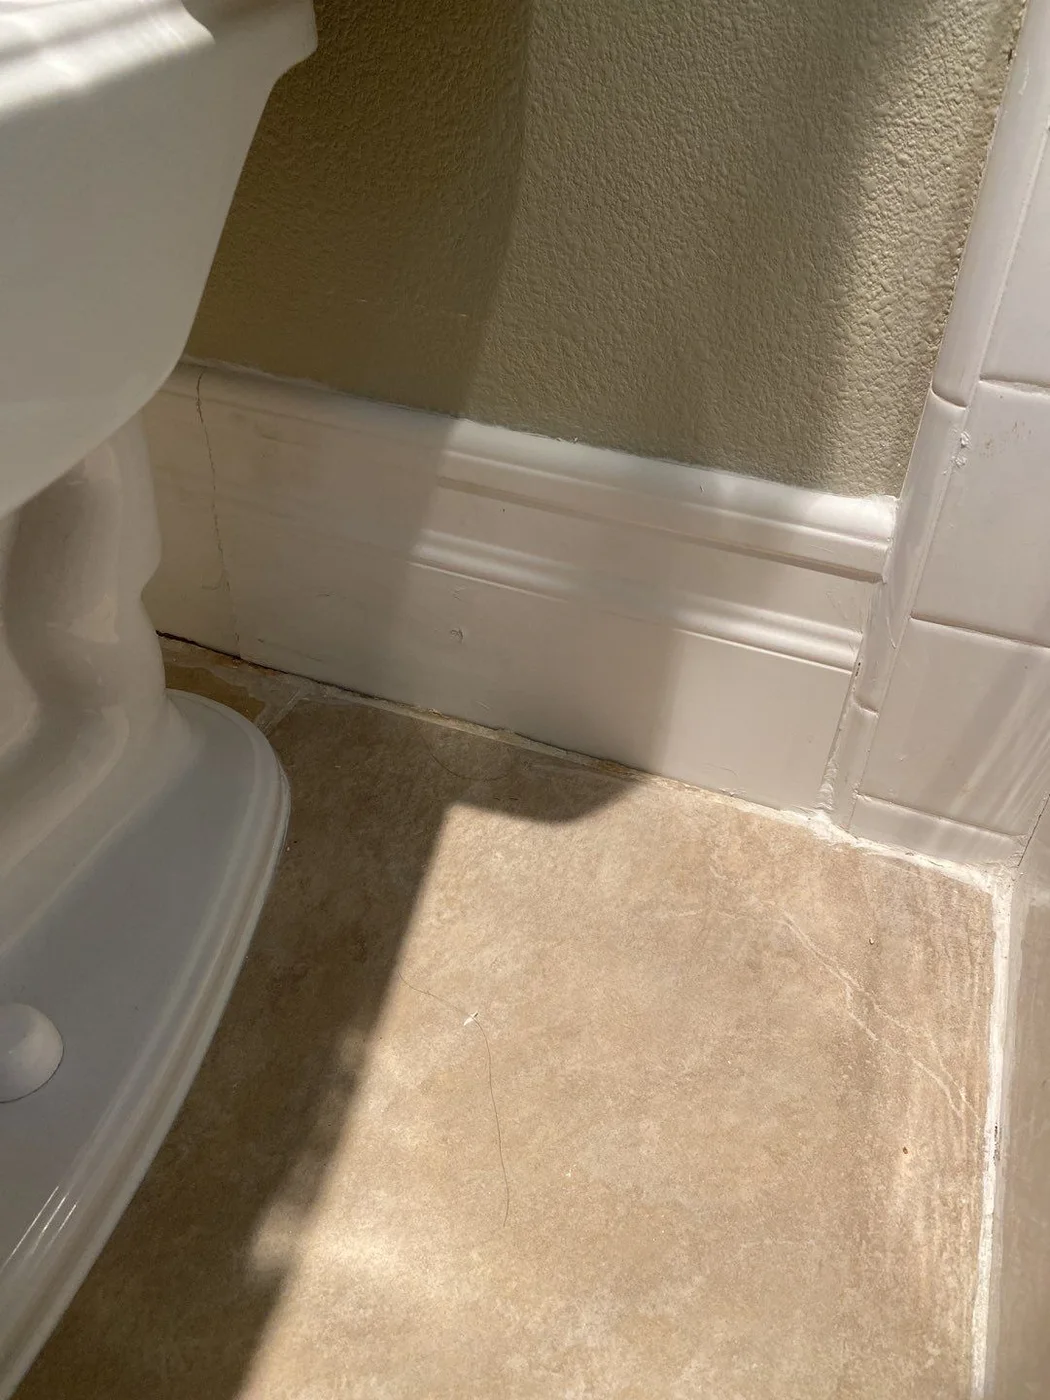
Newport Coast, CA
AfterFinished corner and base trim
Photo 5 of 5 · Before, progress and after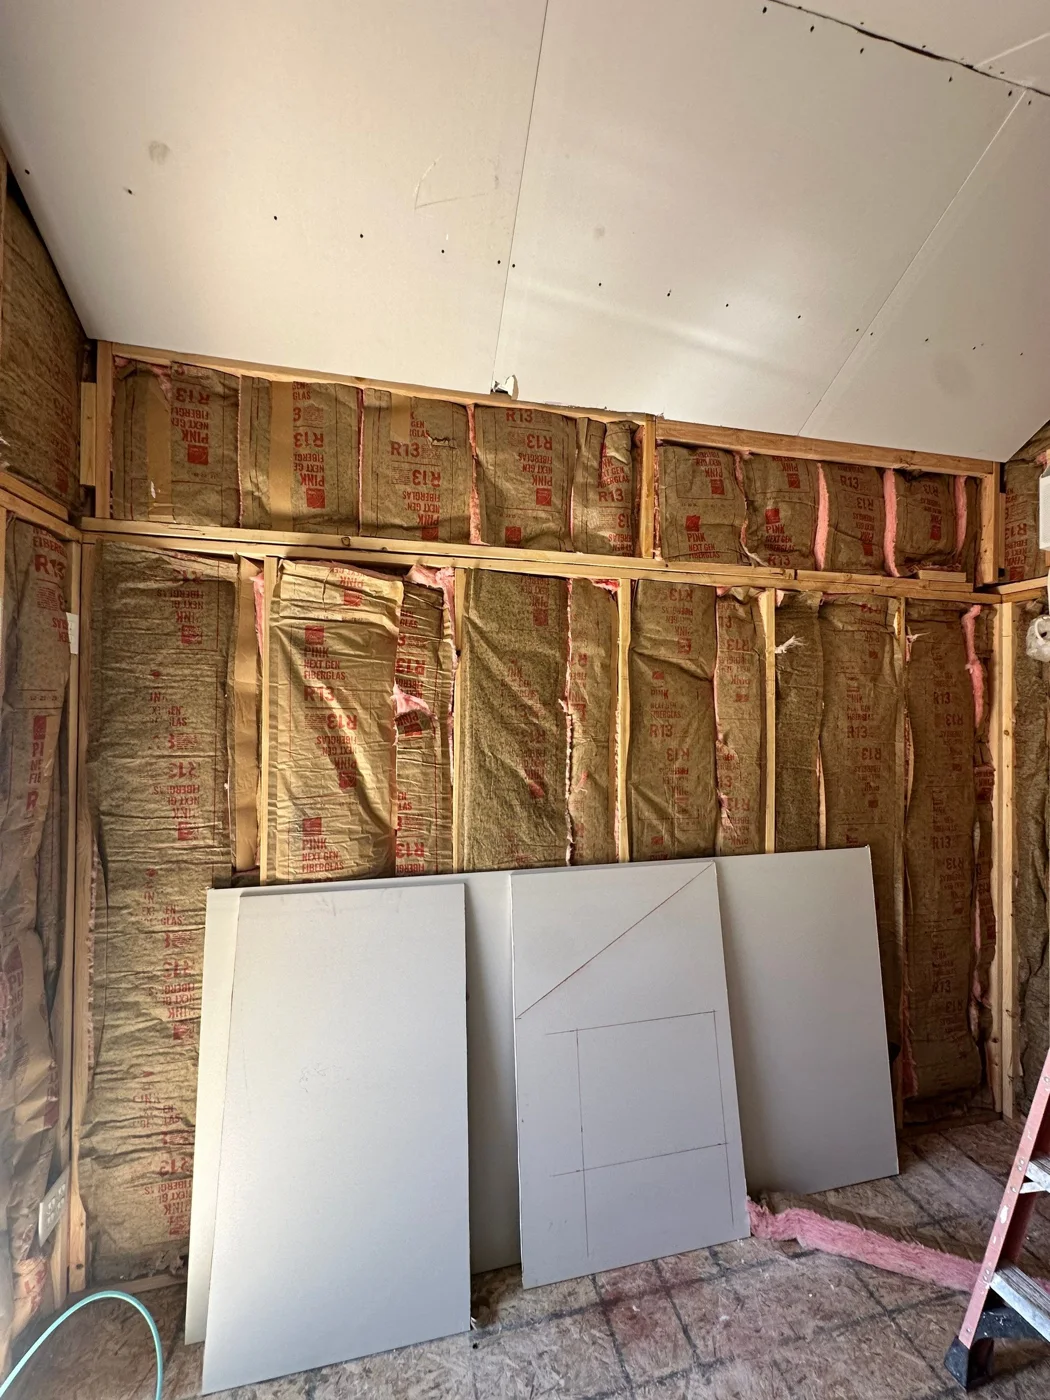
Perris, CA
BeforeWall framing before drywall installation
Photo 1 of 13 · Before, progress and after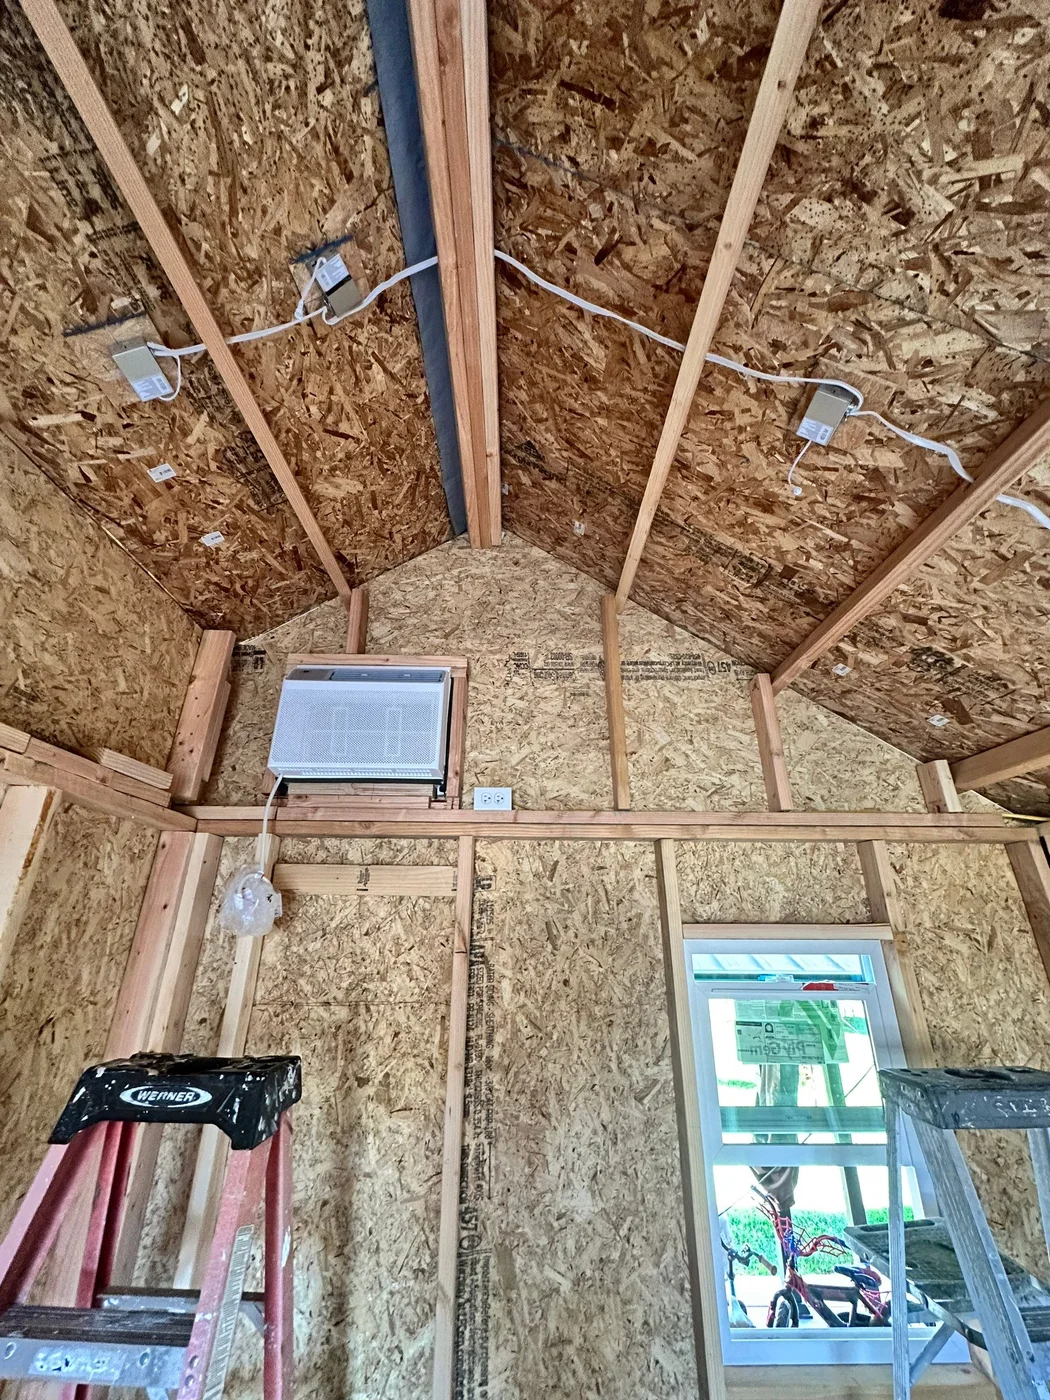
Perris, CA
BeforeVaulted-room framing before installation
Photo 2 of 13 · Before, progress and after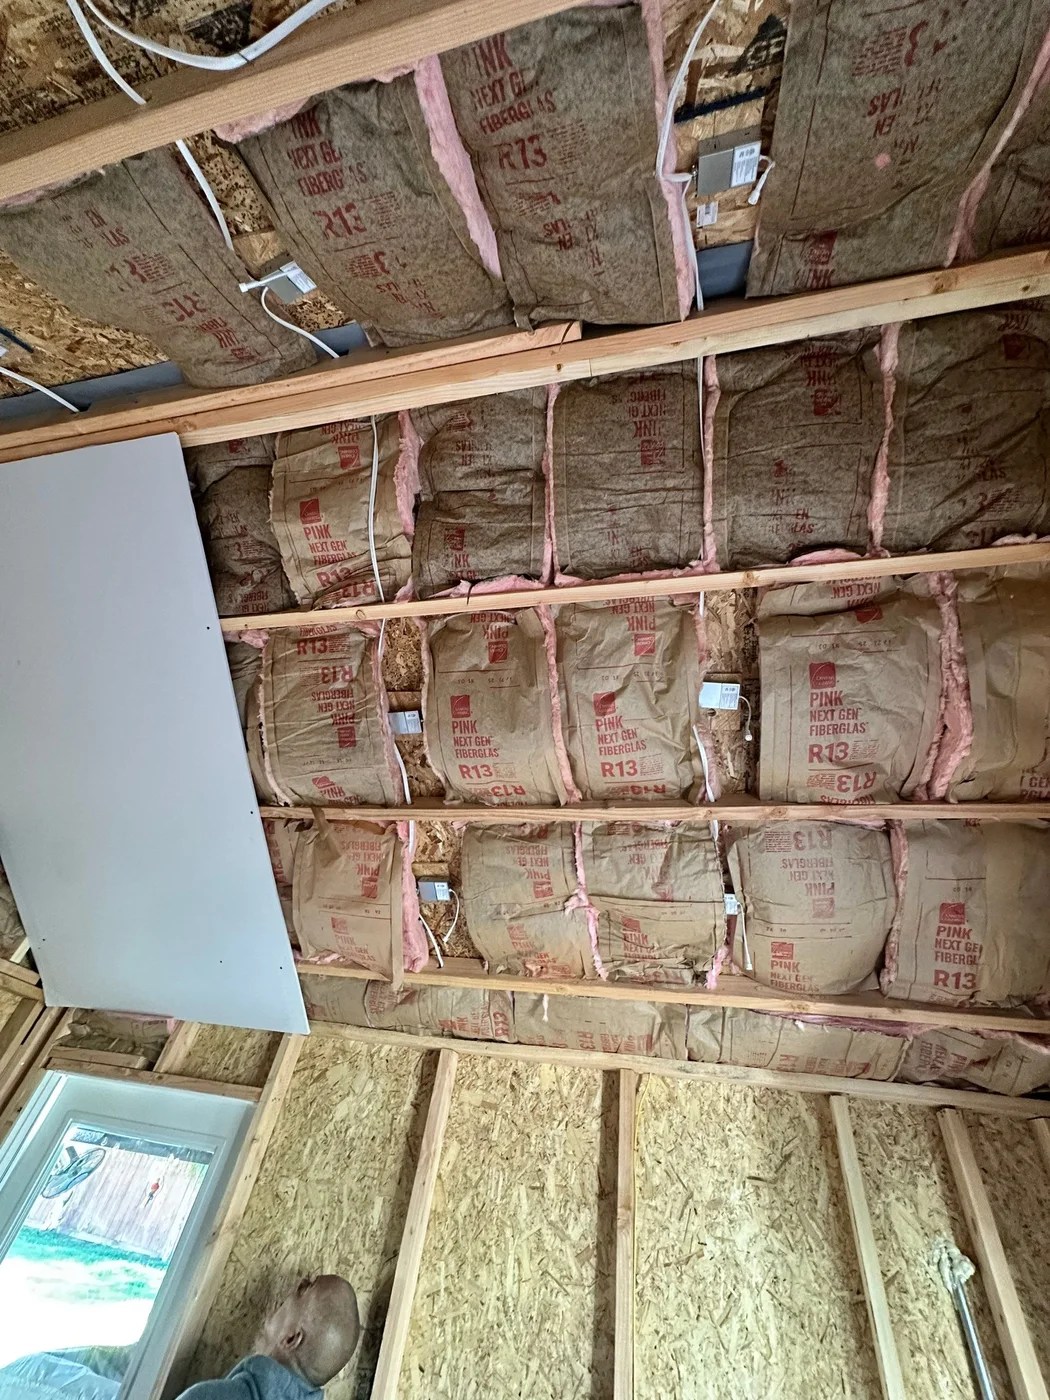
Perris, CA
BeforeWall framing before drywall installation
Photo 3 of 13 · Before, progress and after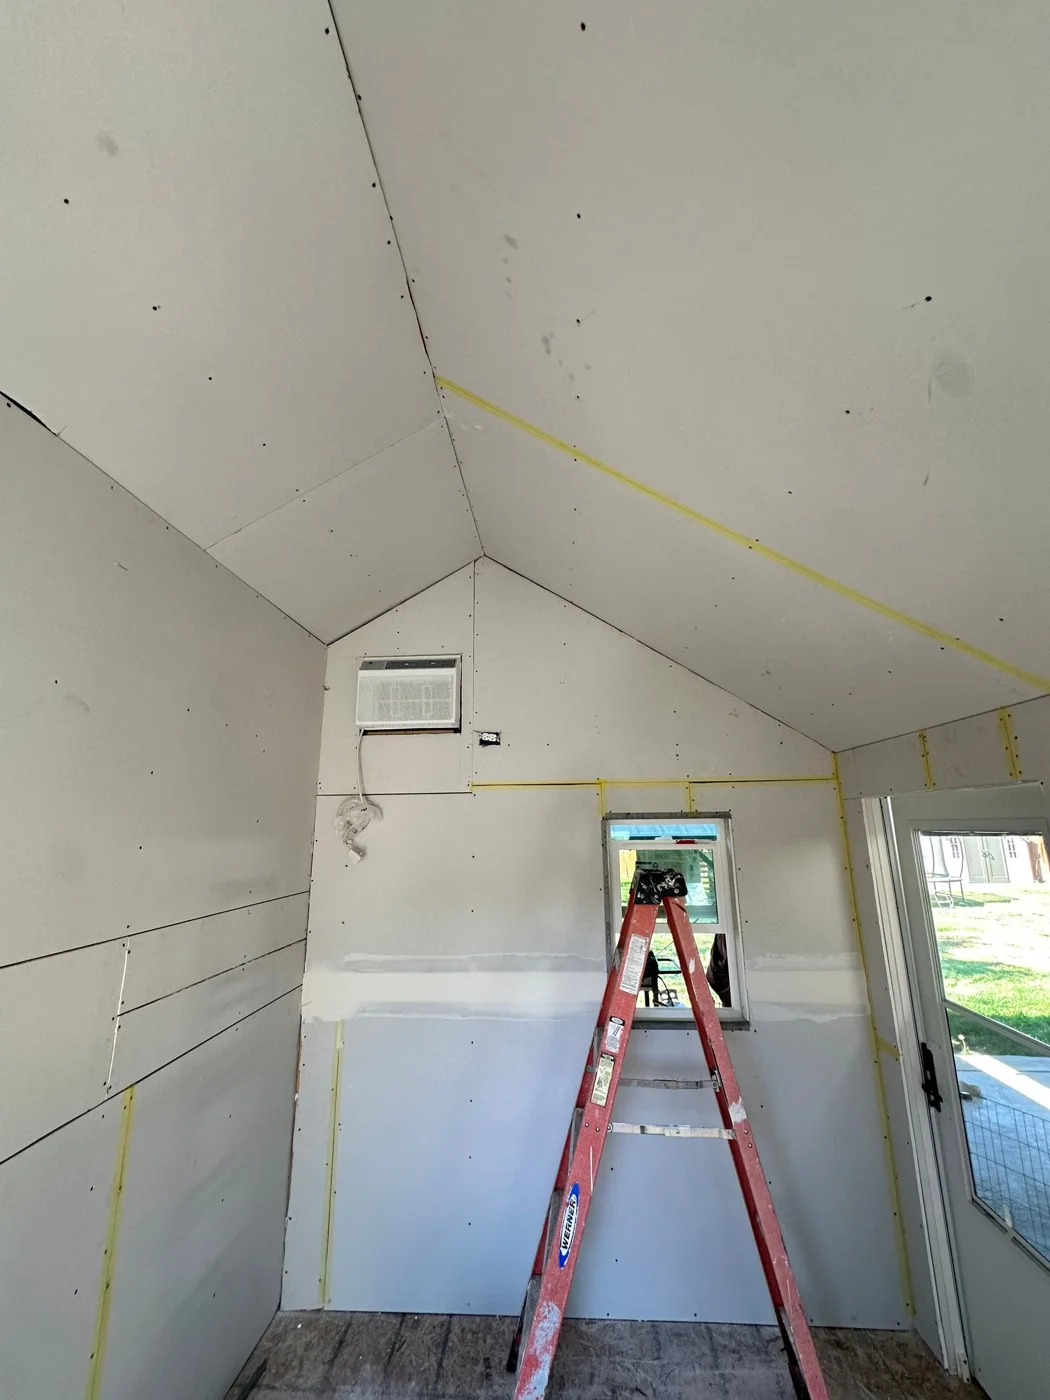
Perris, CA
DuringNew ceiling drywall installation
Photo 4 of 13 · Before, progress and after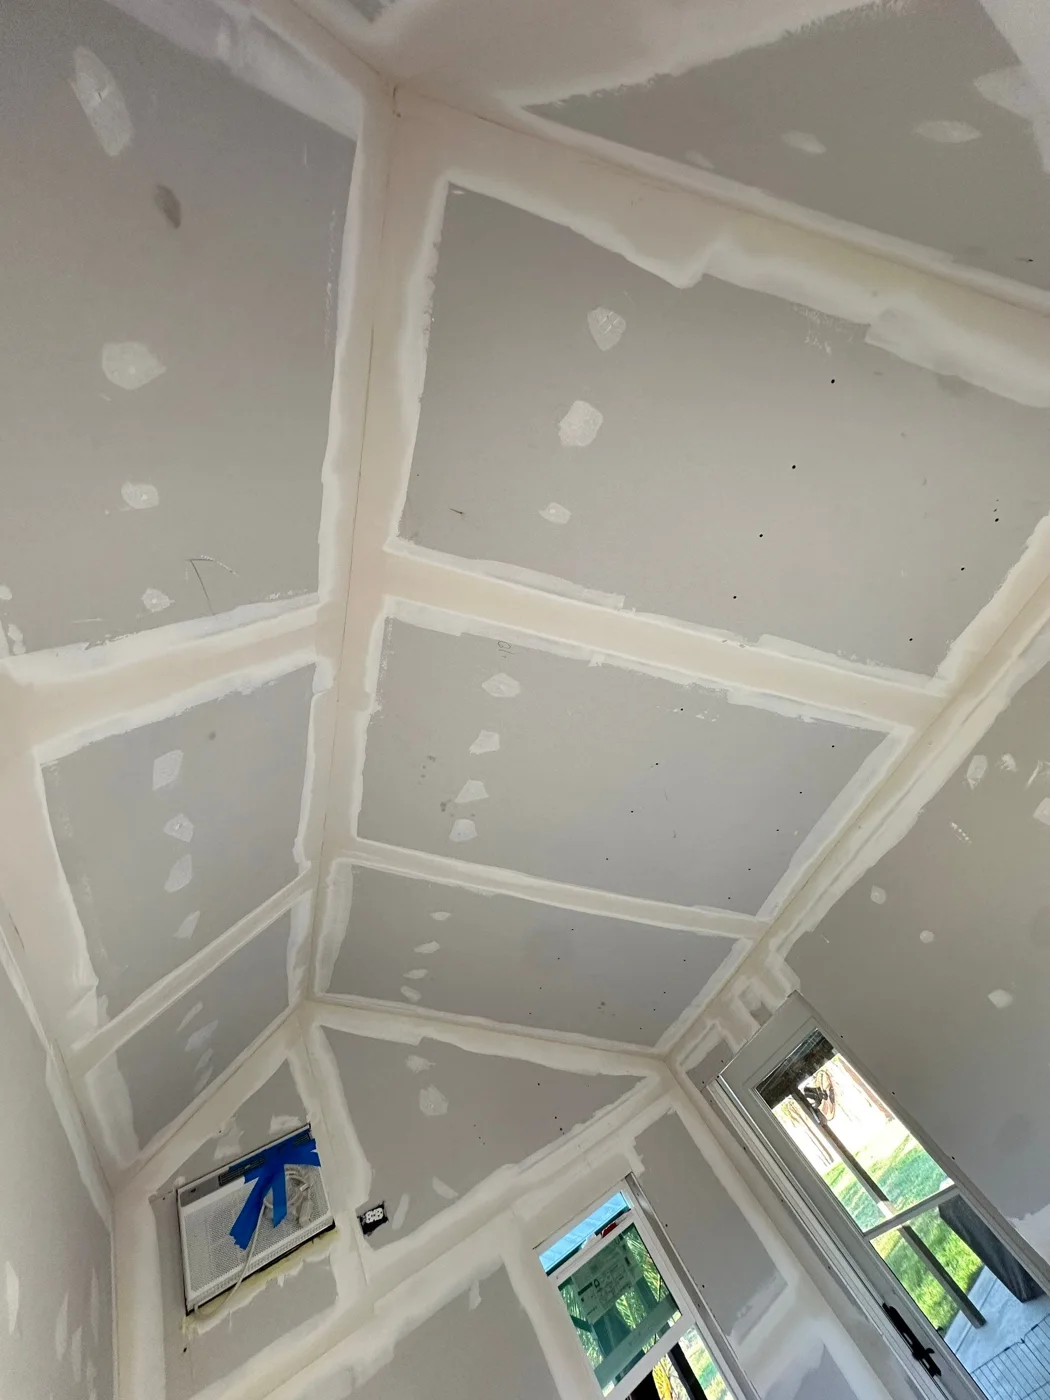
Perris, CA
DuringCeiling seams during finishing
Photo 5 of 13 · Before, progress and after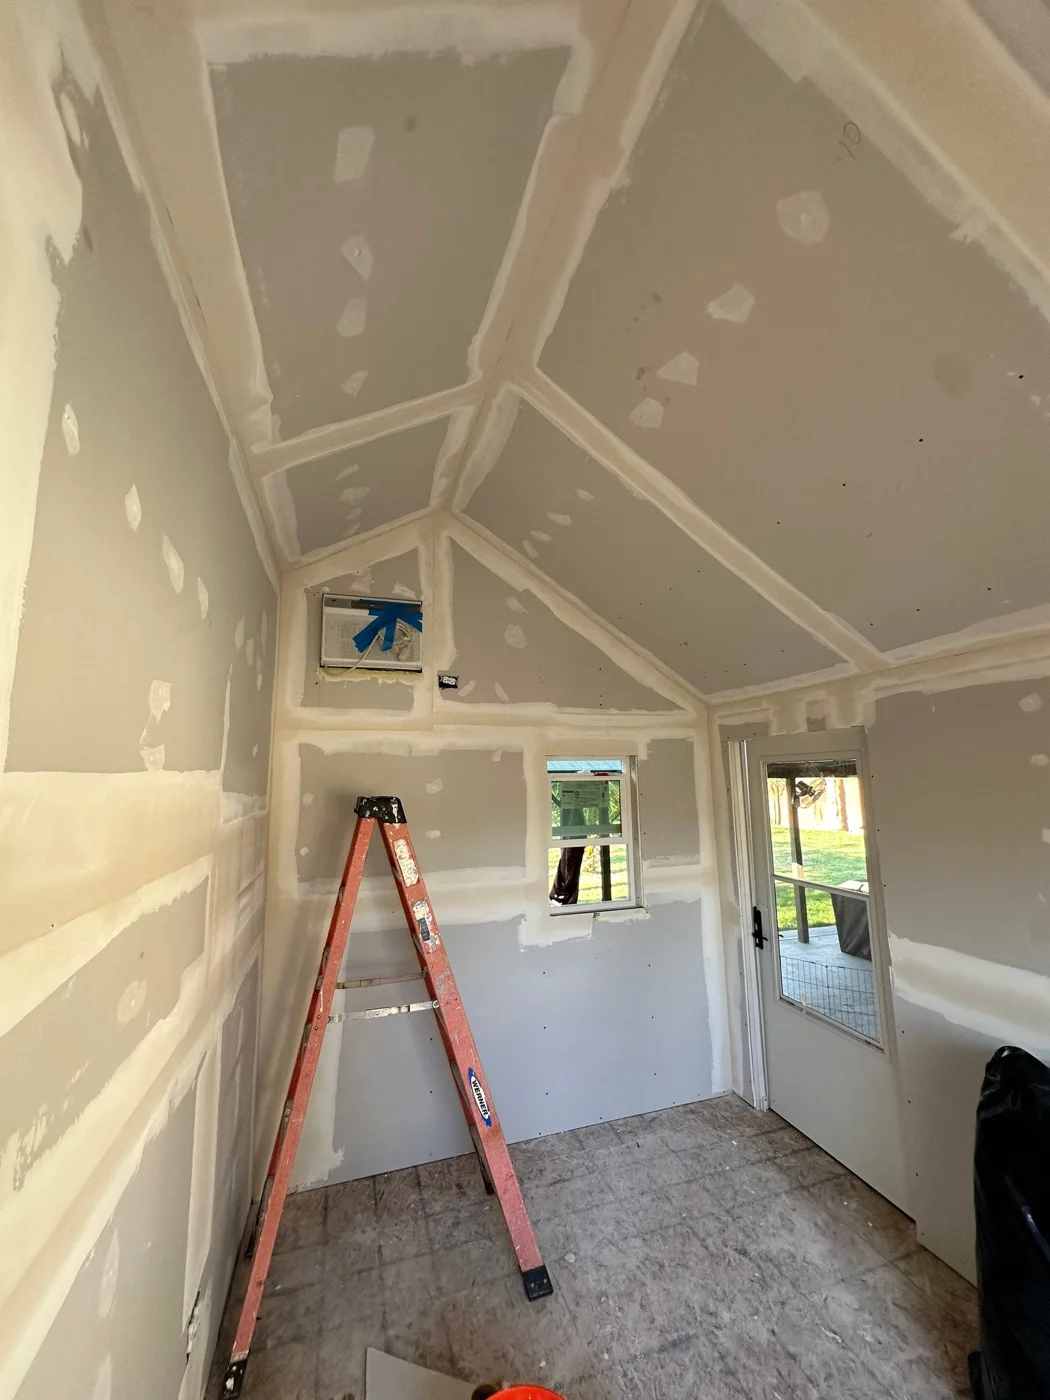
Perris, CA
DuringVaulted room during drywall finishing
Photo 6 of 13 · Before, progress and after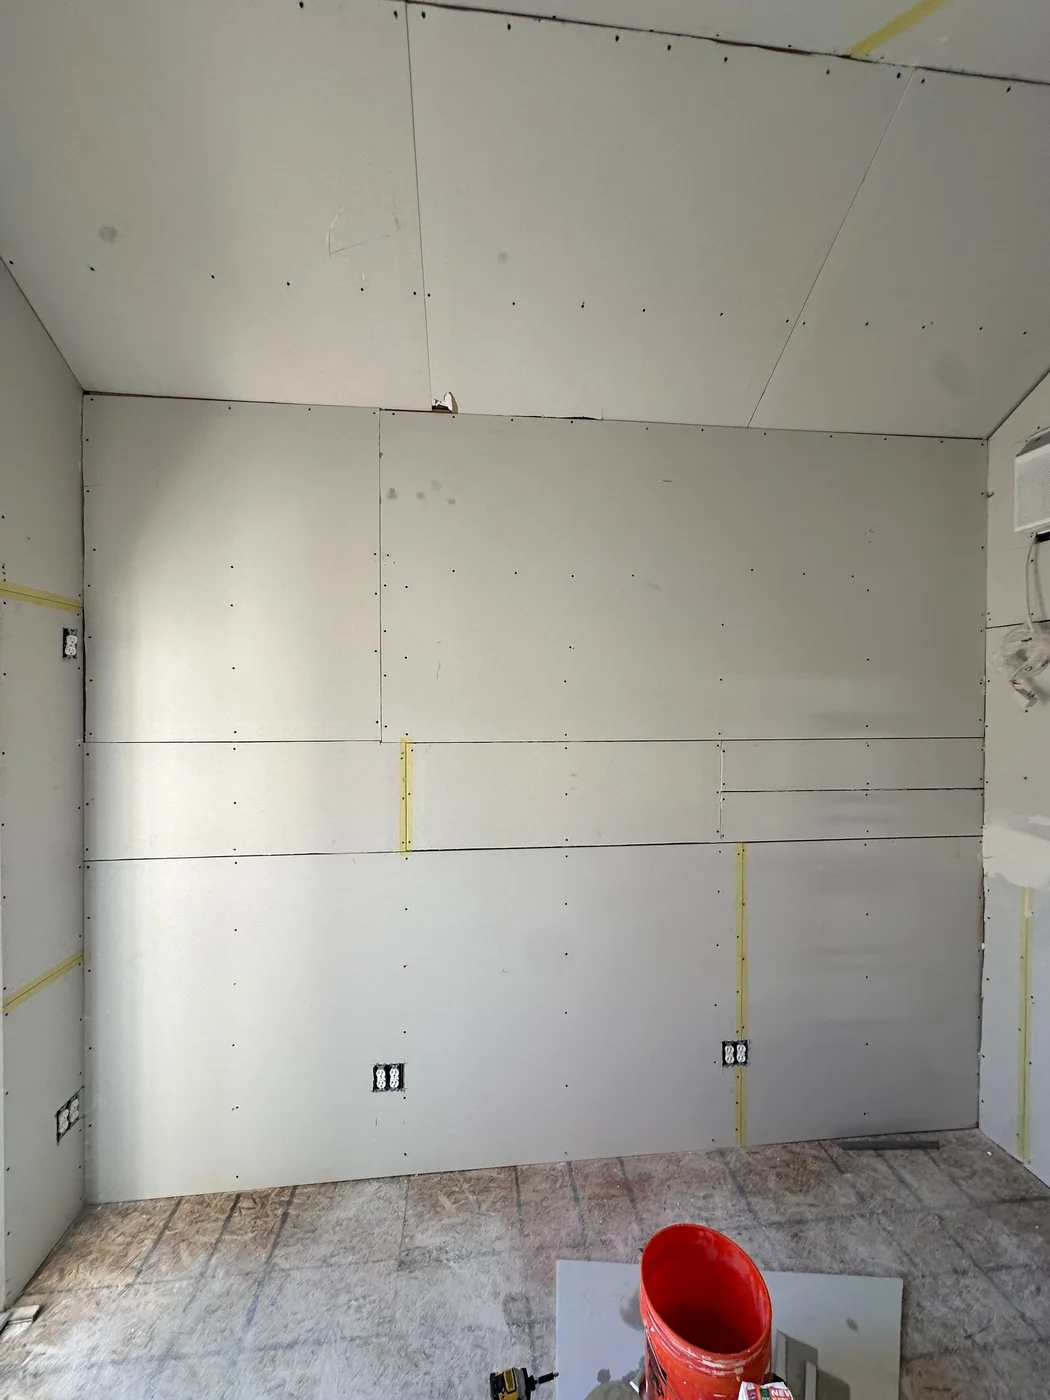
Perris, CA
ProgressDrywall panels installed in room
Photo 7 of 13 · Before, progress and after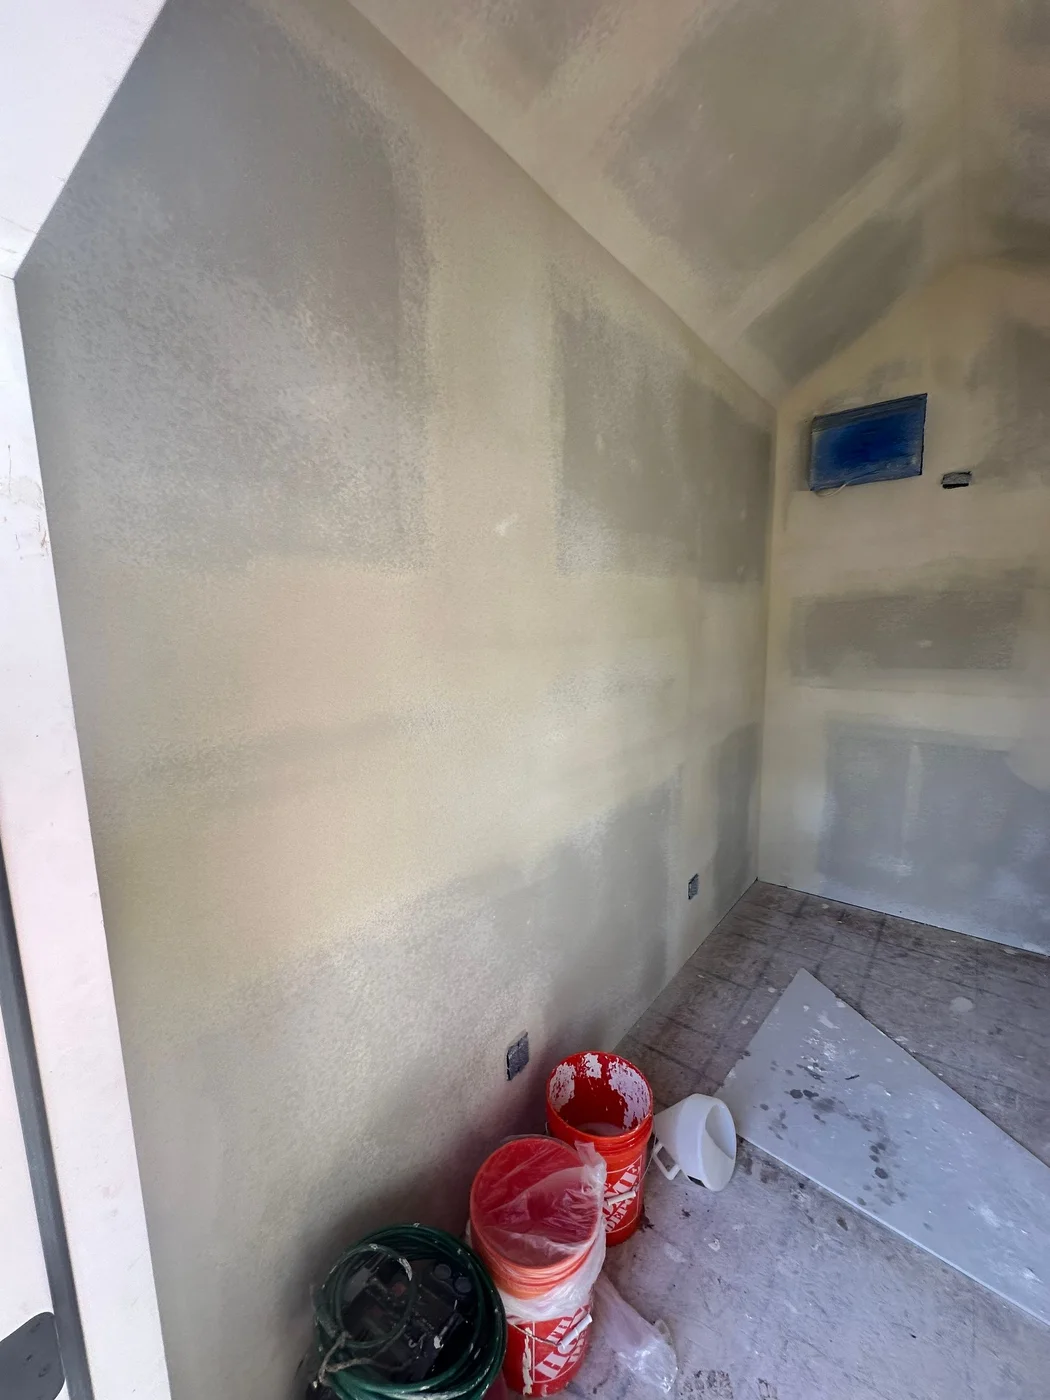
Perris, CA
ProgressWall finishing in progress
Photo 8 of 13 · Before, progress and after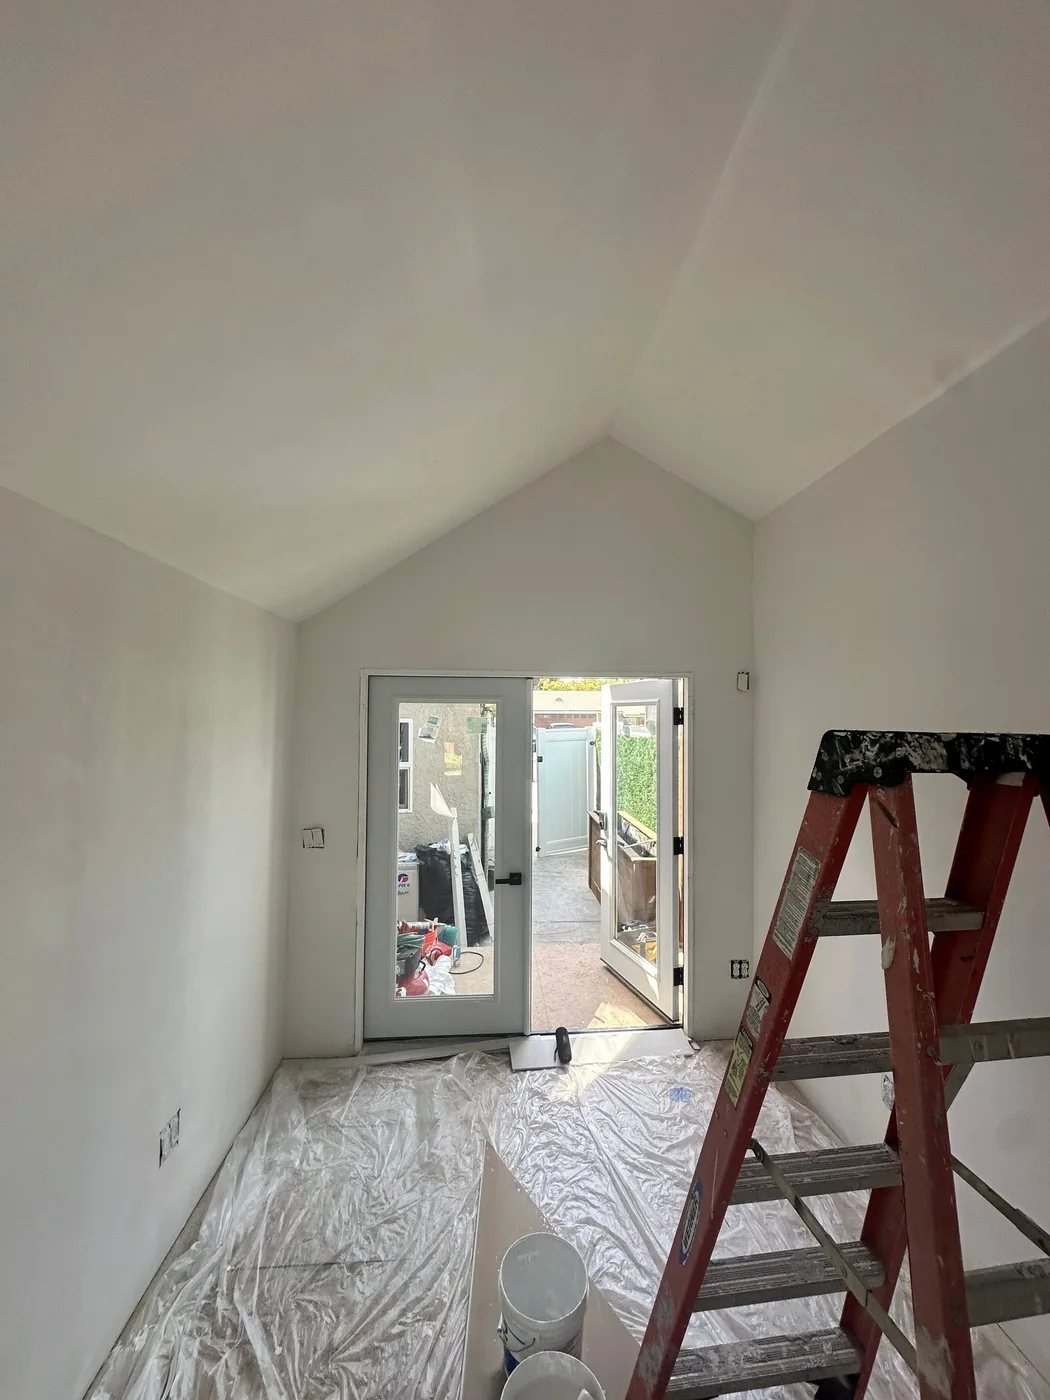
Perris, CA
ProgressVaulted room during finishing
Photo 9 of 13 · Before, progress and after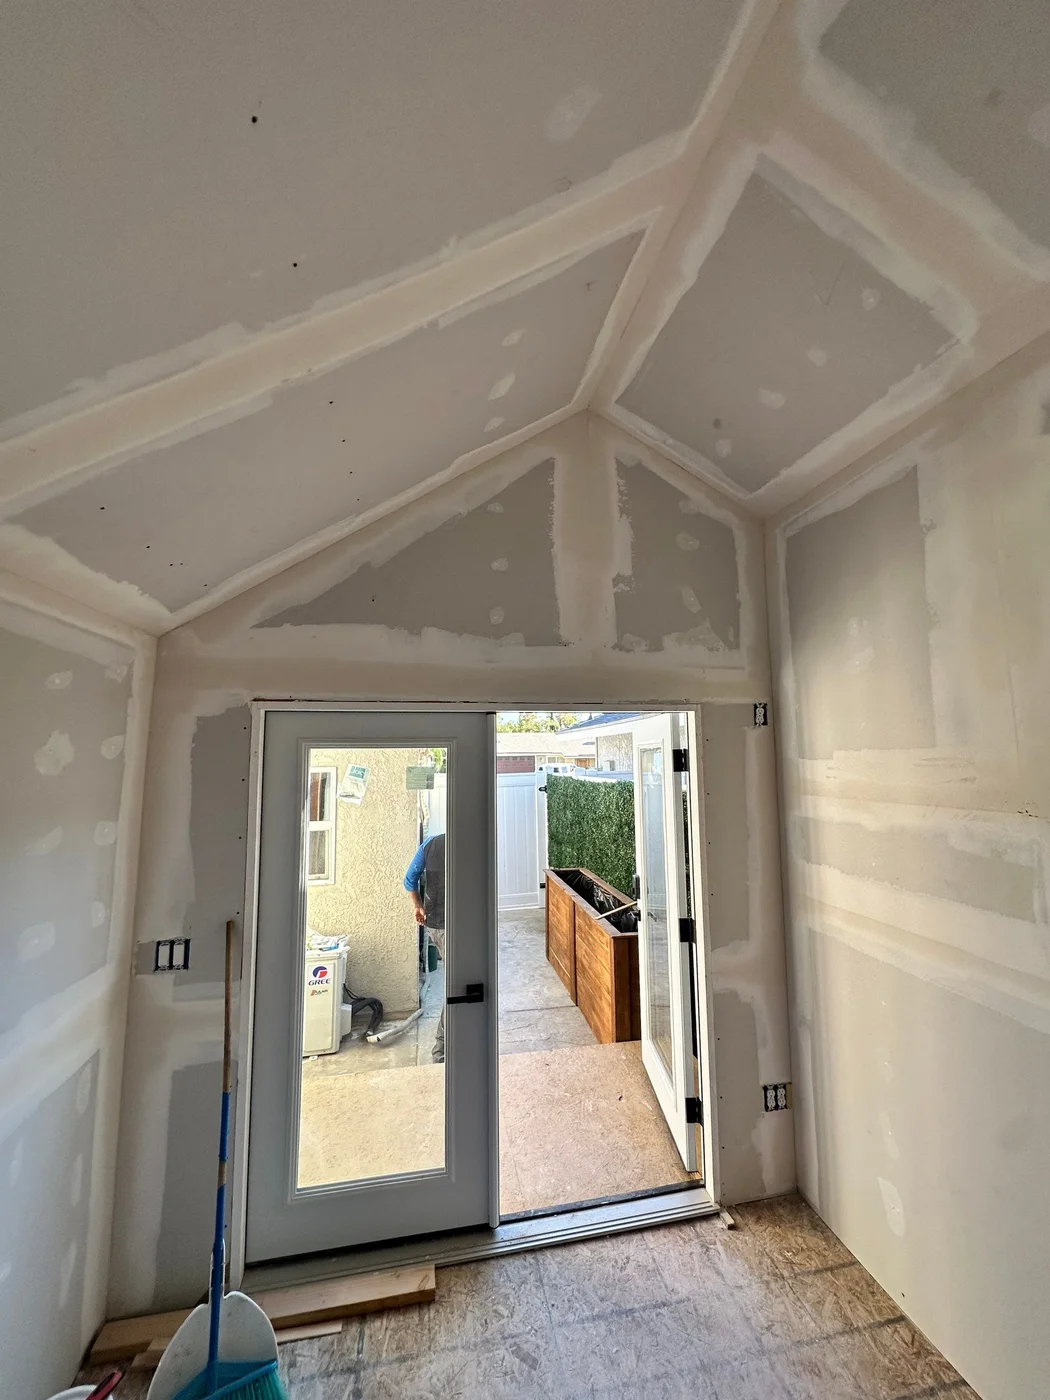
Perris, CA
ProgressVaulted-room drywall seams being finished
Photo 10 of 13 · Before, progress and after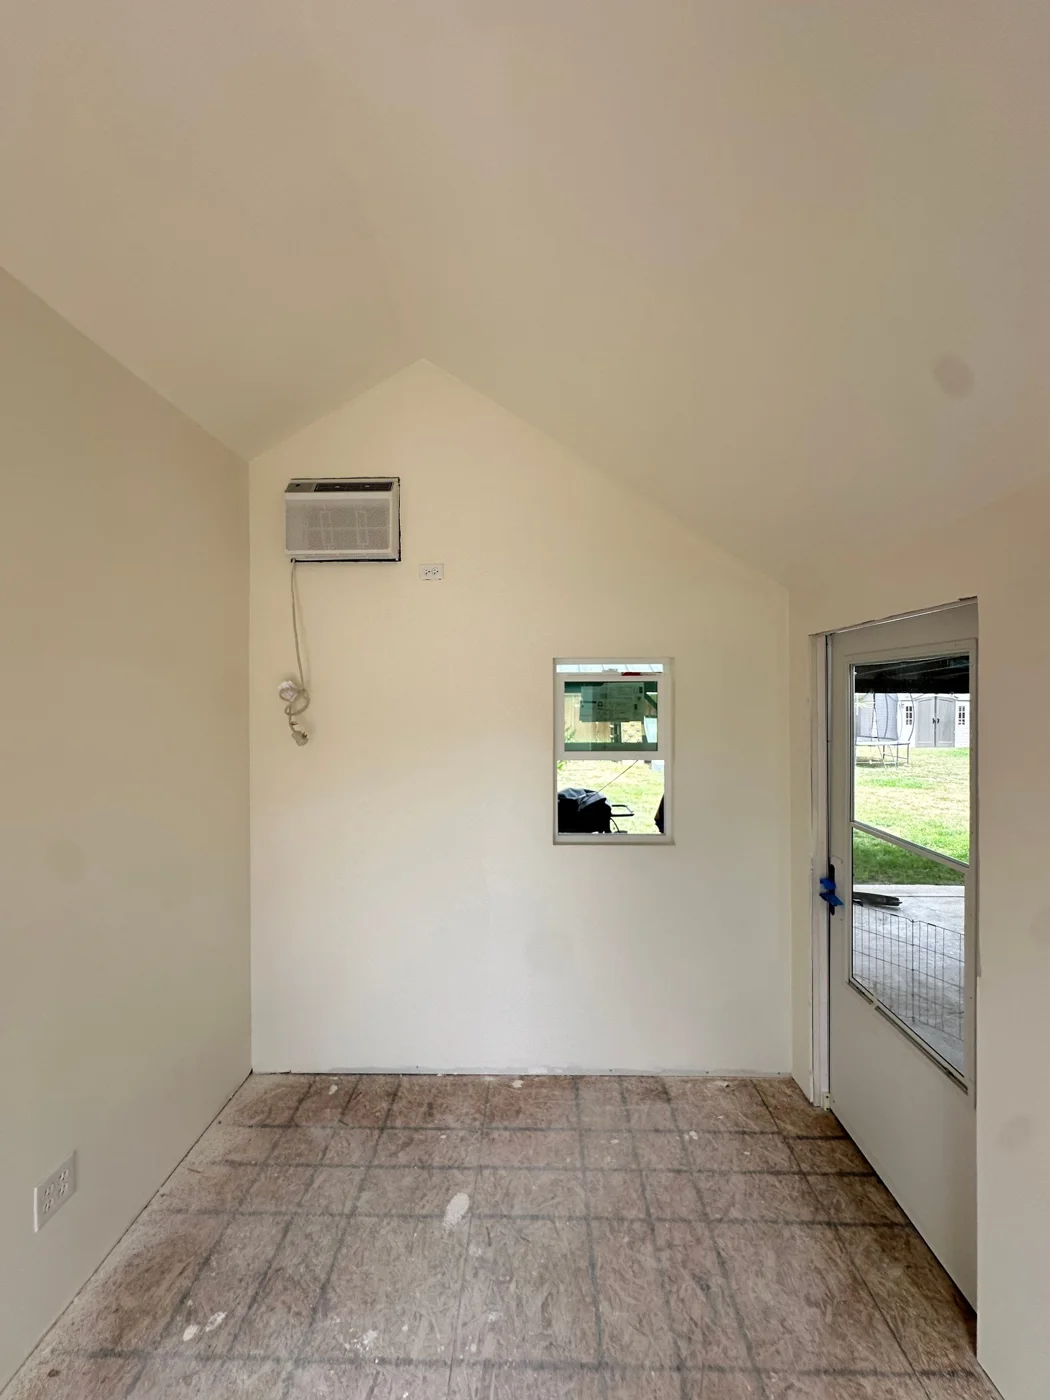
Perris, CA
AfterFinished interior with vaulted ceiling
Photo 11 of 13 · Before, progress and after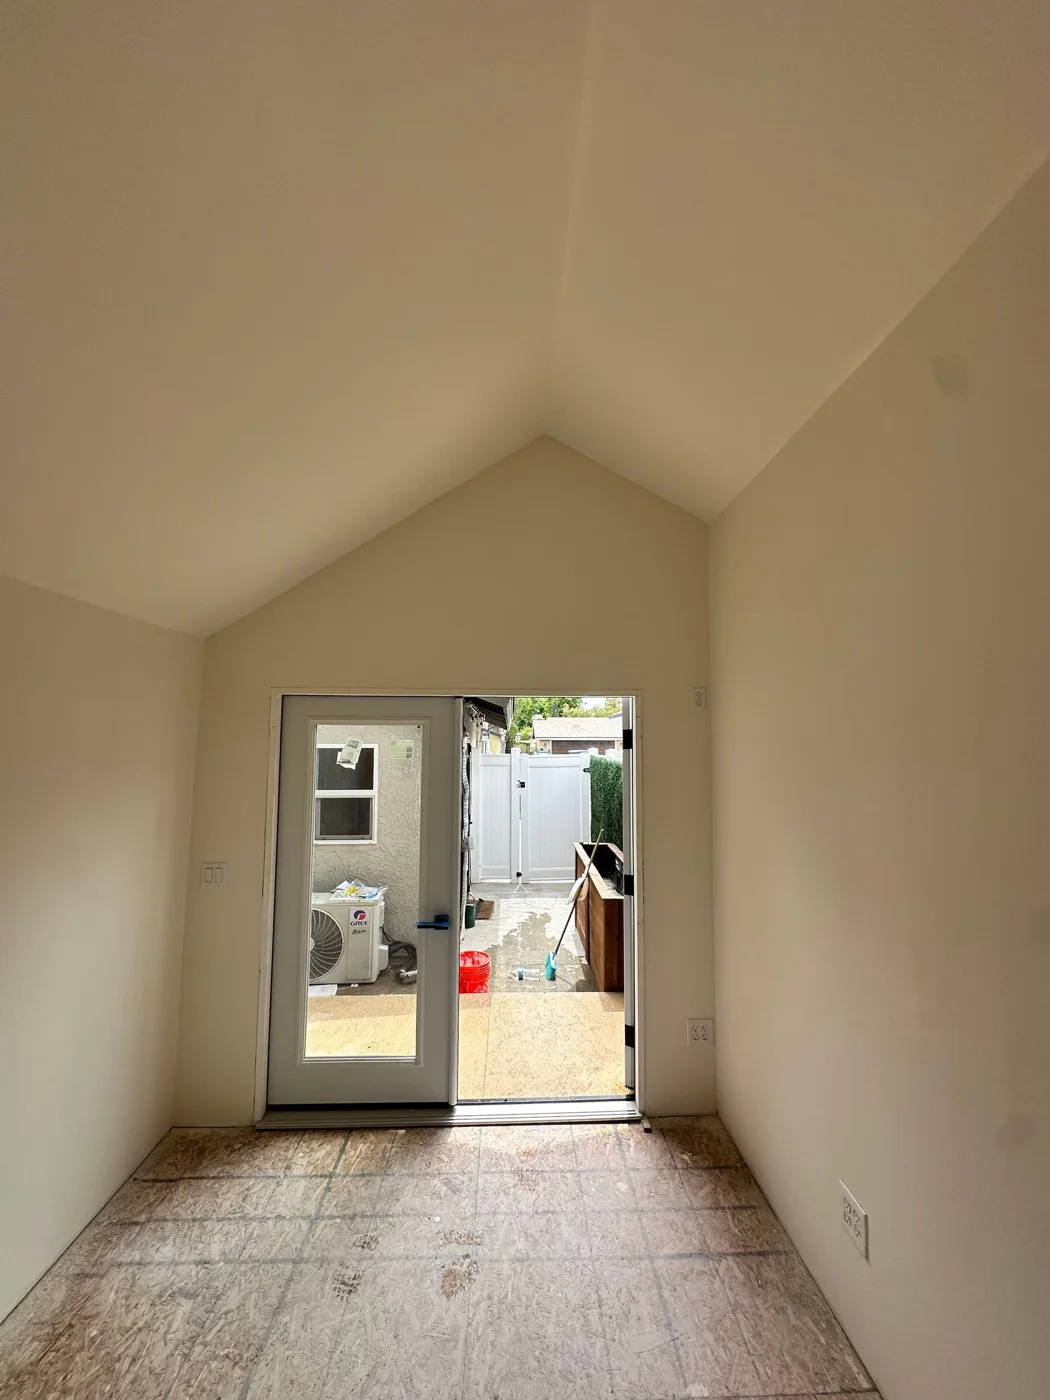
Perris, CA
AfterFinished room with glazed doors
Photo 12 of 13 · Before, progress and after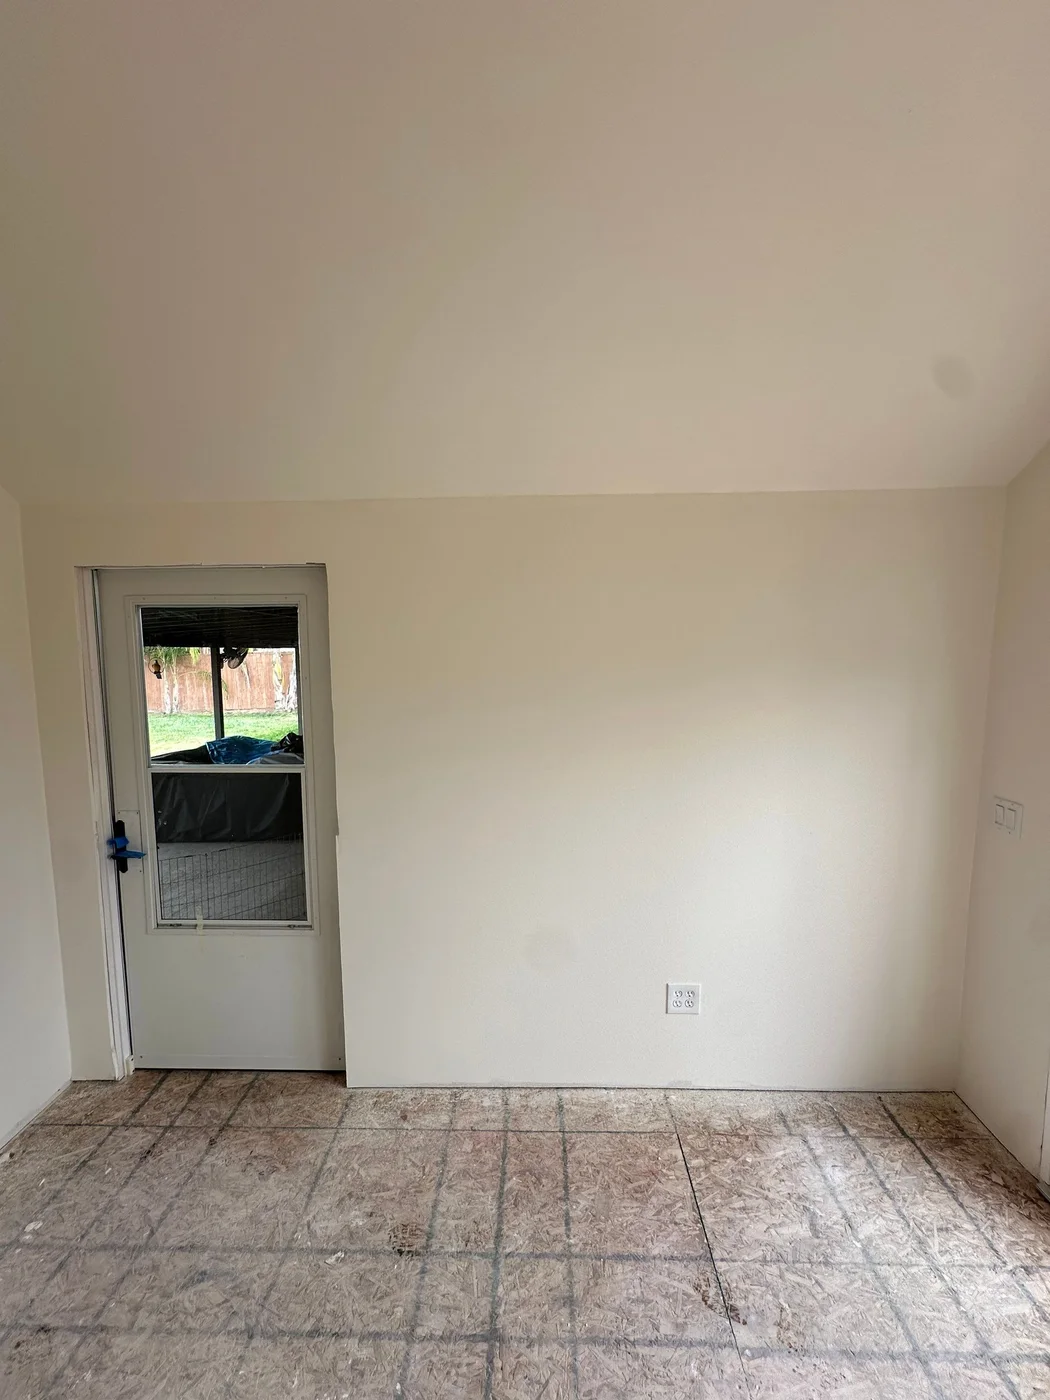
Perris, CA
AfterFinished wall in vaulted room
Photo 13 of 13 · Before, progress and after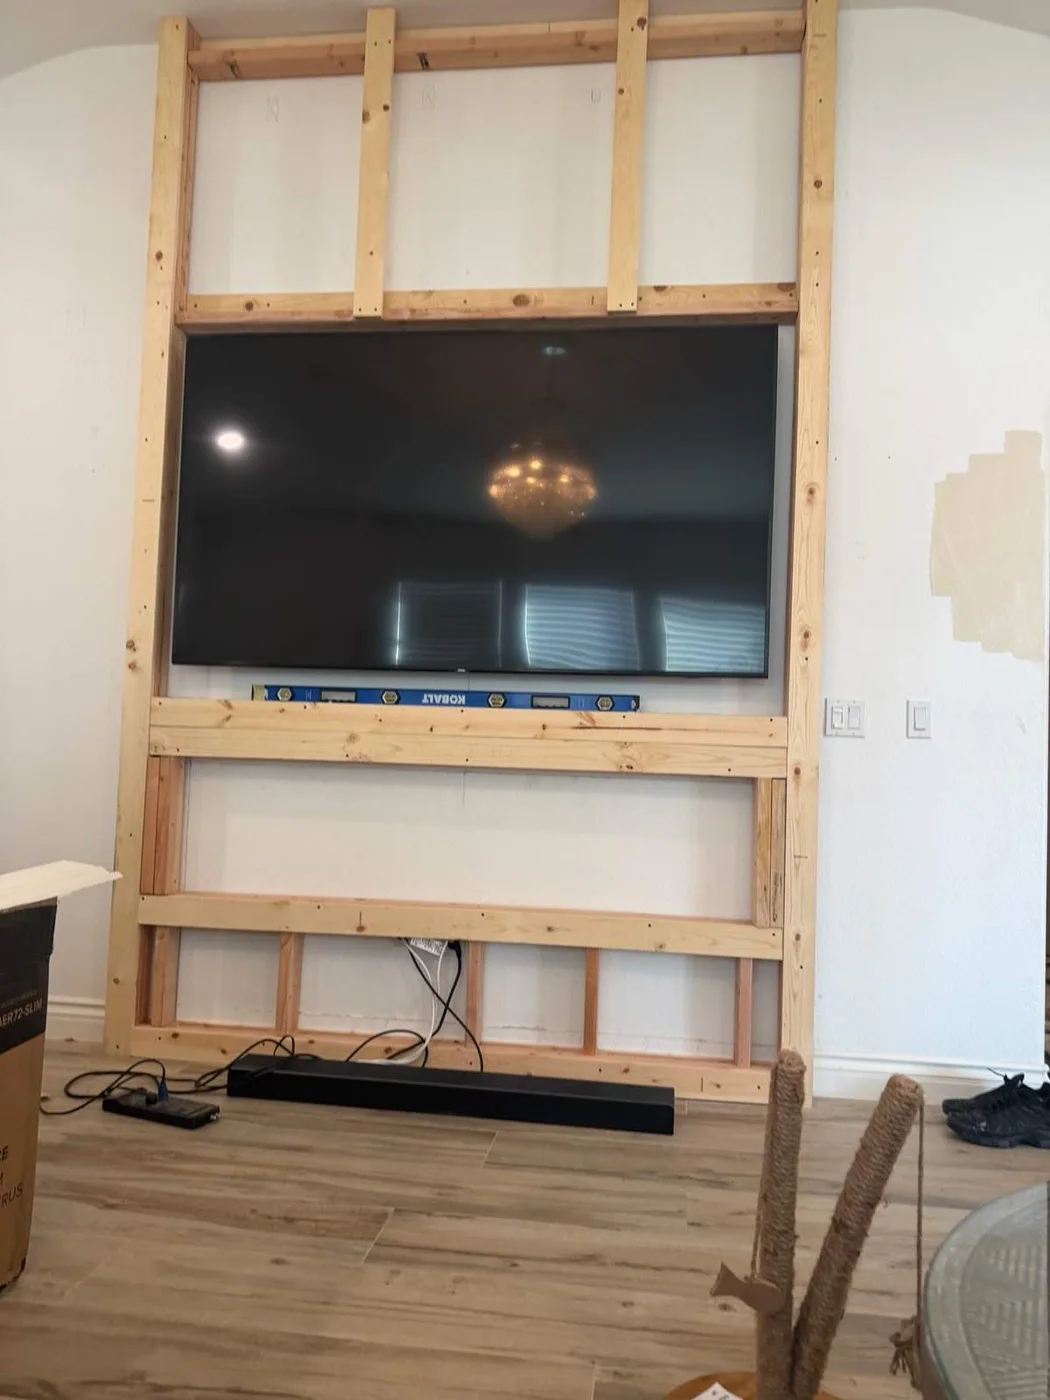
Riverside, CA
BeforeTV and fireplace surround framing
Photo 1 of 4 · Project B · Separate TV/fireplace surround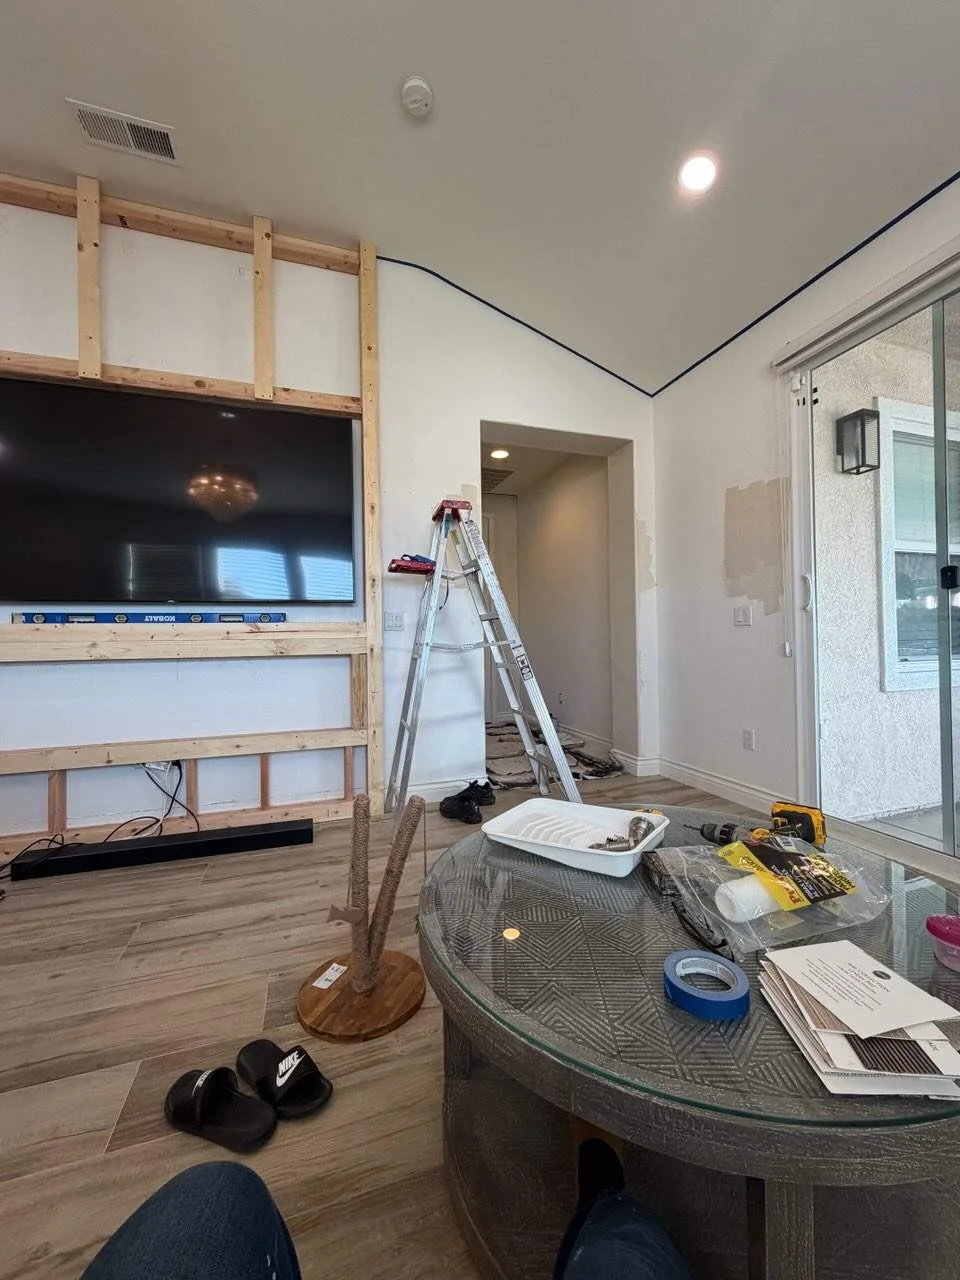
Riverside, CA
BeforeTV and fireplace surround framing, wider view
Photo 2 of 4 · Project B · Separate TV/fireplace surround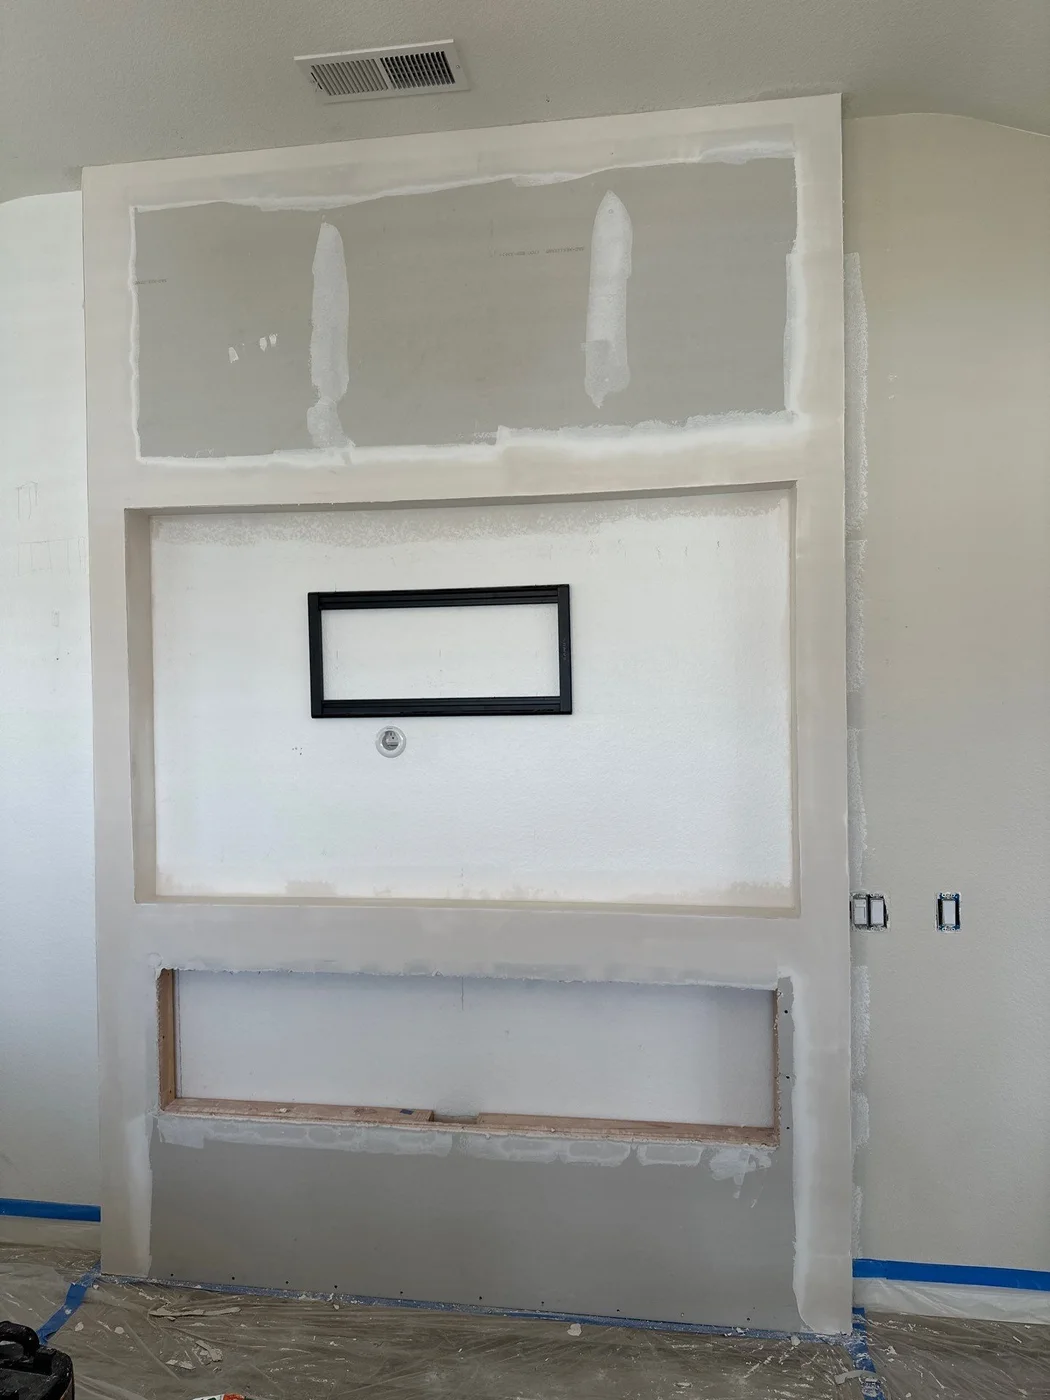
Riverside, CA
ProgressDrywall finishing around TV recess and fireplace
Photo 3 of 4 · Project A · TV recess and dark-painted wall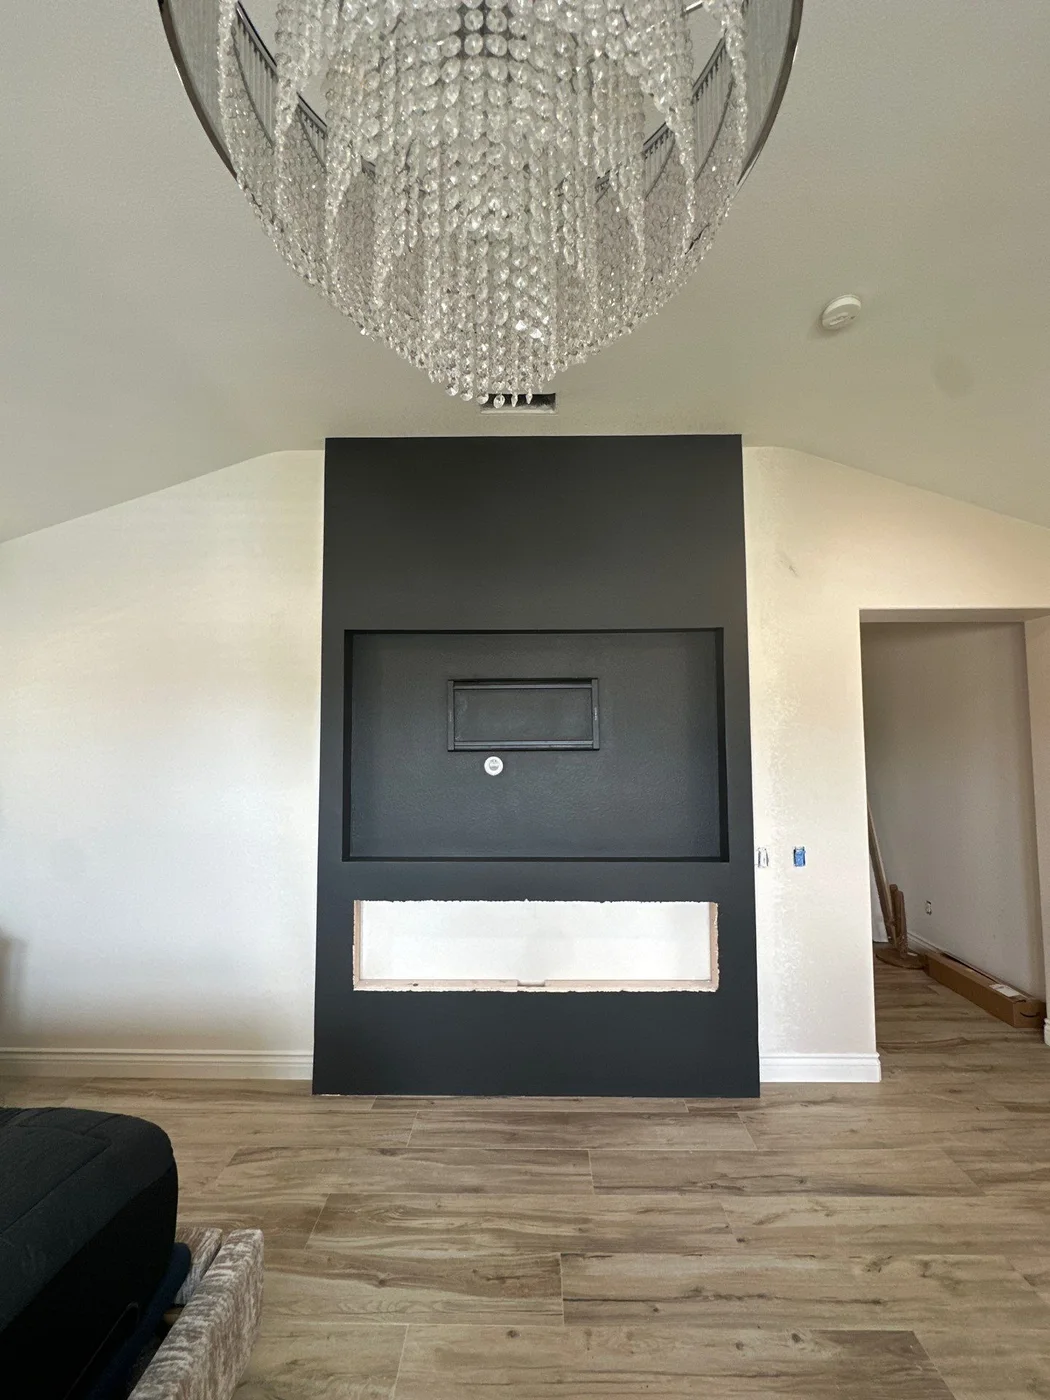
Riverside, CA
AfterTV recess and fireplace wall painted dark
Photo 4 of 4 · Project A · TV recess and dark-painted wall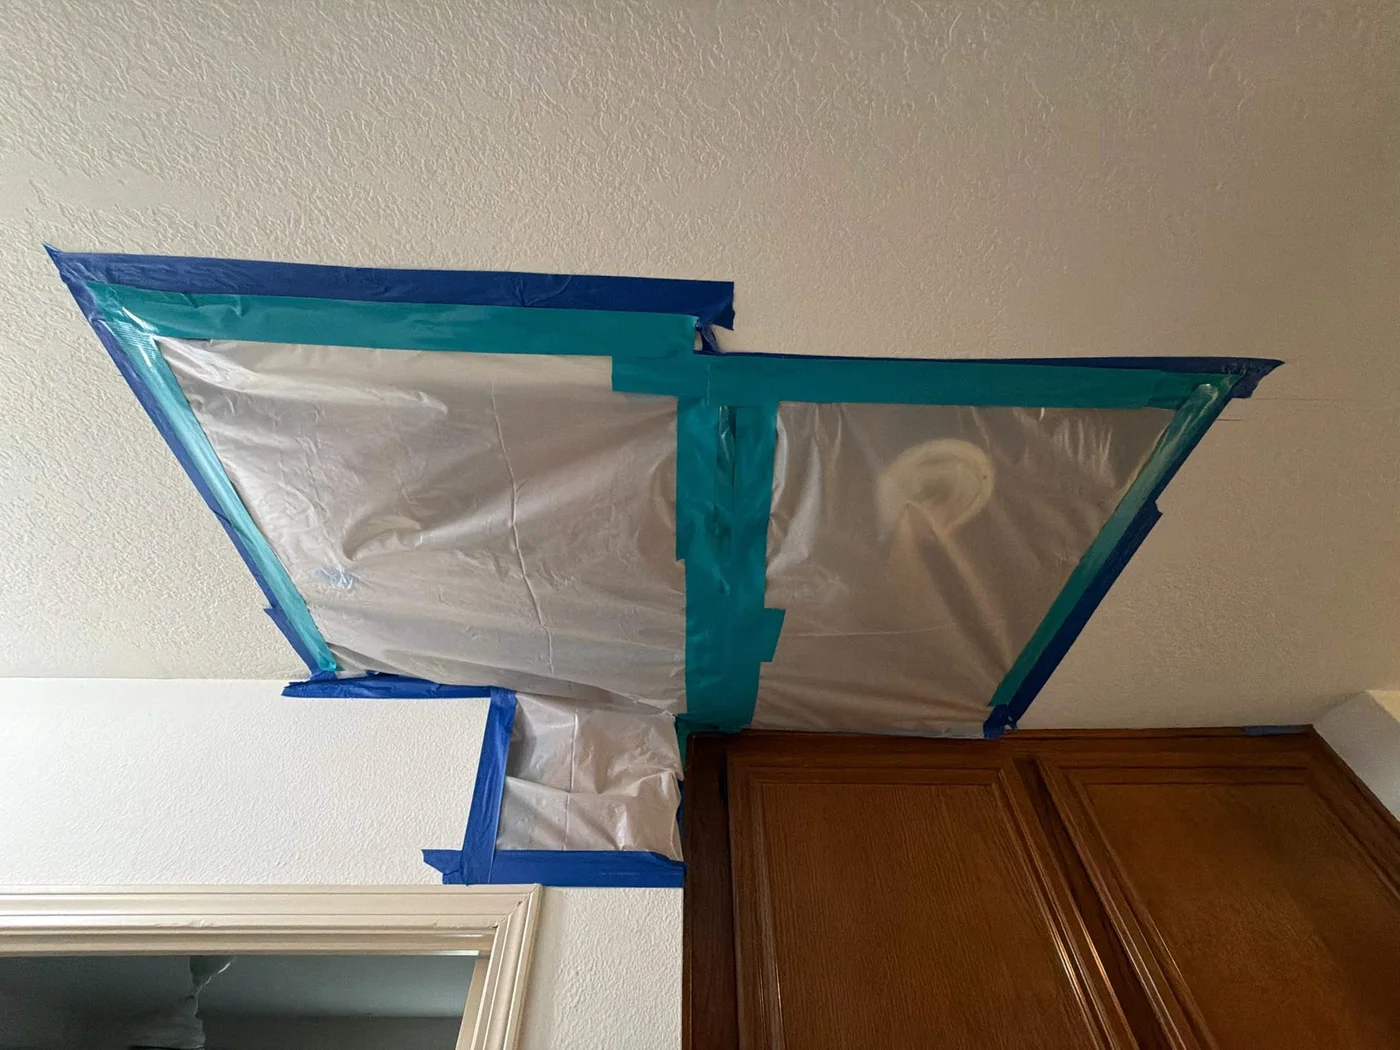
Santa Clarita, CA
ProgressHallway ceiling patch with masking
Photo 1 of 6 · Hallway ceiling texture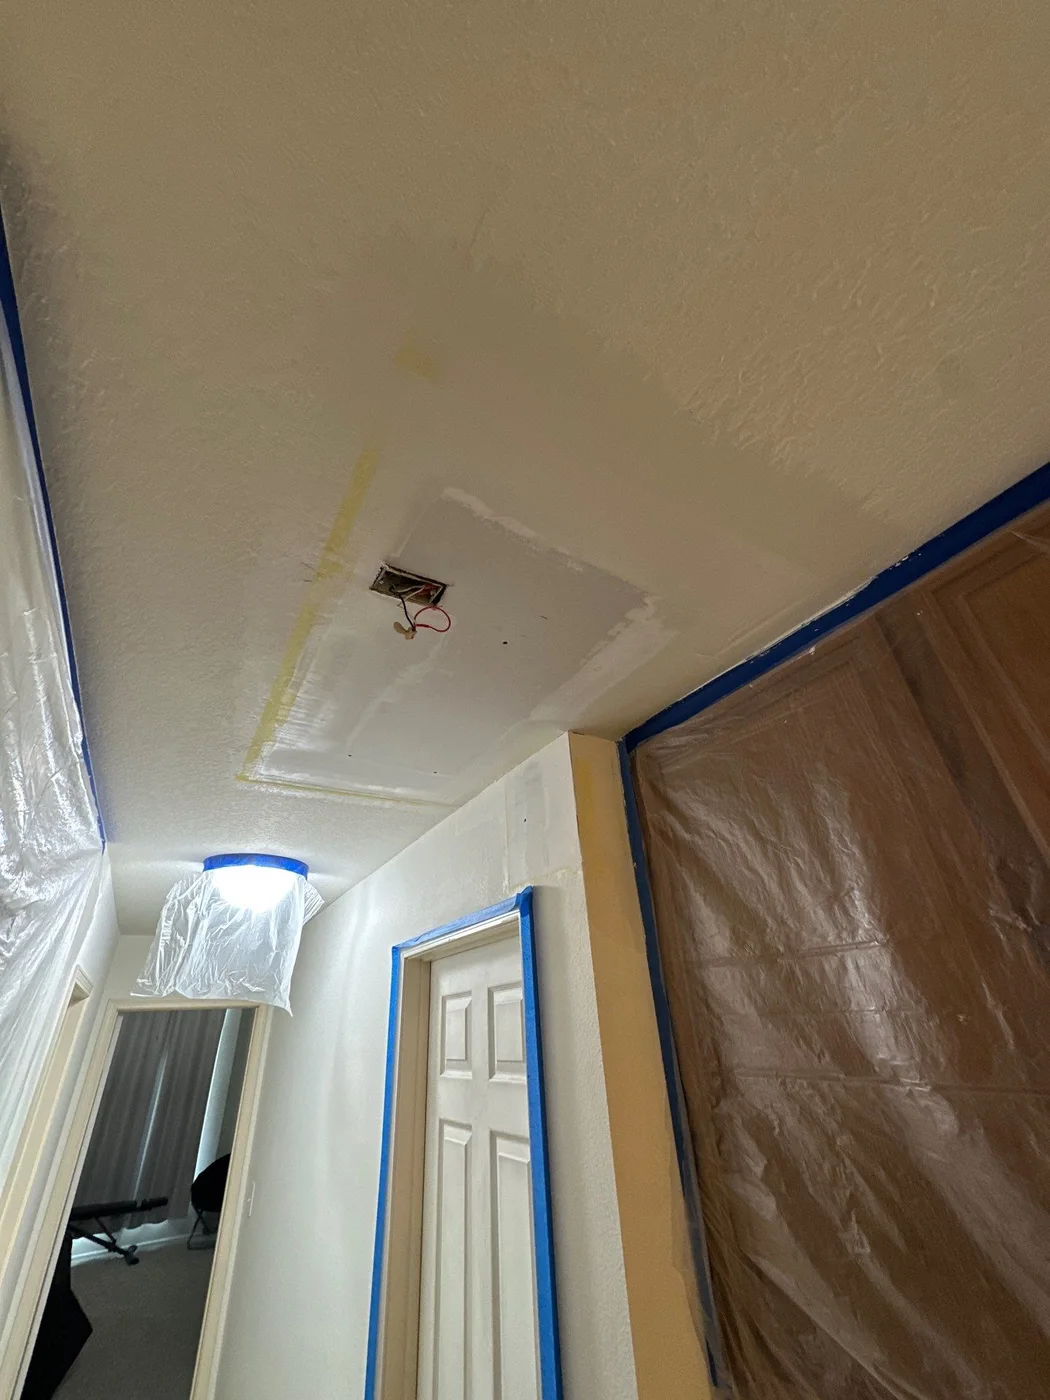
Santa Clarita, CA
ProgressHallway ceiling during finishing
Photo 2 of 6 · Hallway ceiling texture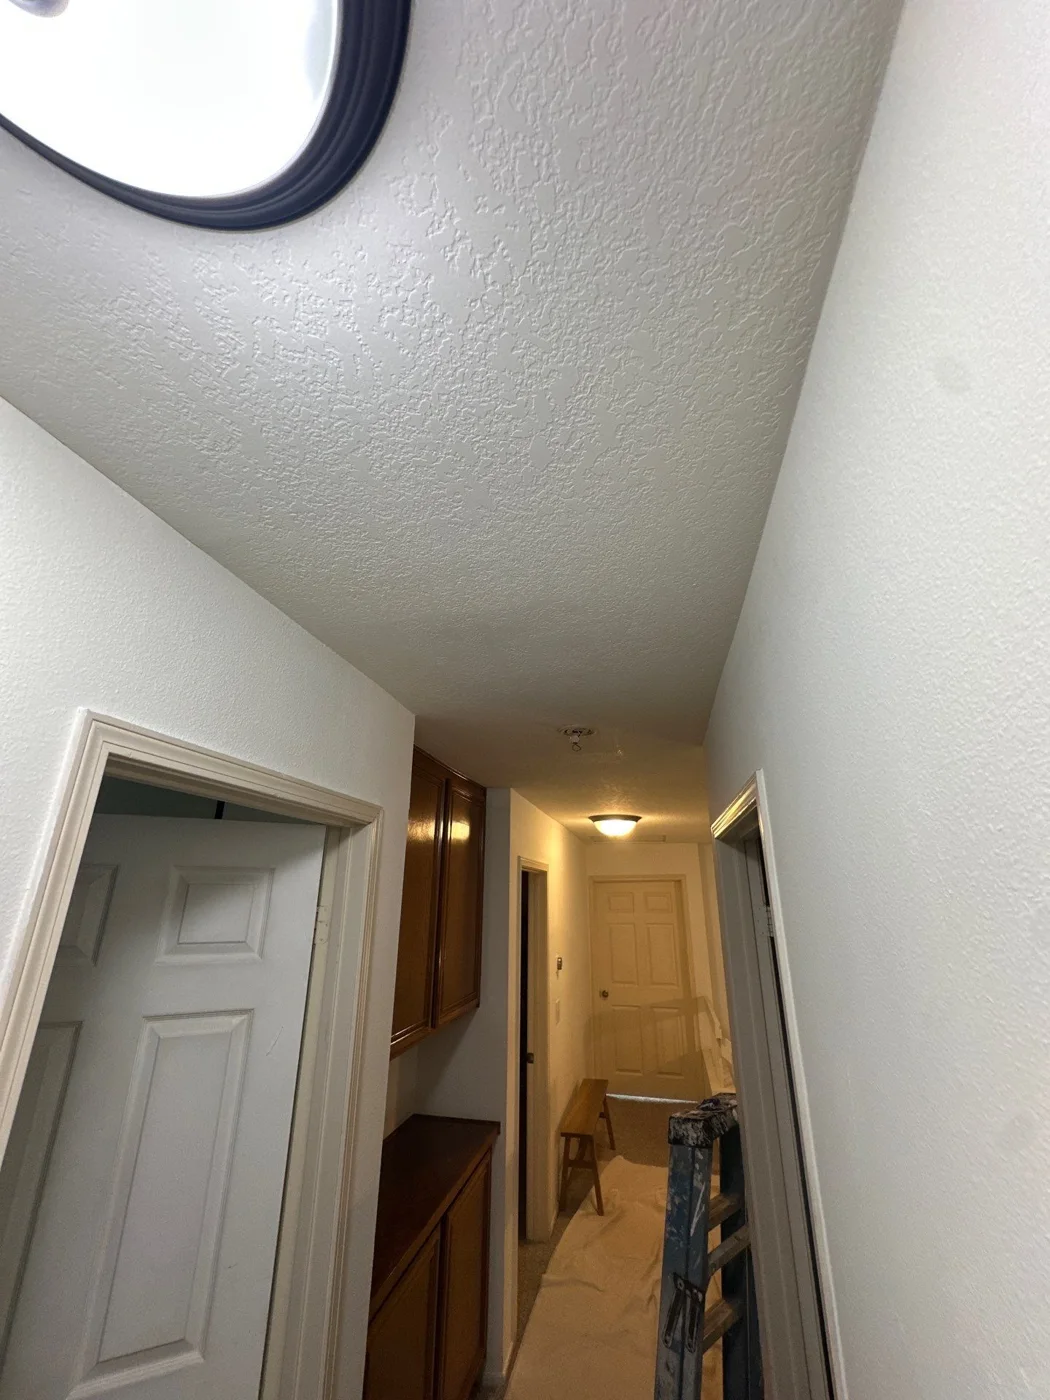
Santa Clarita, CA
AfterFinished textured hallway ceiling
Photo 3 of 6 · Hallway ceiling texture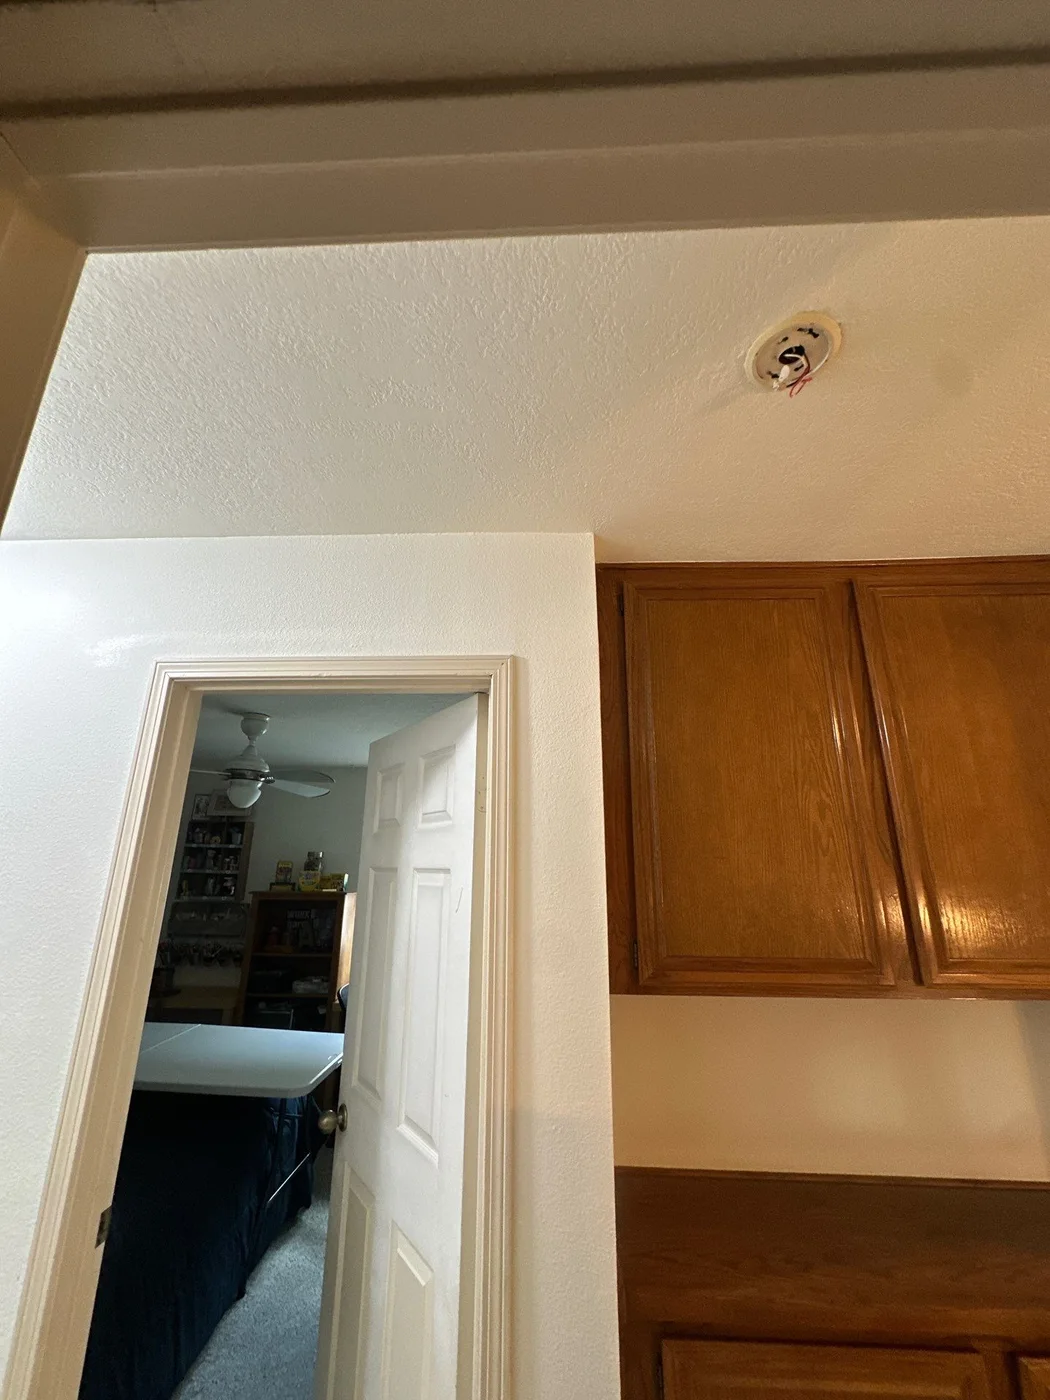
Santa Clarita, CA
AfterFinished hallway ceiling
Photo 4 of 6 · Hallway ceiling texture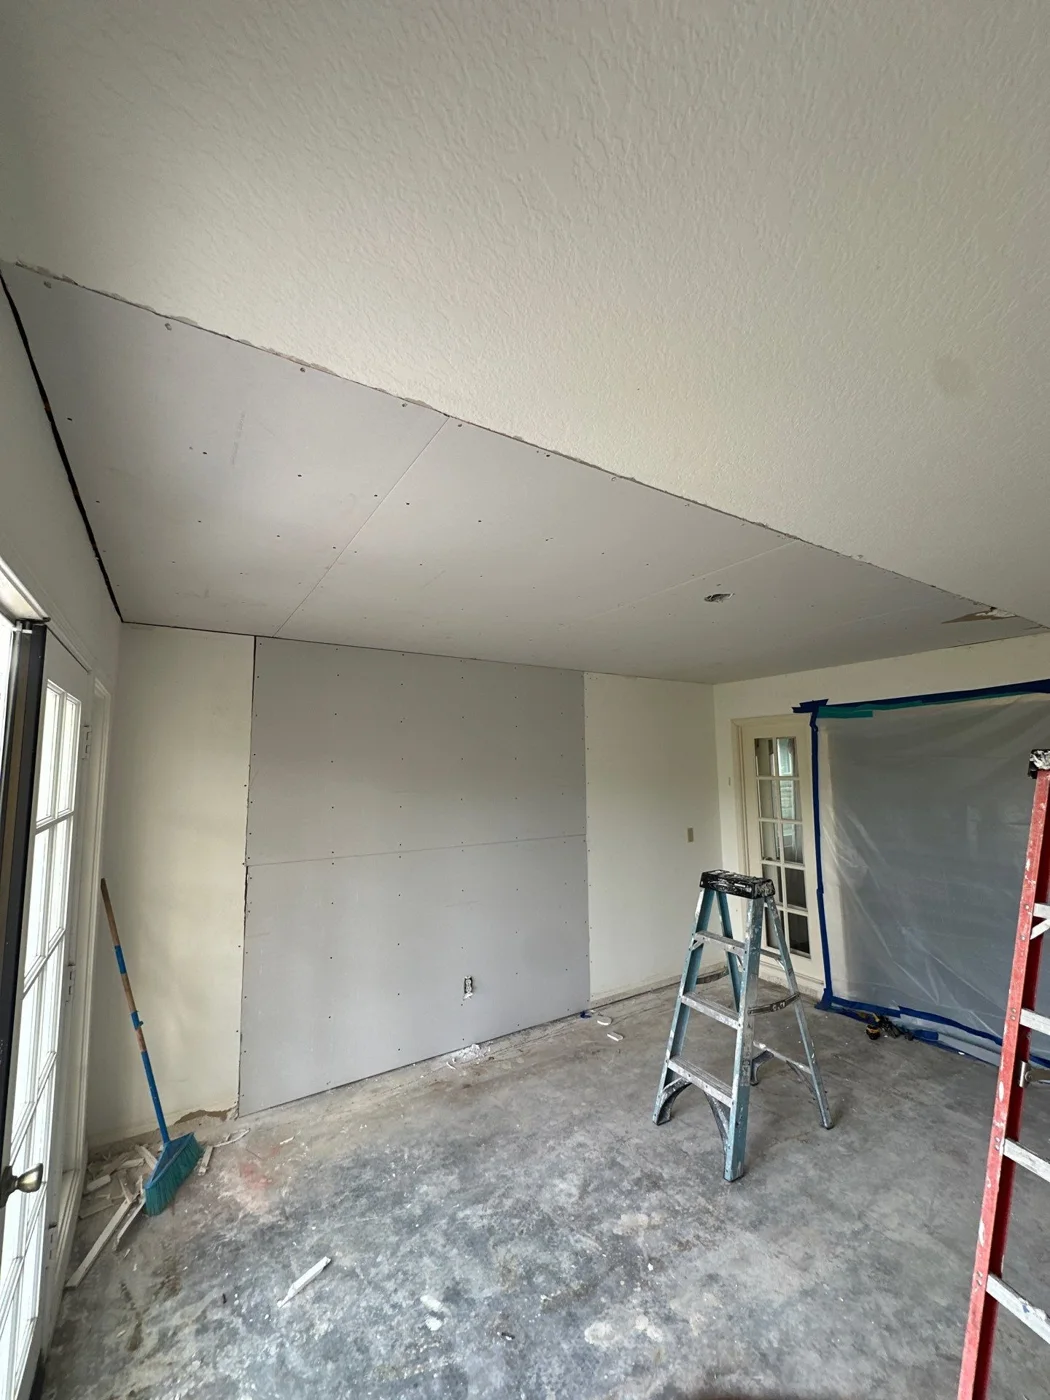
Santa Clarita, CA
AfterSmooth wall and ceiling finish
Photo 5 of 6 · Living room walls and ceiling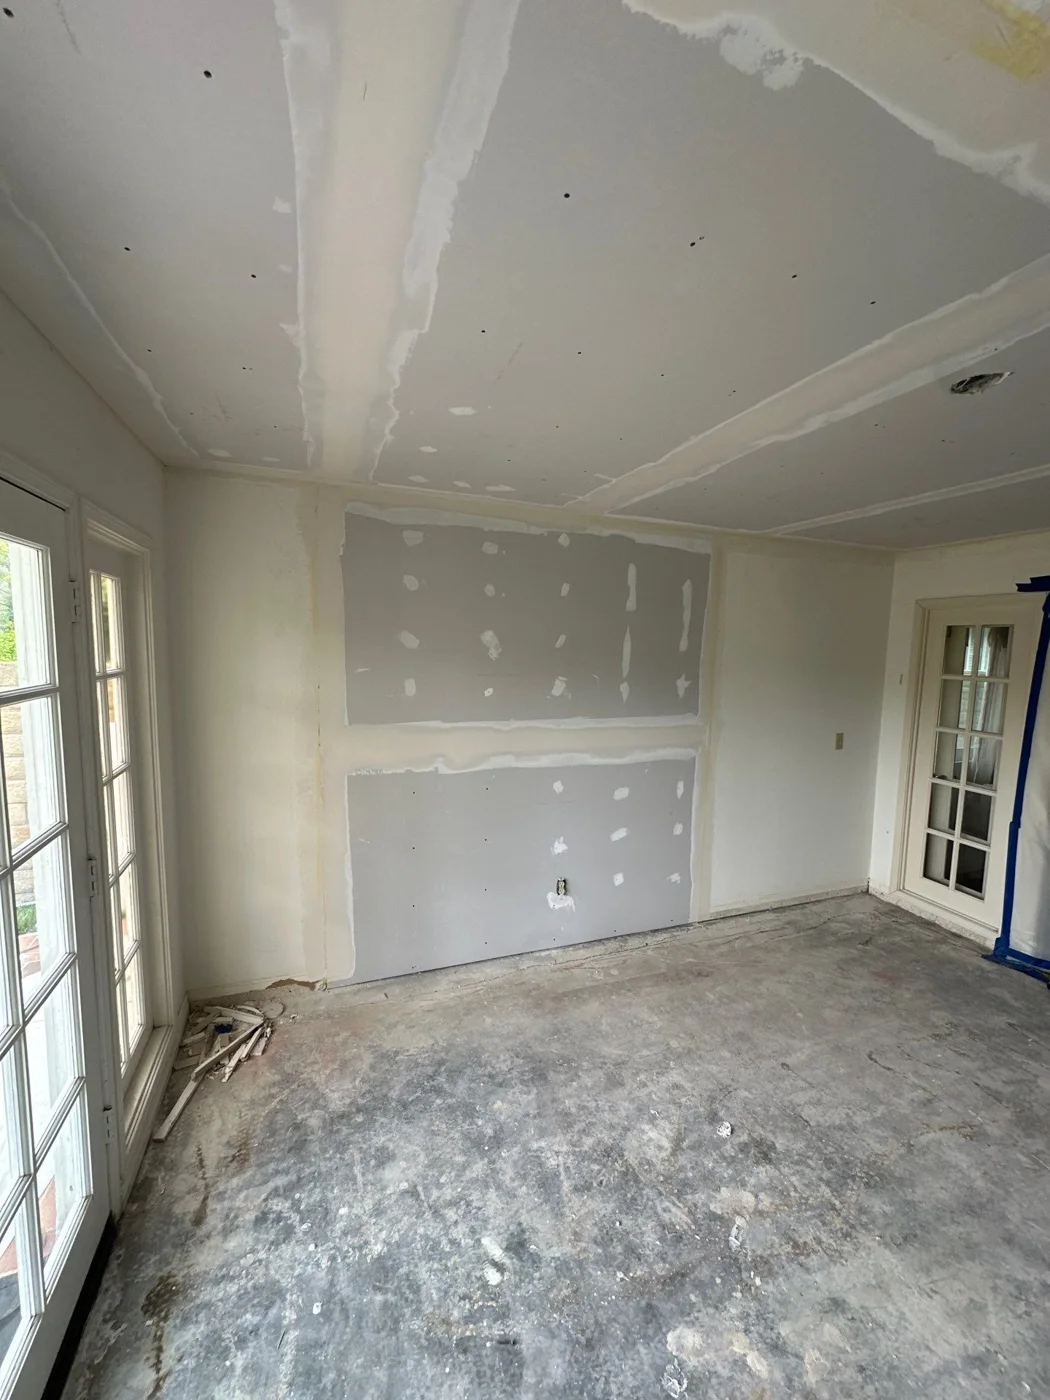
Santa Clarita, CA
DuringCeiling joint finishing in progress
Photo 6 of 6 · Living room walls and ceiling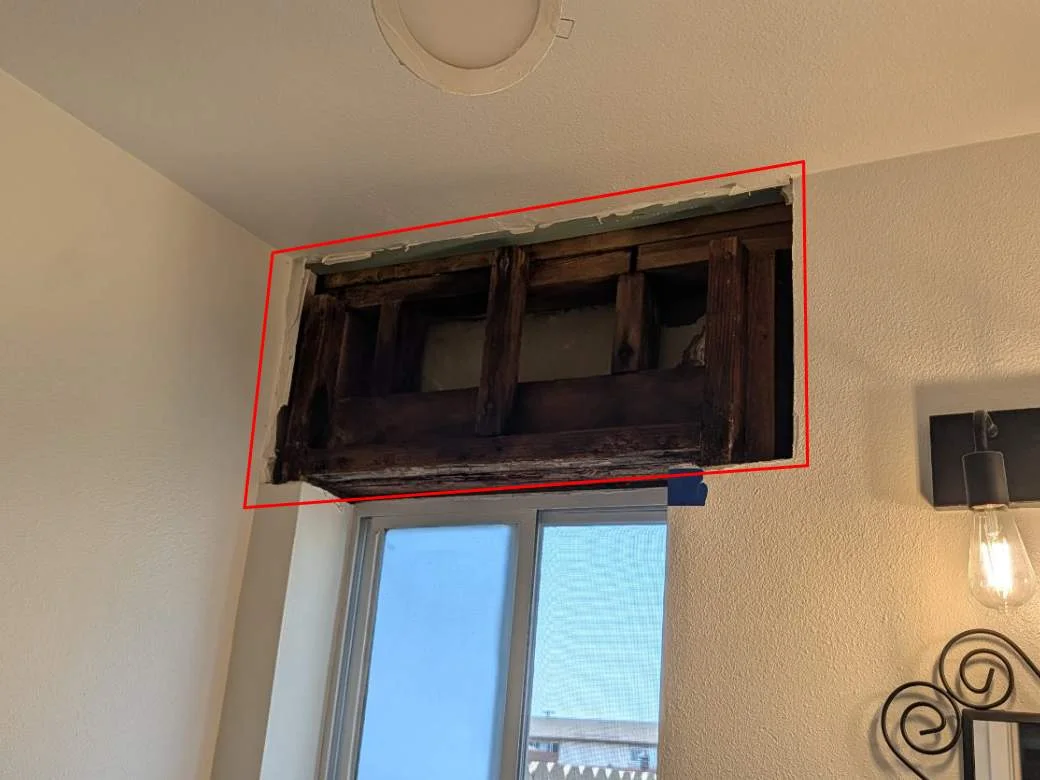
Tustin, CA
BeforeOpened wall above bathroom window
Photo 1 of 6 · Before, progress and after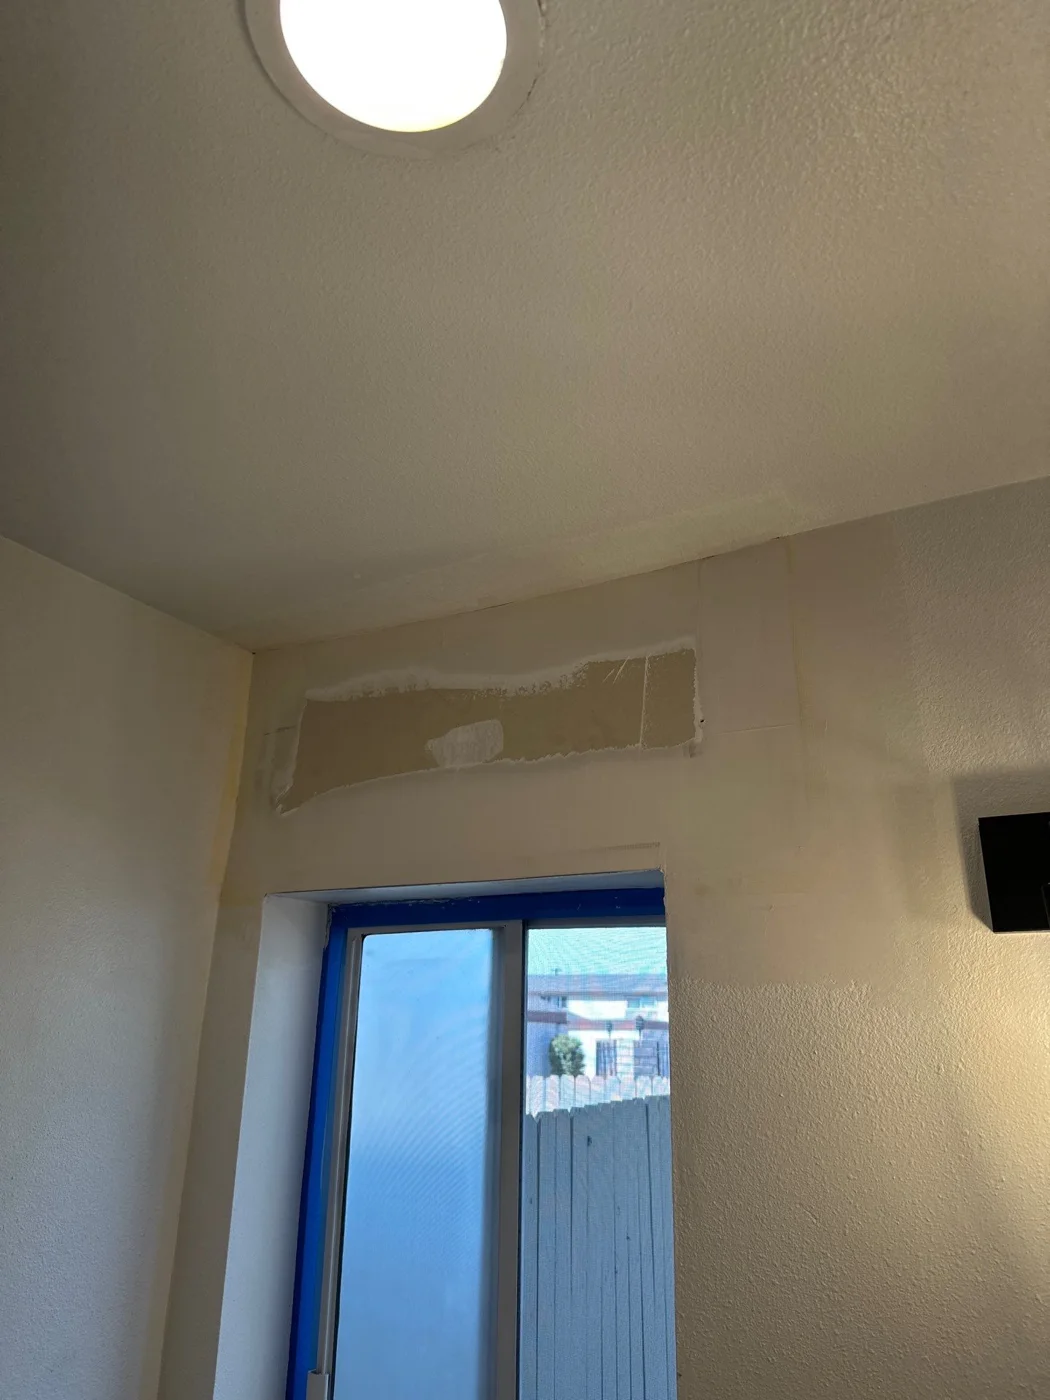
Tustin, CA
DuringPatch above bathroom window during finishing
Photo 2 of 6 · Before, progress and after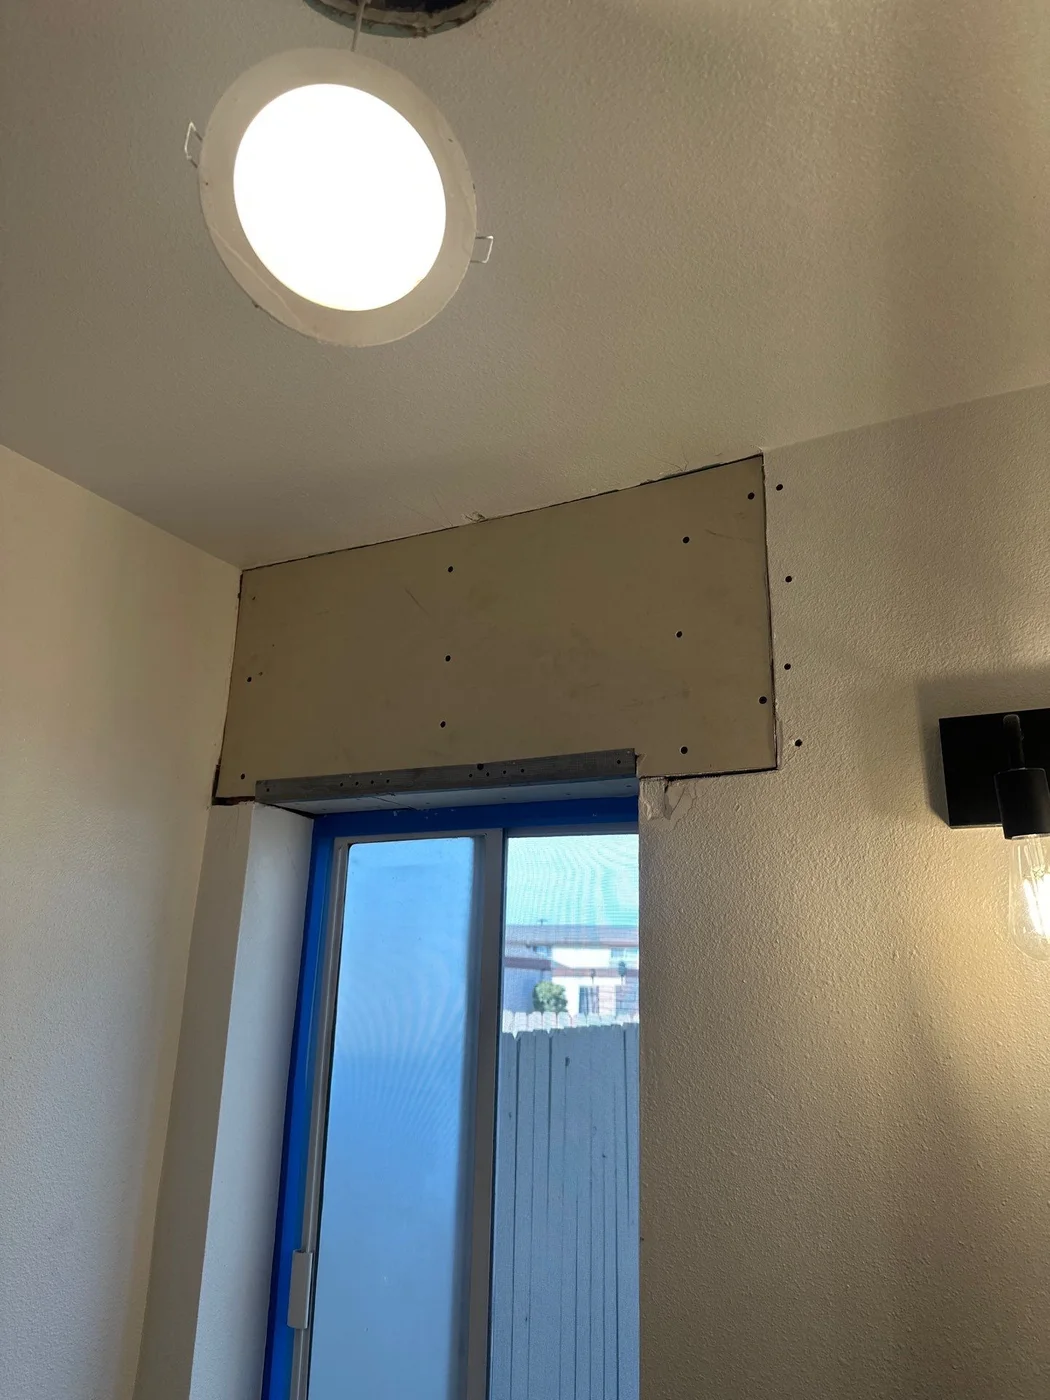
Tustin, CA
ProgressDrywall installed above bathroom window
Photo 3 of 6 · Before, progress and after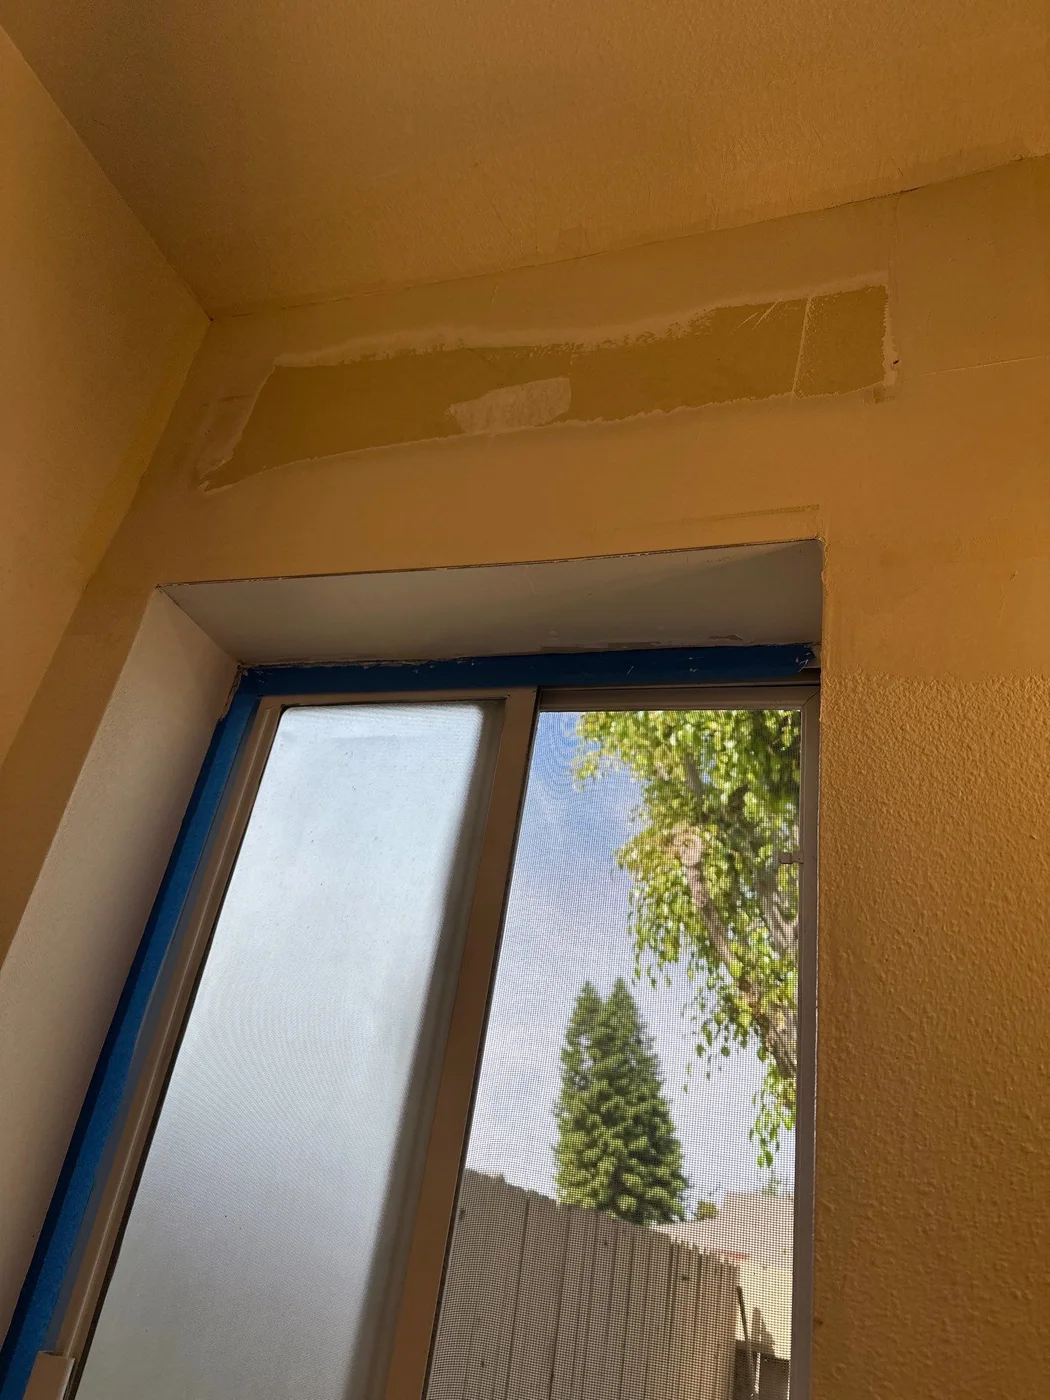
Tustin, CA
ProgressFinishing above bathroom window
Photo 4 of 6 · Before, progress and after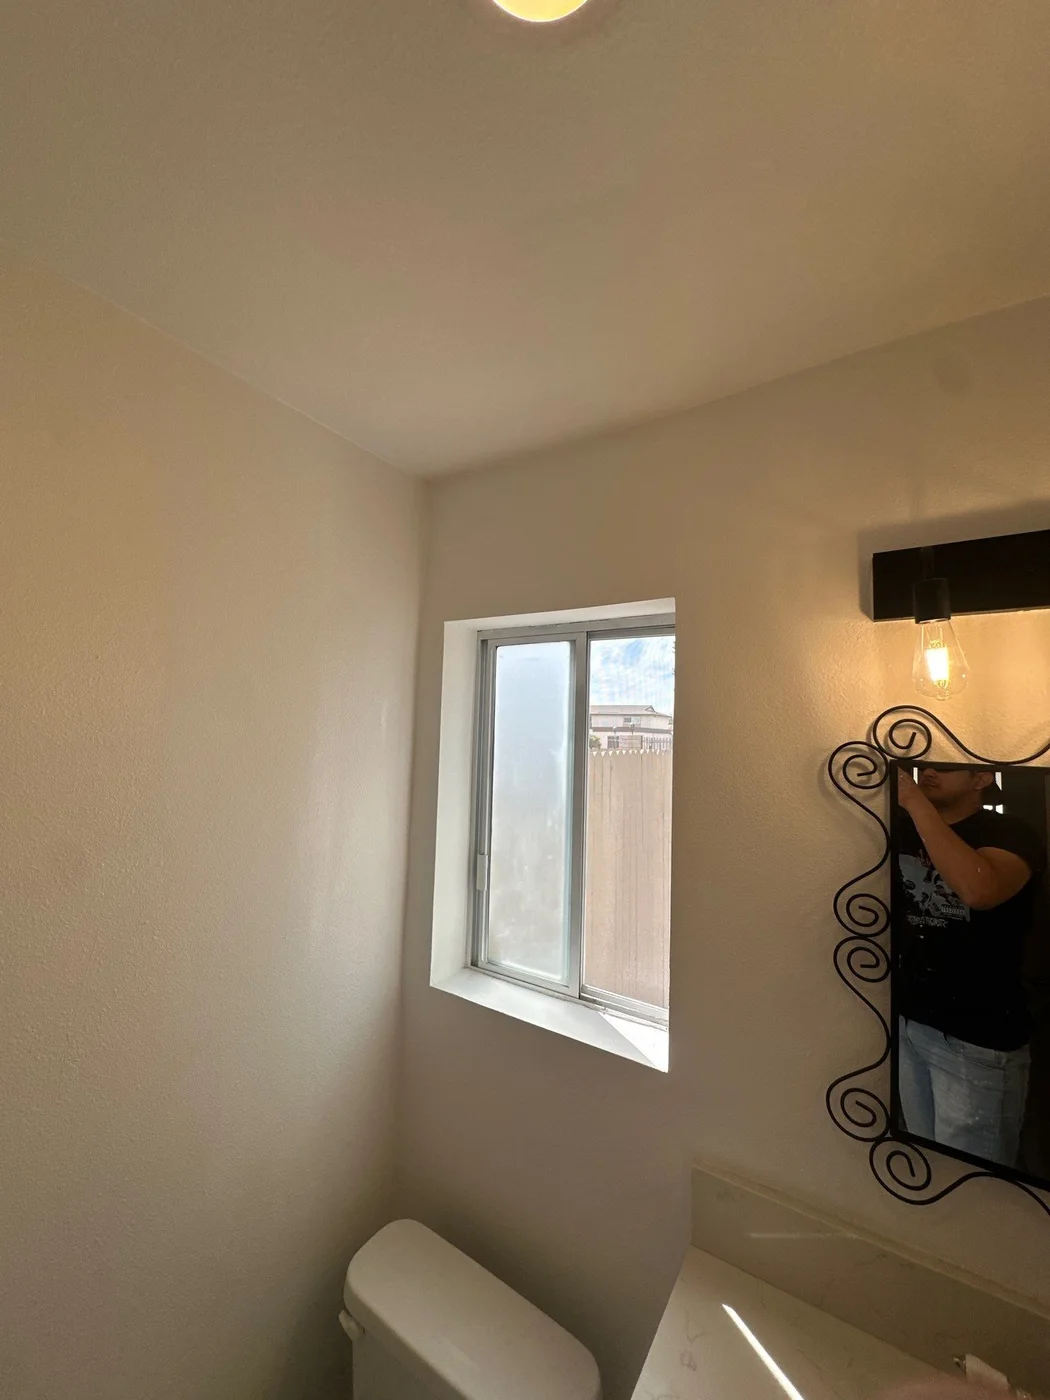
Tustin, CA
AfterFinished bathroom window wall
Photo 5 of 6 · Before, progress and after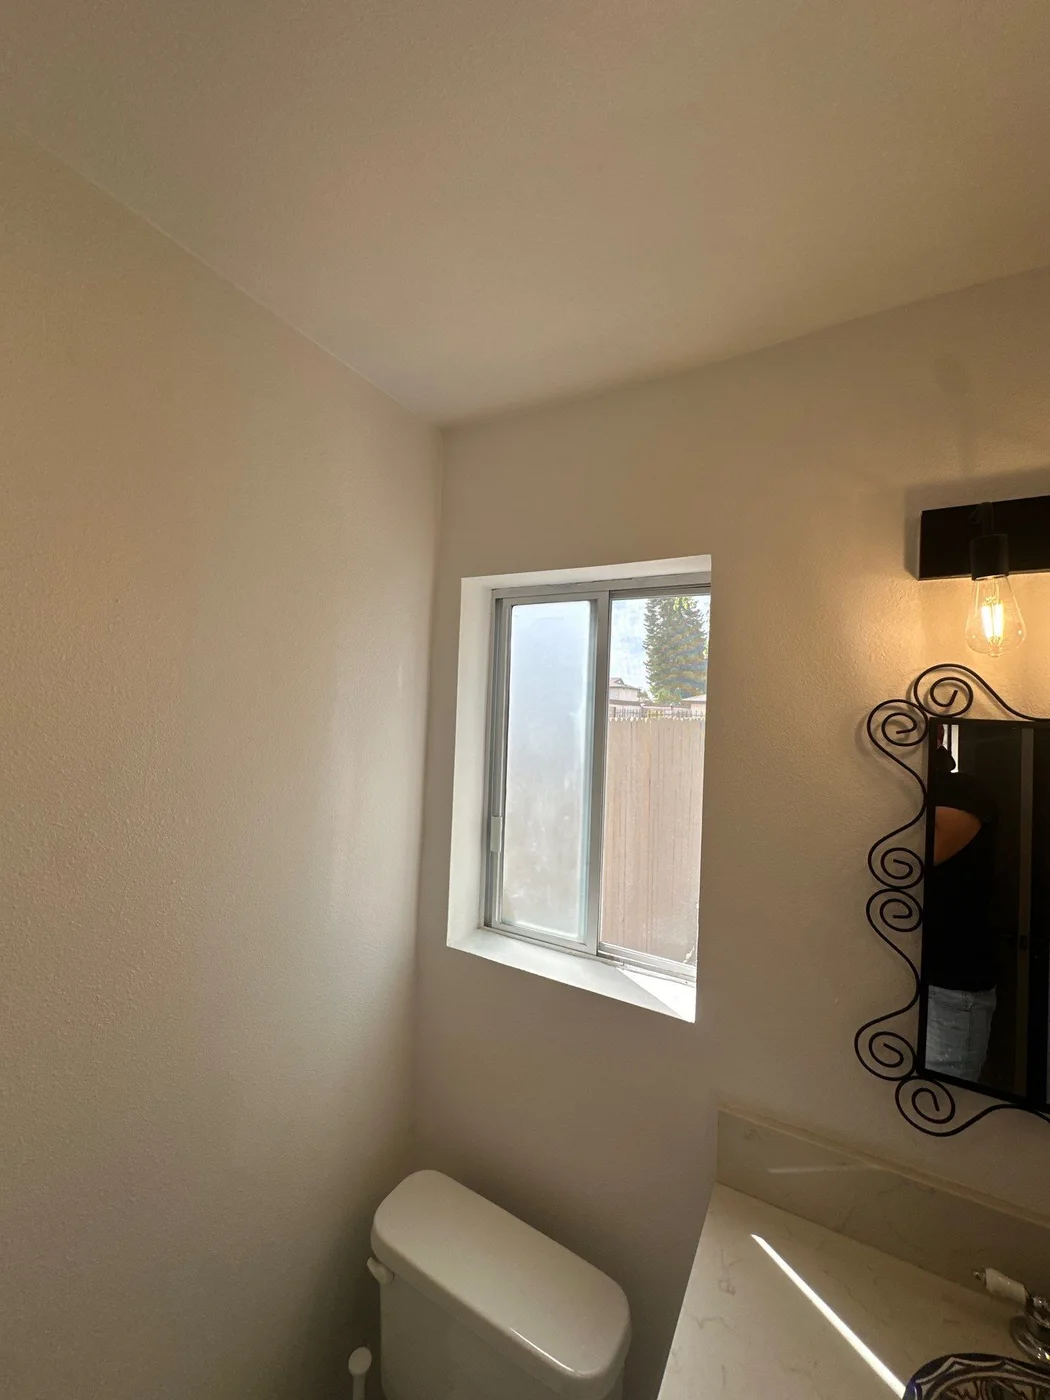
Tustin, CA
AfterAnother view of finished bathroom window wall
Photo 6 of 6 · Before, progress and after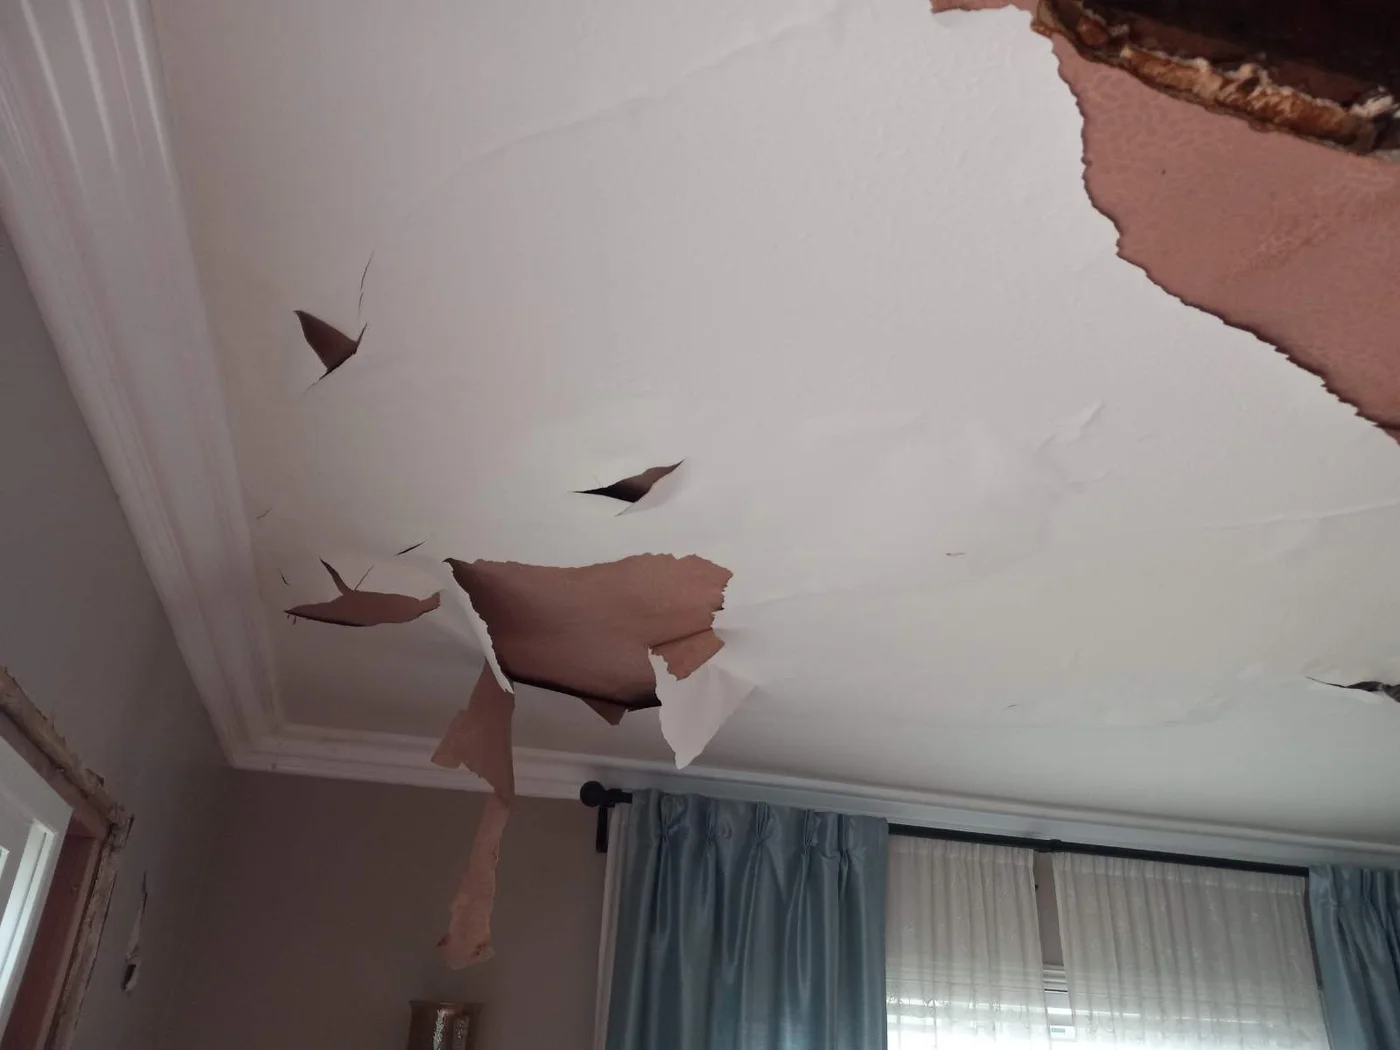
West Covina, CA
BeforeCeiling damage before repair
Photo 1 of 6 · Before, progress and after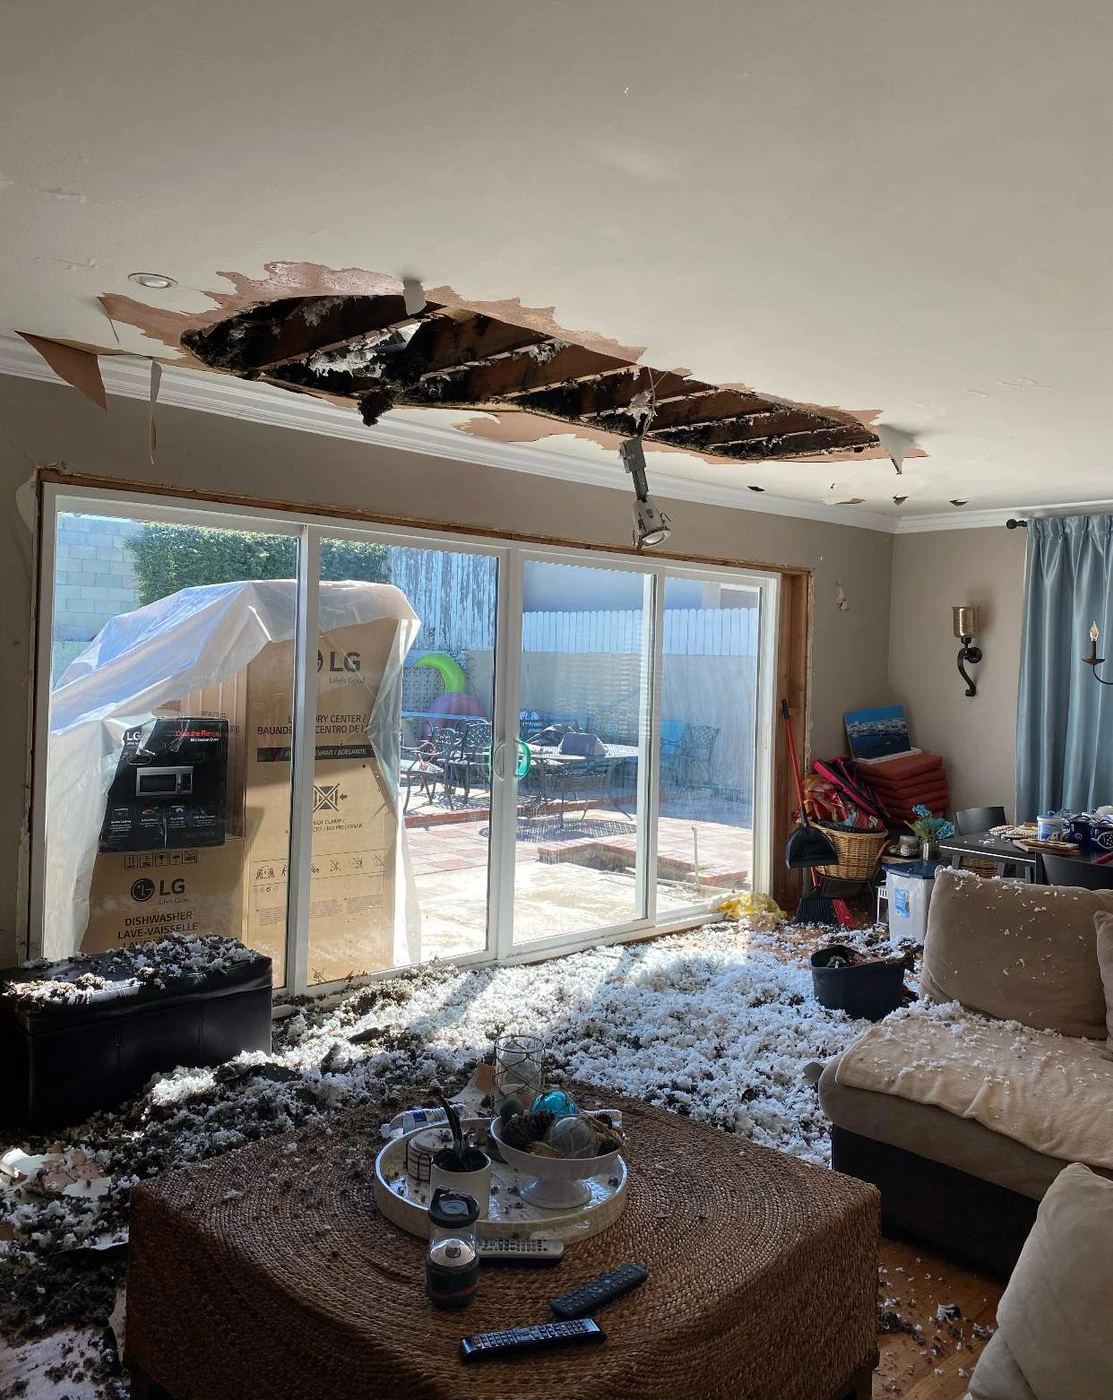
West Covina, CA
BeforeCeiling opening before restoration
Photo 2 of 6 · Before, progress and after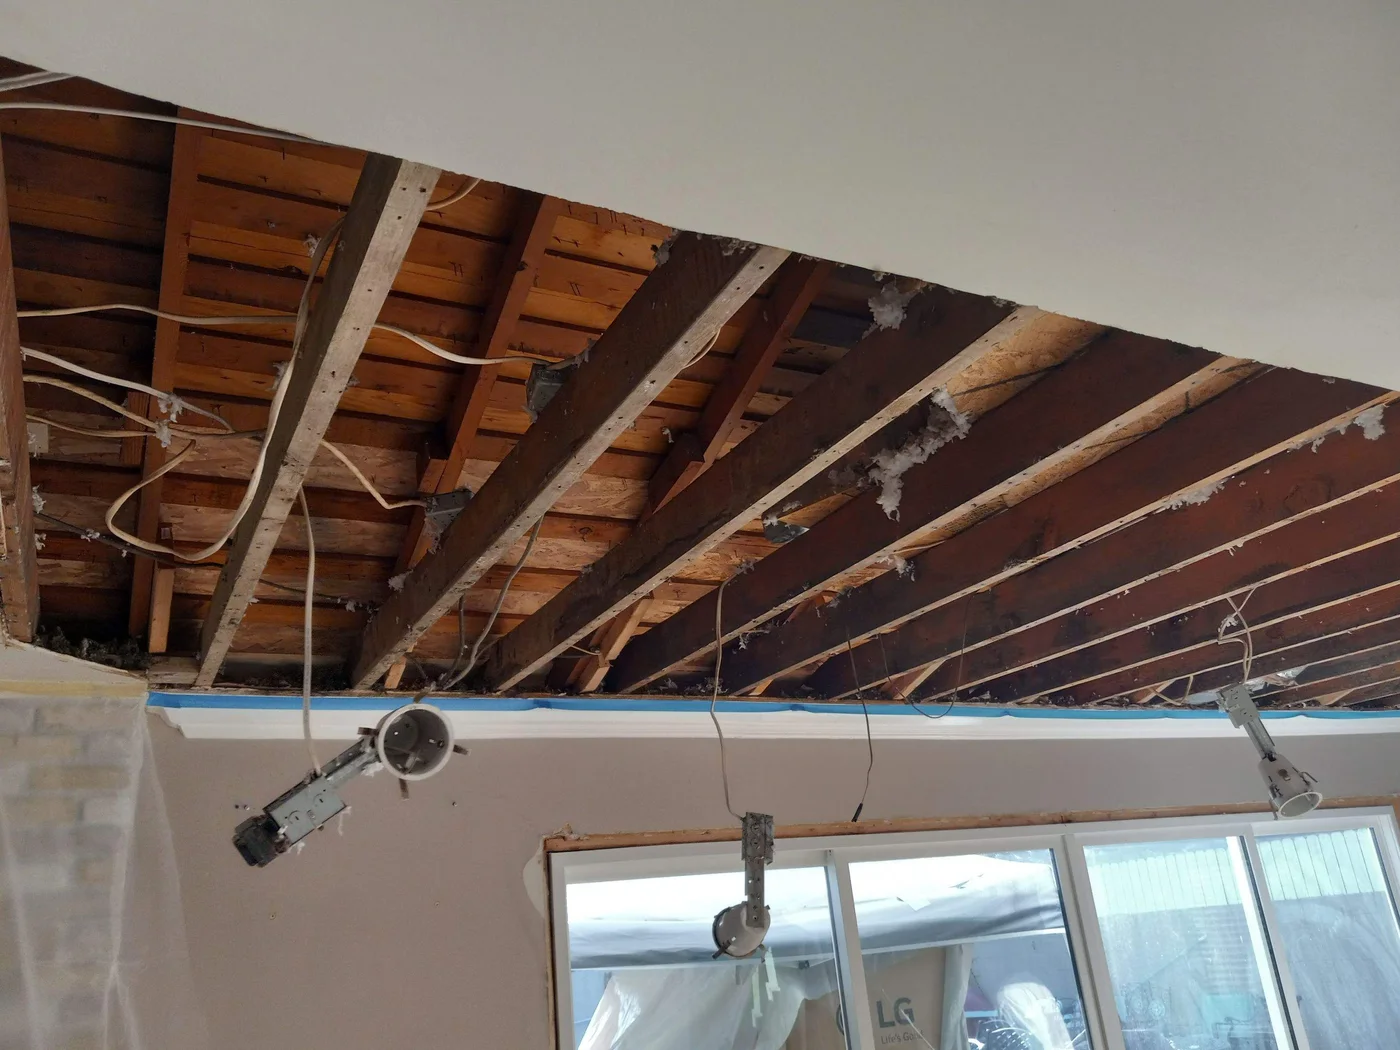
West Covina, CA
BeforeCeiling framing exposed
Photo 3 of 6 · Before, progress and after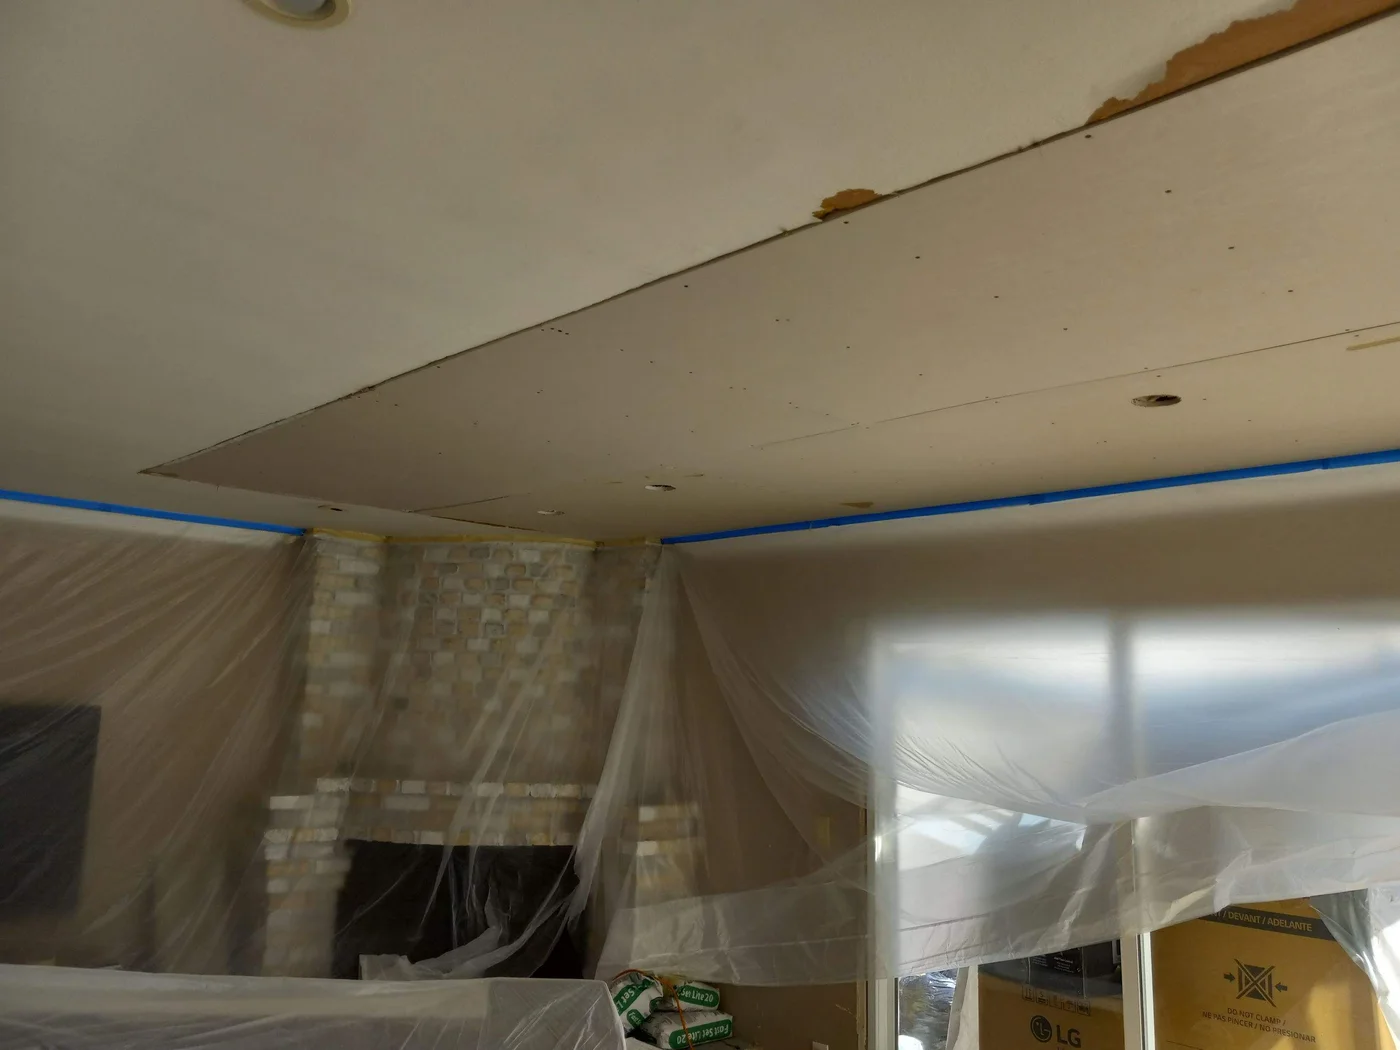
West Covina, CA
ProgressNew ceiling drywall installed
Photo 4 of 6 · Before, progress and after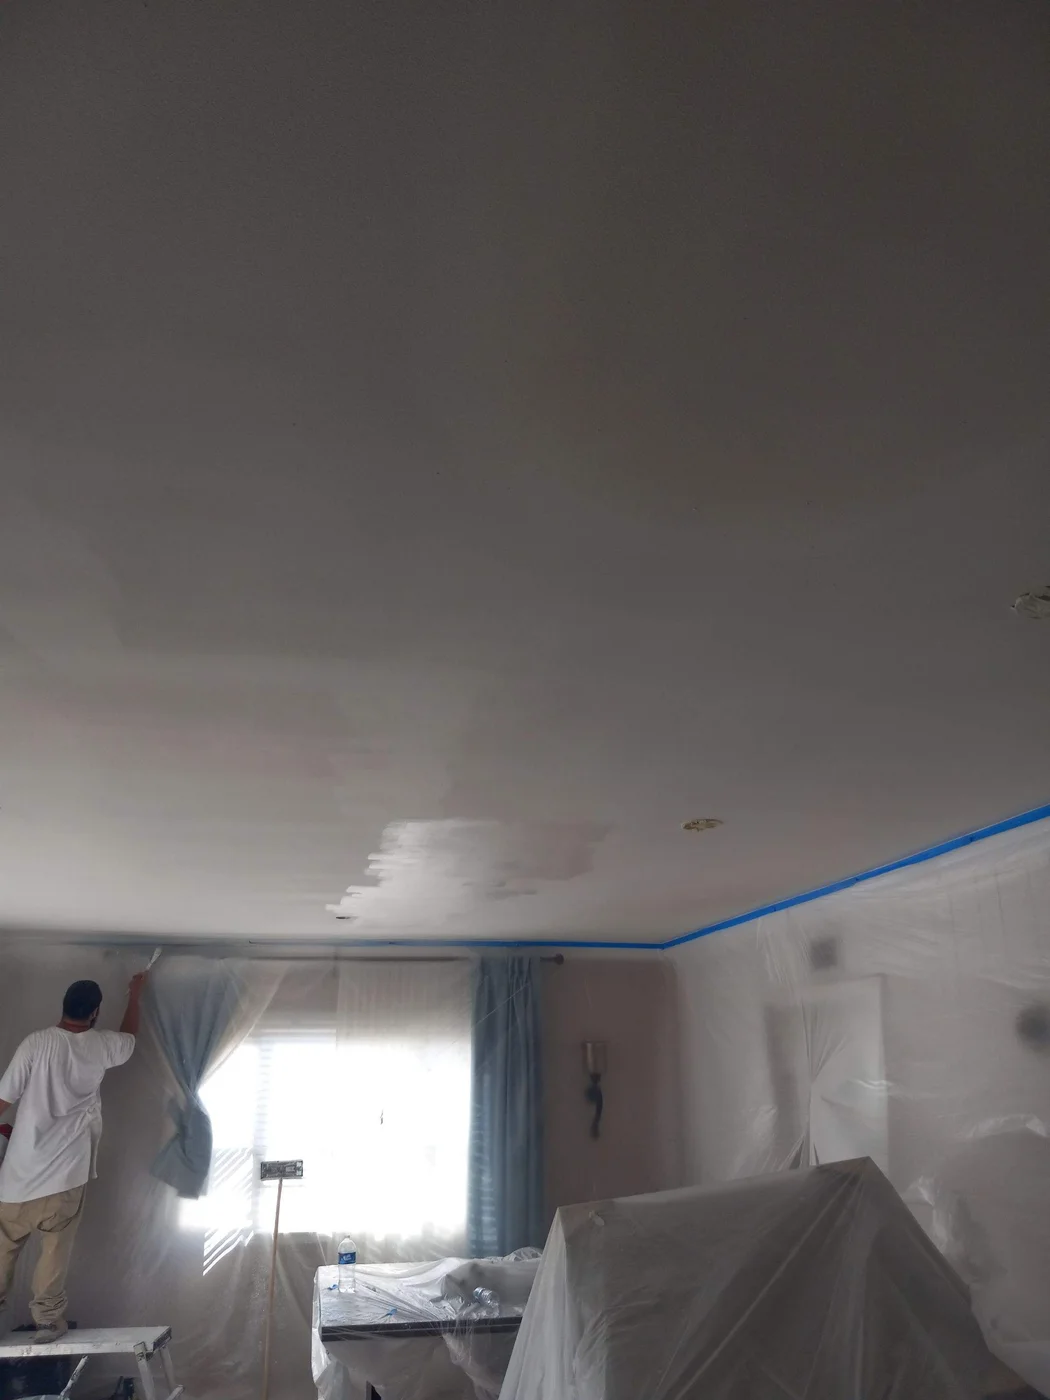
West Covina, CA
ProgressCeiling finishing in progress
Photo 5 of 6 · Before, progress and after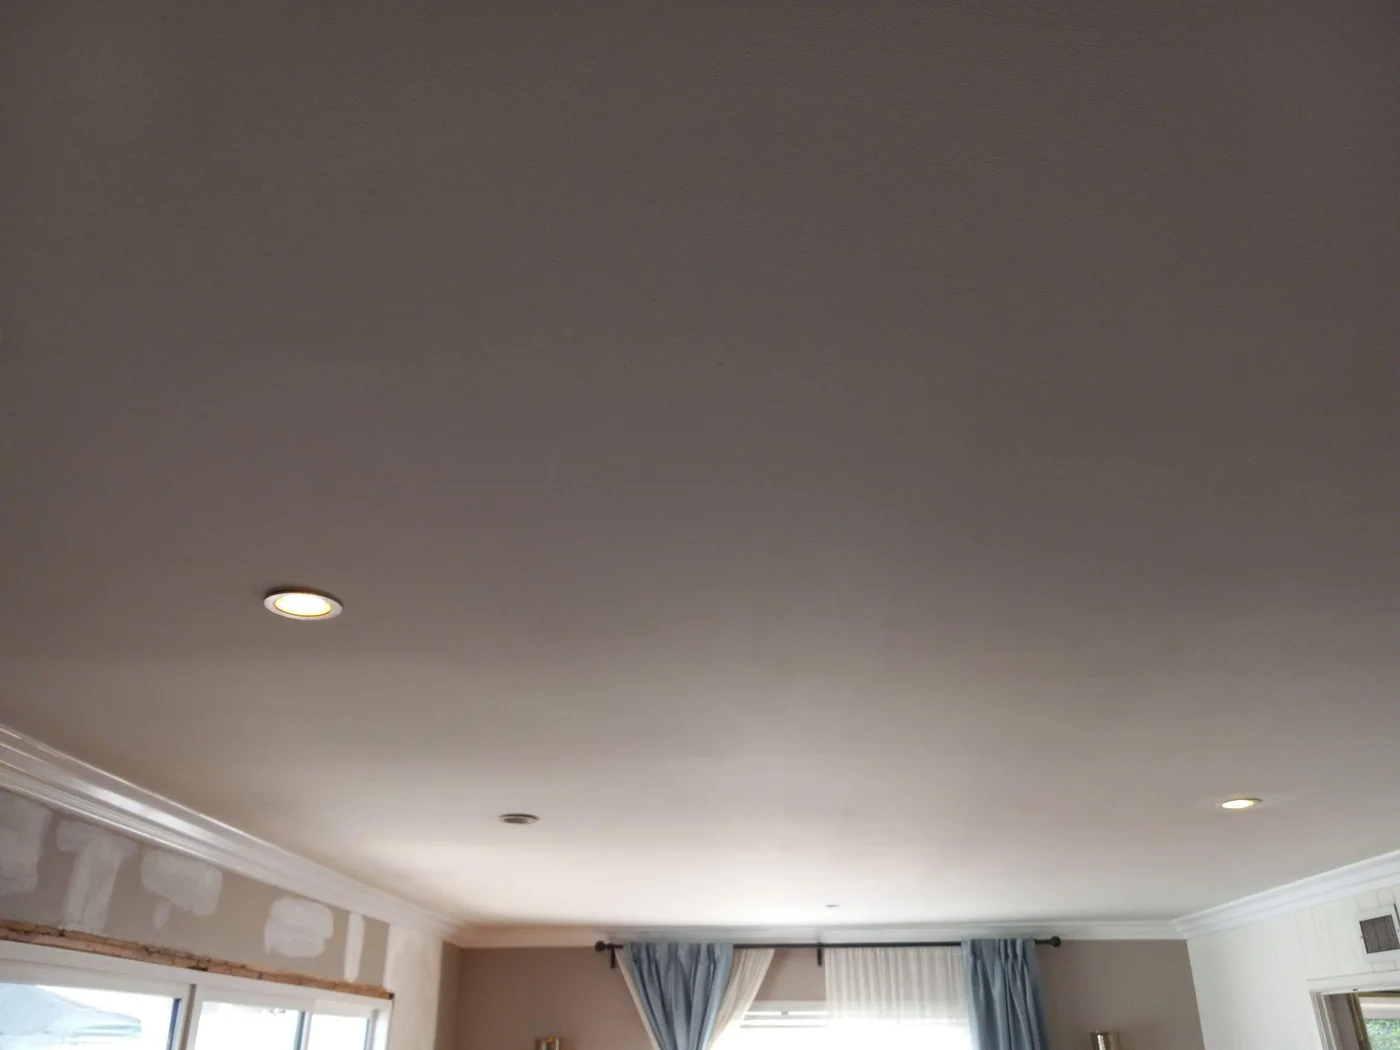
West Covina, CA
AfterFinished ceiling and recessed lights
Photo 6 of 6 · Before, progress and after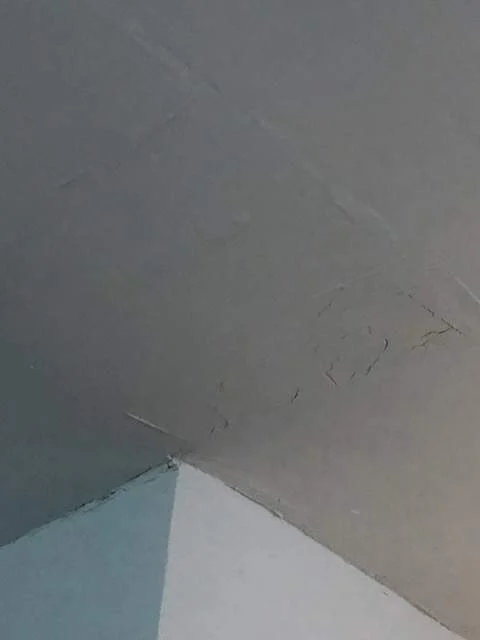
Woodland Hills, CA
DuringClose-up of the ceiling and upper wall corner
Photo 1 of 20 · Progress photos — ceiling and wall finishing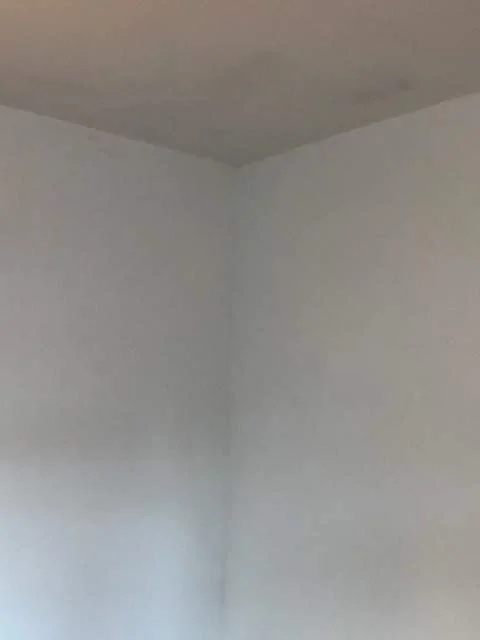
Woodland Hills, CA
DuringWall and ceiling corner during surface preparation
Photo 2 of 20 · Progress photos — ceiling and wall finishing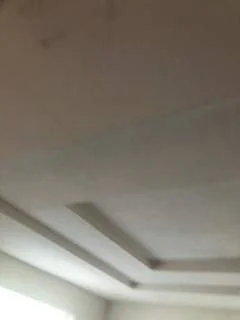
Woodland Hills, CA
DuringRecessed ceiling before further finishing
Photo 3 of 20 · Progress photos — ceiling and wall finishing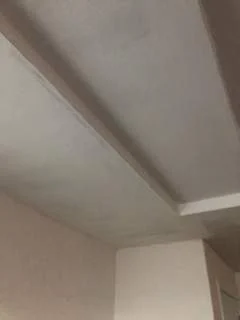
Woodland Hills, CA
DuringCeiling edge and adjoining wall during finishing
Photo 4 of 20 · Progress photos — ceiling and wall finishing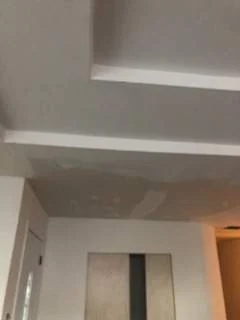
Woodland Hills, CA
DuringTray ceiling and doorway finishing in progress
Photo 5 of 20 · Progress photos — ceiling and wall finishing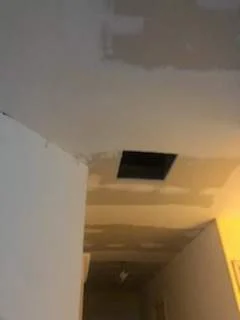
Woodland Hills, CA
DuringHallway ceiling patches during finishing
Photo 6 of 20 · Progress photos — ceiling and wall finishing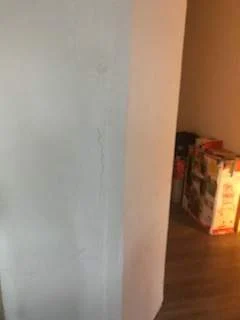
Woodland Hills, CA
DuringWall surface preparation beside the hallway
Photo 7 of 20 · Progress photos — ceiling and wall finishing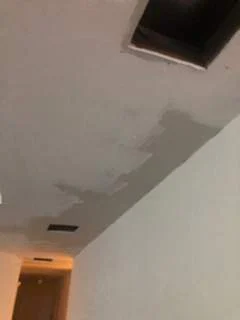
Woodland Hills, CA
DuringCeiling repair around open air vents
Photo 8 of 20 · Progress photos — ceiling and wall finishing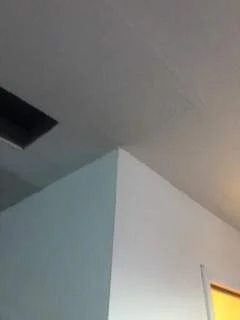
Woodland Hills, CA
DuringUpper wall corner and ceiling surface preparation
Photo 9 of 20 · Progress photos — ceiling and wall finishing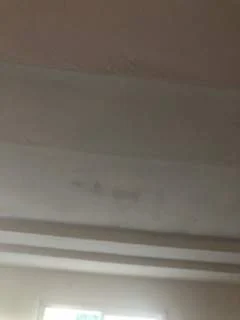
Woodland Hills, CA
DuringRecessed ceiling detail near the window
Photo 10 of 20 · Progress photos — ceiling and wall finishing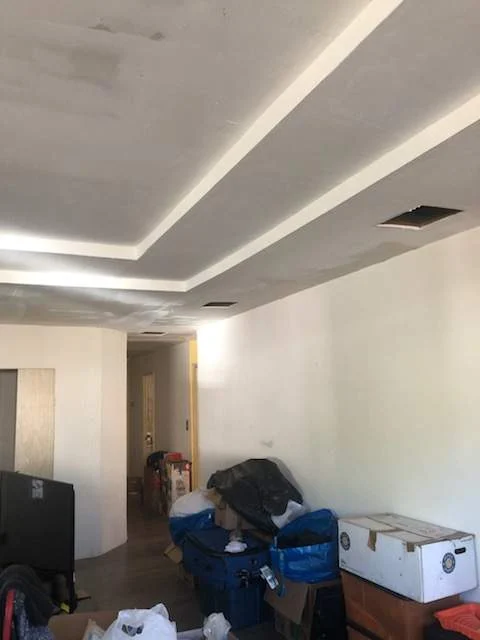
Woodland Hills, CA
DuringRecessed ceiling and wall finishing in the living room
Photo 11 of 20 · Progress photos — ceiling and wall finishing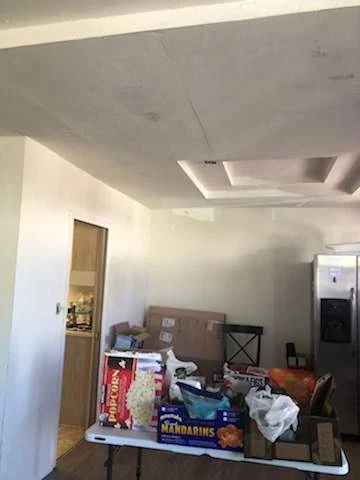
Woodland Hills, CA
DuringLiving-room wall and ceiling finishing
Photo 12 of 20 · Progress photos — ceiling and wall finishing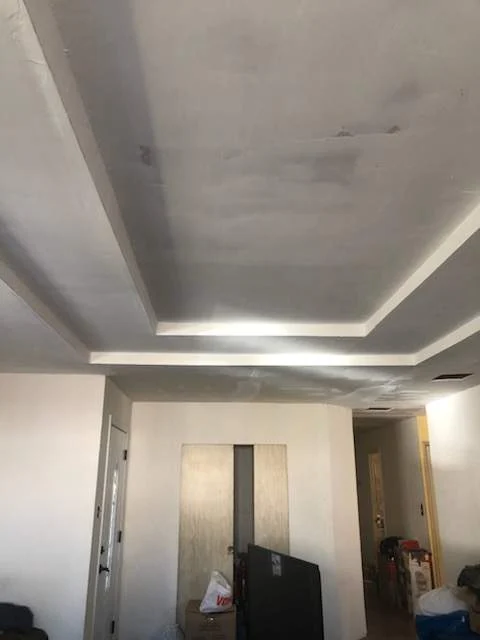
Woodland Hills, CA
DuringRecessed ceiling detail during finishing
Photo 13 of 20 · Progress photos — ceiling and wall finishing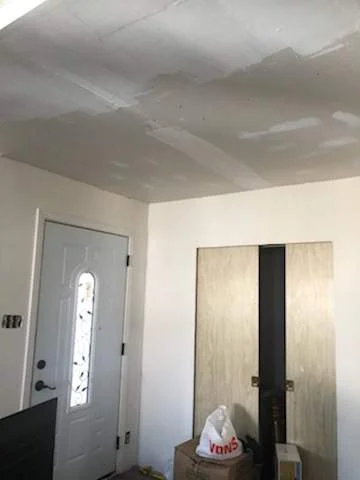
Woodland Hills, CA
DuringCeiling finishing near the entry door
Photo 14 of 20 · Progress photos — ceiling and wall finishing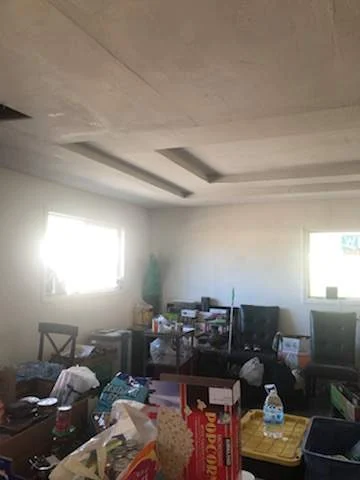
Woodland Hills, CA
DuringWide living-room view during ceiling finishing
Photo 15 of 20 · Progress photos — ceiling and wall finishing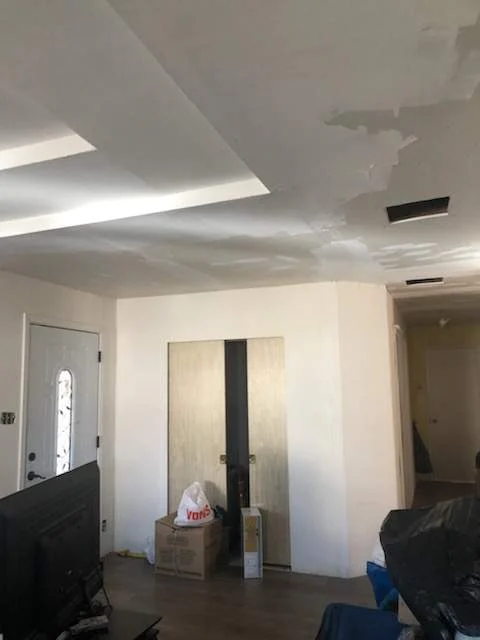
Woodland Hills, CA
DuringCeiling joints and entry-wall finishing
Photo 16 of 20 · Progress photos — ceiling and wall finishing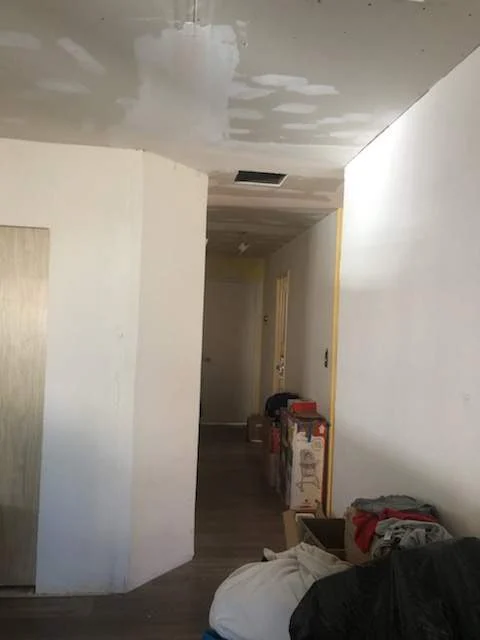
Woodland Hills, CA
DuringHallway ceiling and wall finishing
Photo 17 of 20 · Progress photos — ceiling and wall finishing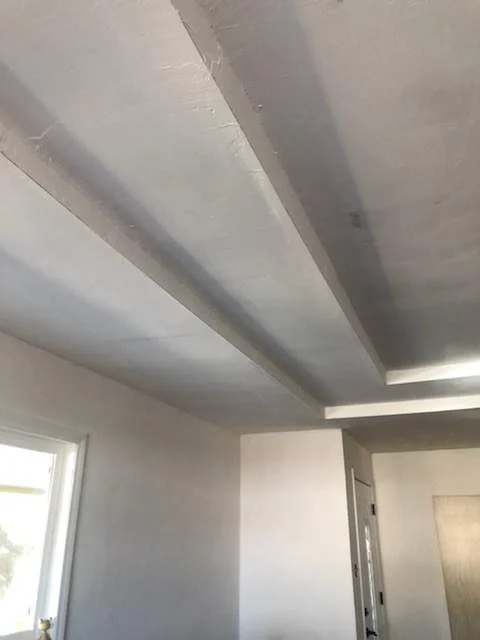
Woodland Hills, CA
DuringLong recessed ceiling edge during finishing
Photo 18 of 20 · Progress photos — ceiling and wall finishing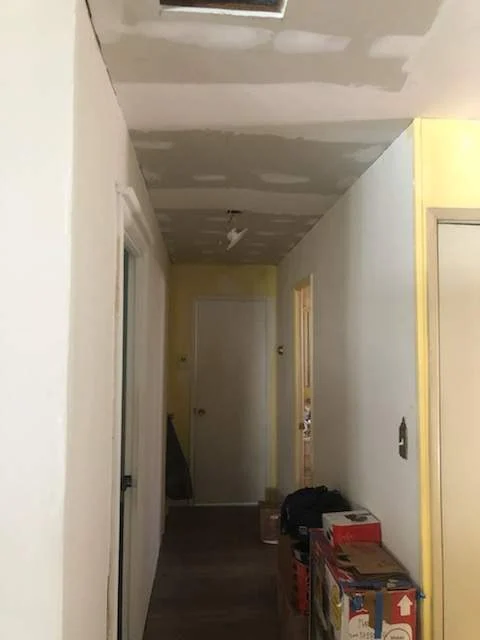
Woodland Hills, CA
DuringHallway ceiling finishing in progress
Photo 19 of 20 · Progress photos — ceiling and wall finishing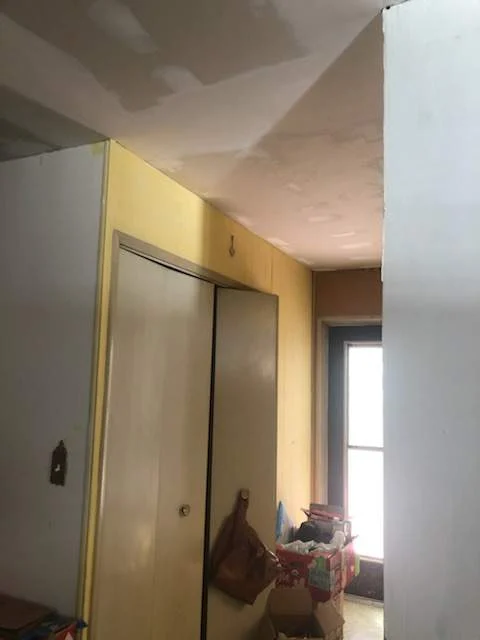
Woodland Hills, CA
DuringWall and ceiling finishing beside the doorway
Photo 20 of 20 · Progress photos — ceiling and wall finishing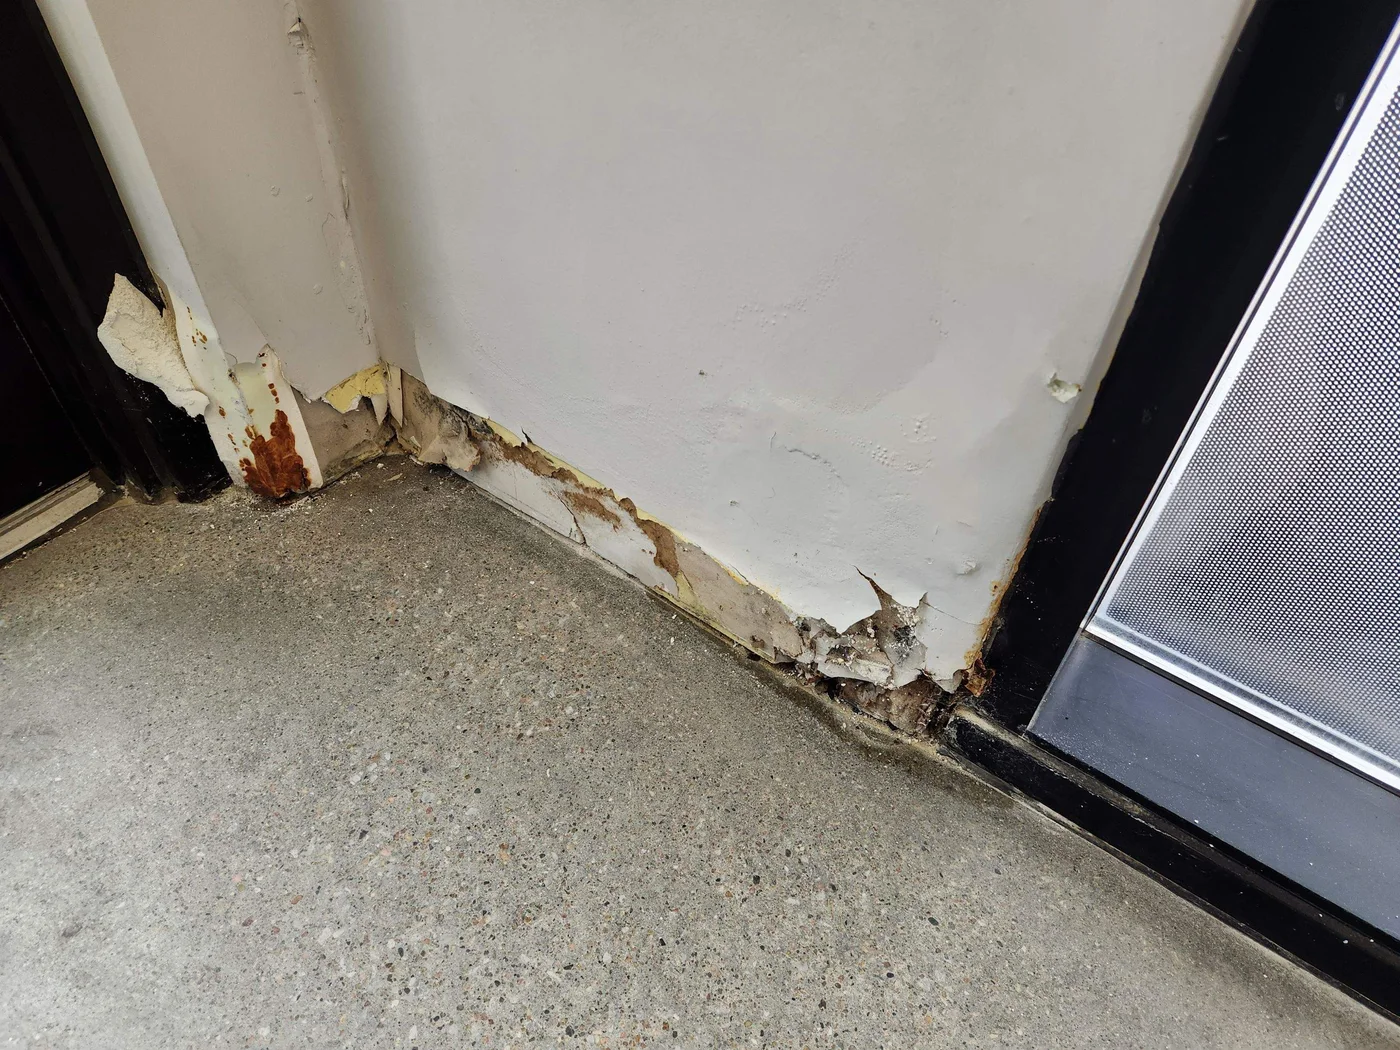
Council Bluffs, IA
BeforeDamaged lower wall beside entry
Photo 1 of 5 · Before and progress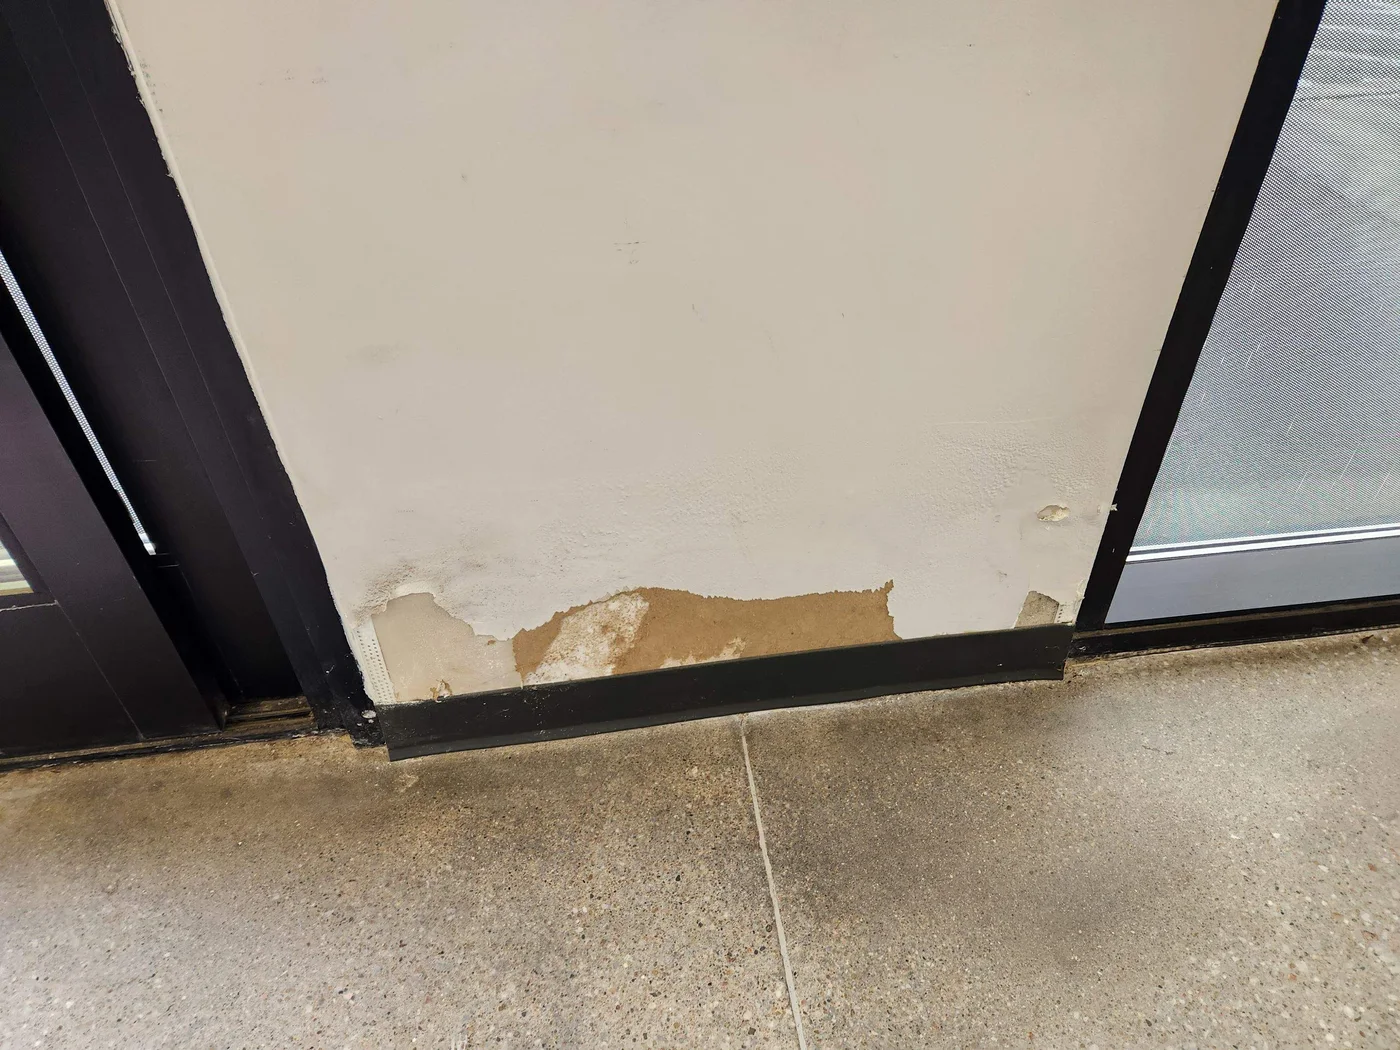
Council Bluffs, IA
BeforeLower wall damage near doorway
Photo 2 of 5 · Before and progress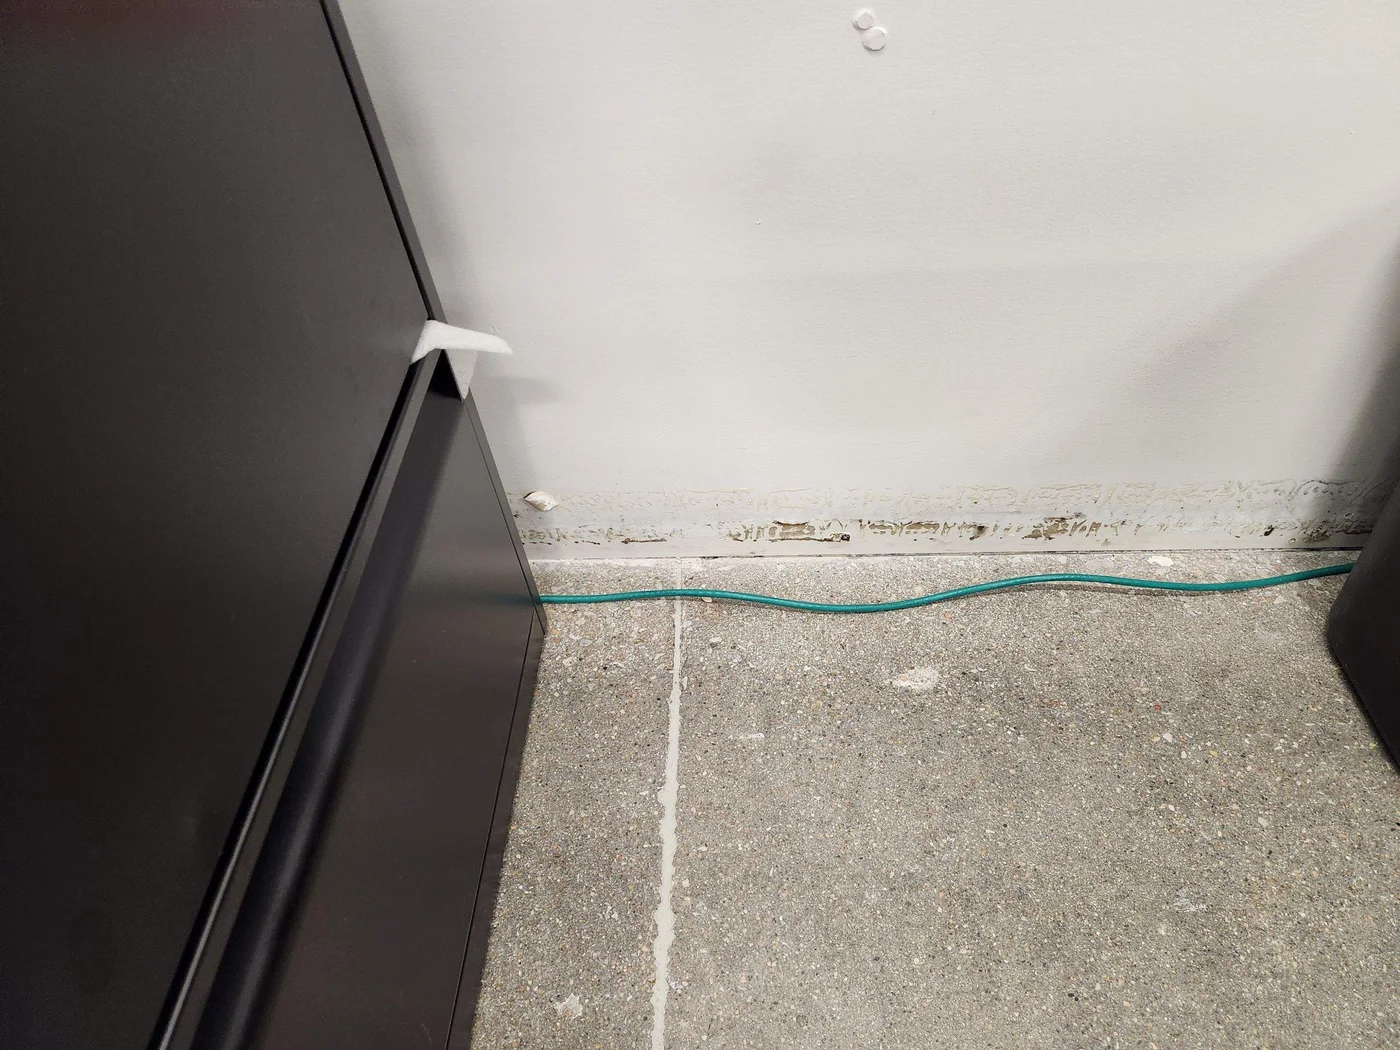
Council Bluffs, IA
ProgressLower wall repair in progress
Photo 3 of 5 · Before and progress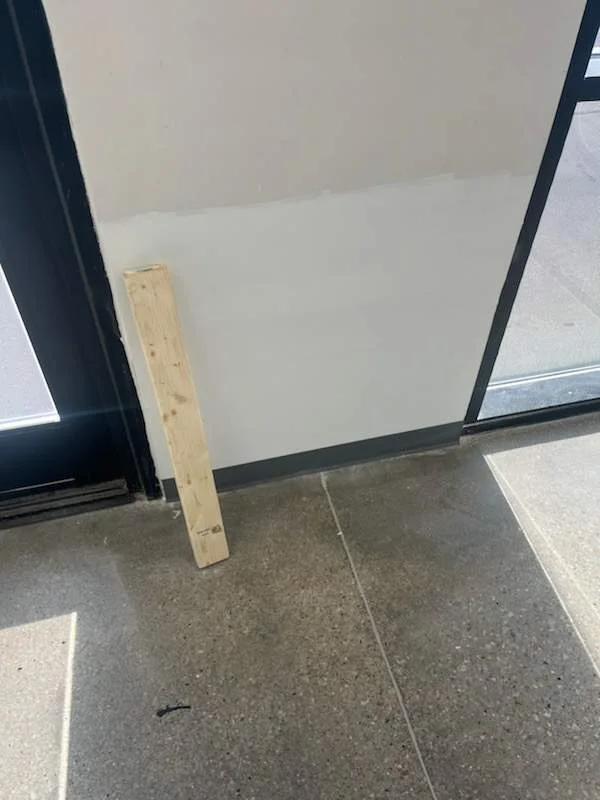
Council Bluffs, IA
ProgressEntry wall during repair
Photo 4 of 5 · Before and progress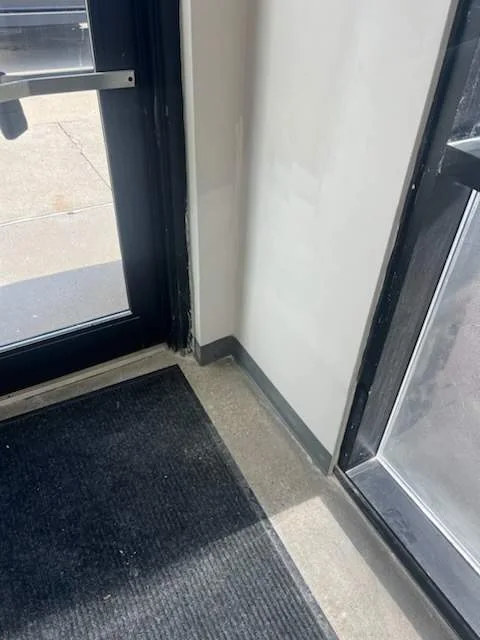
Council Bluffs, IA
AfterRepaired entry wall and base trim
Photo 5 of 5 · Before and progress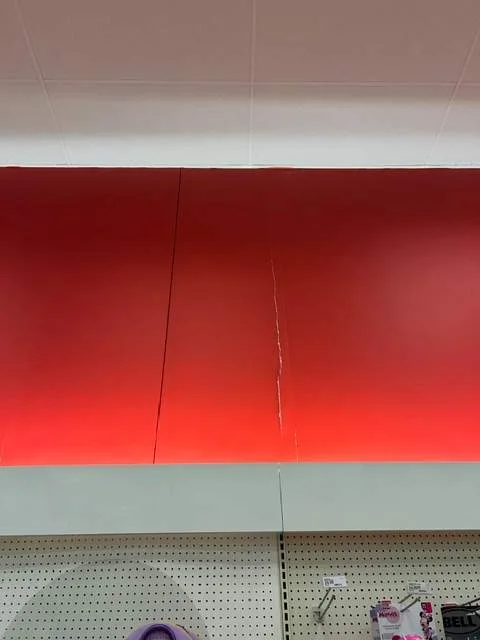
Kansas City, MO
BeforeRetail wall seam before patching
Photo 1 of 7 · Before, progress and after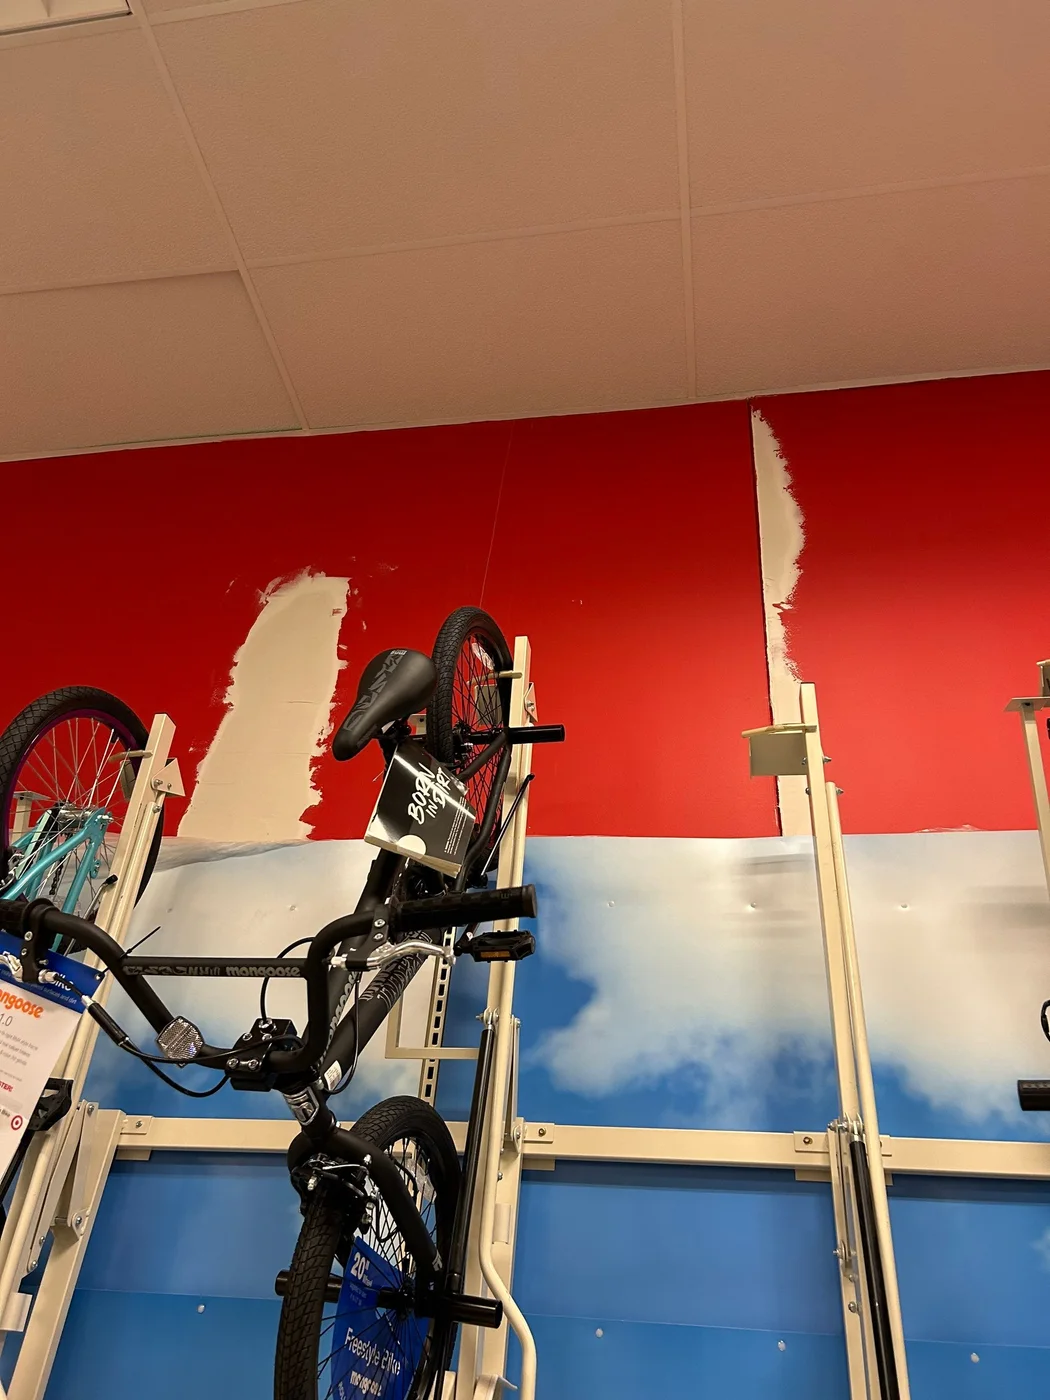
Kansas City, MO
ProgressRetail wall repairs in progress
Photo 2 of 7 · Before, progress and after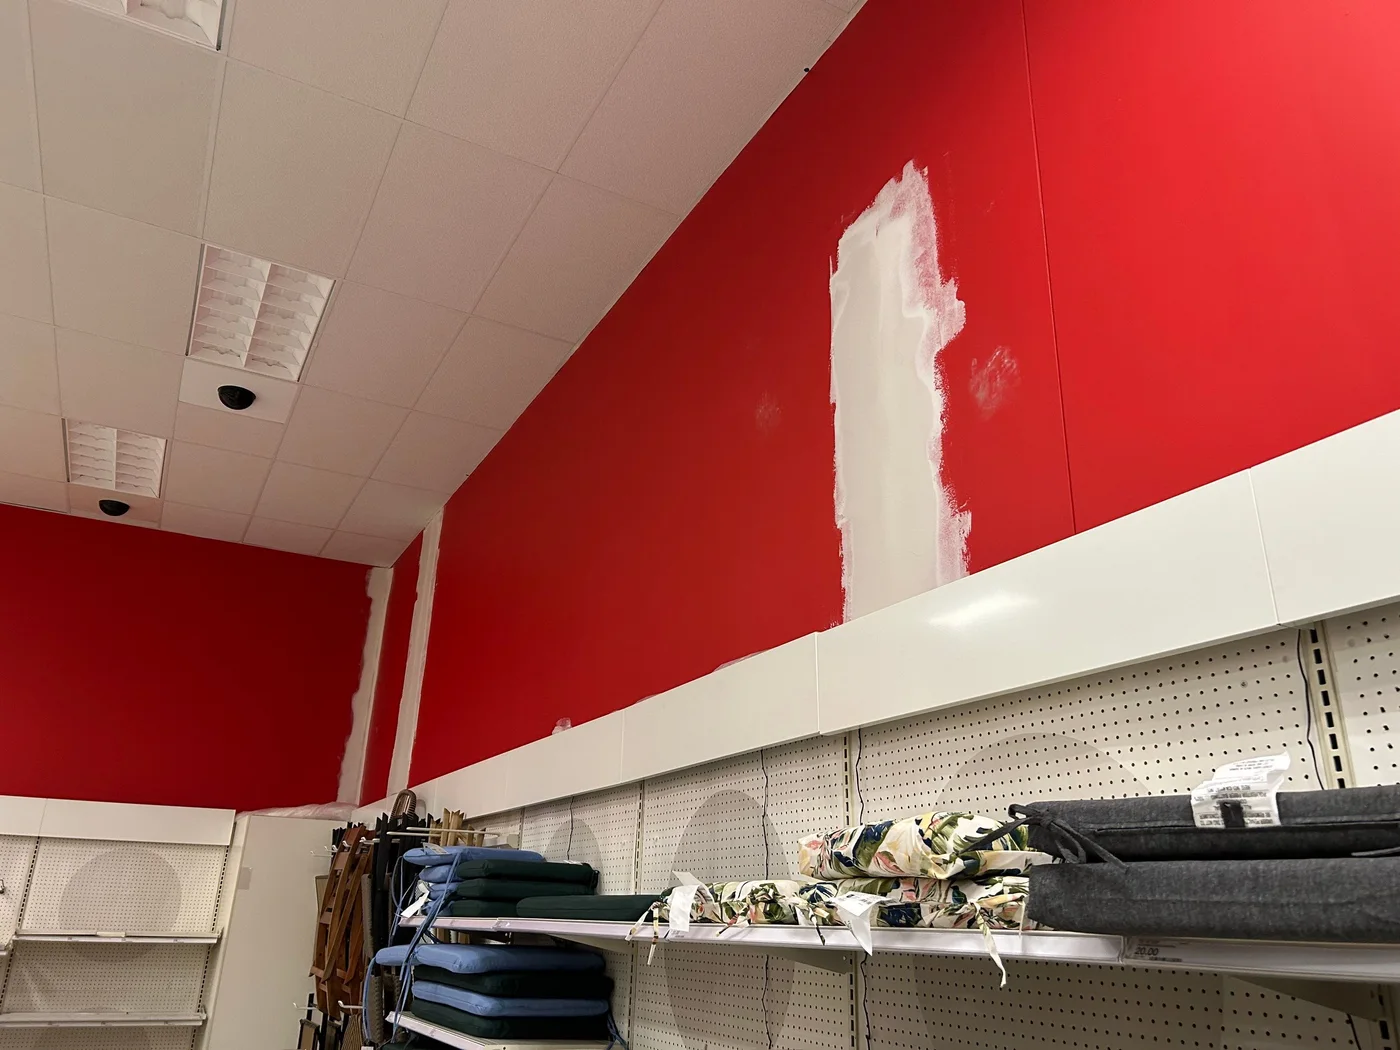
Kansas City, MO
ProgressRetail wall patching
Photo 3 of 7 · Before, progress and after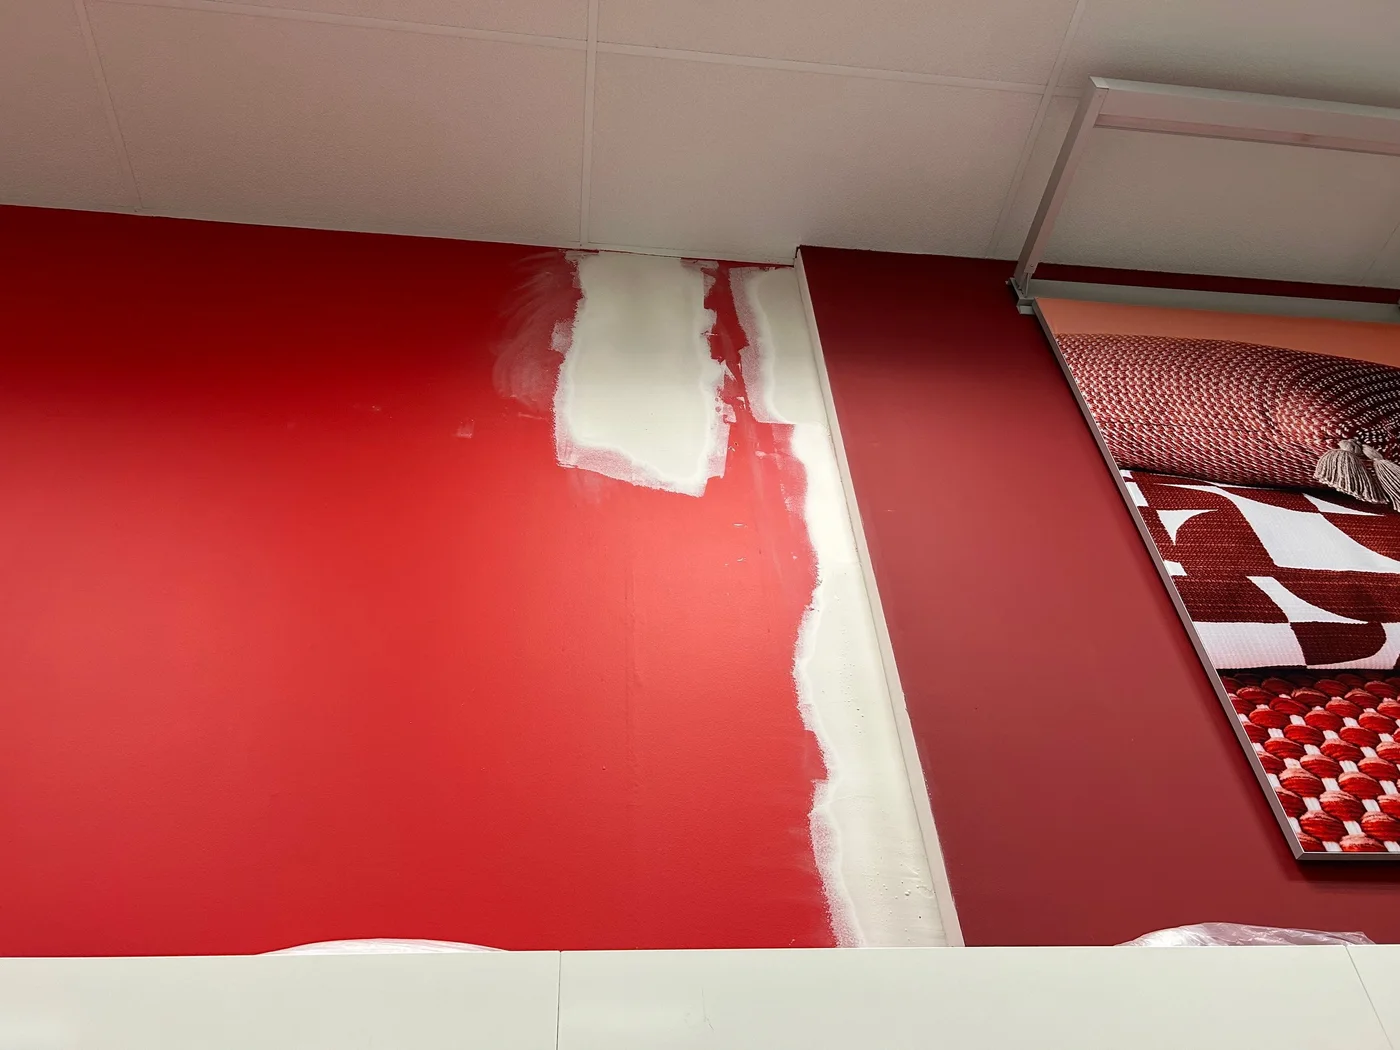
Kansas City, MO
ProgressJoint compound over wall repairs
Photo 4 of 7 · Before, progress and after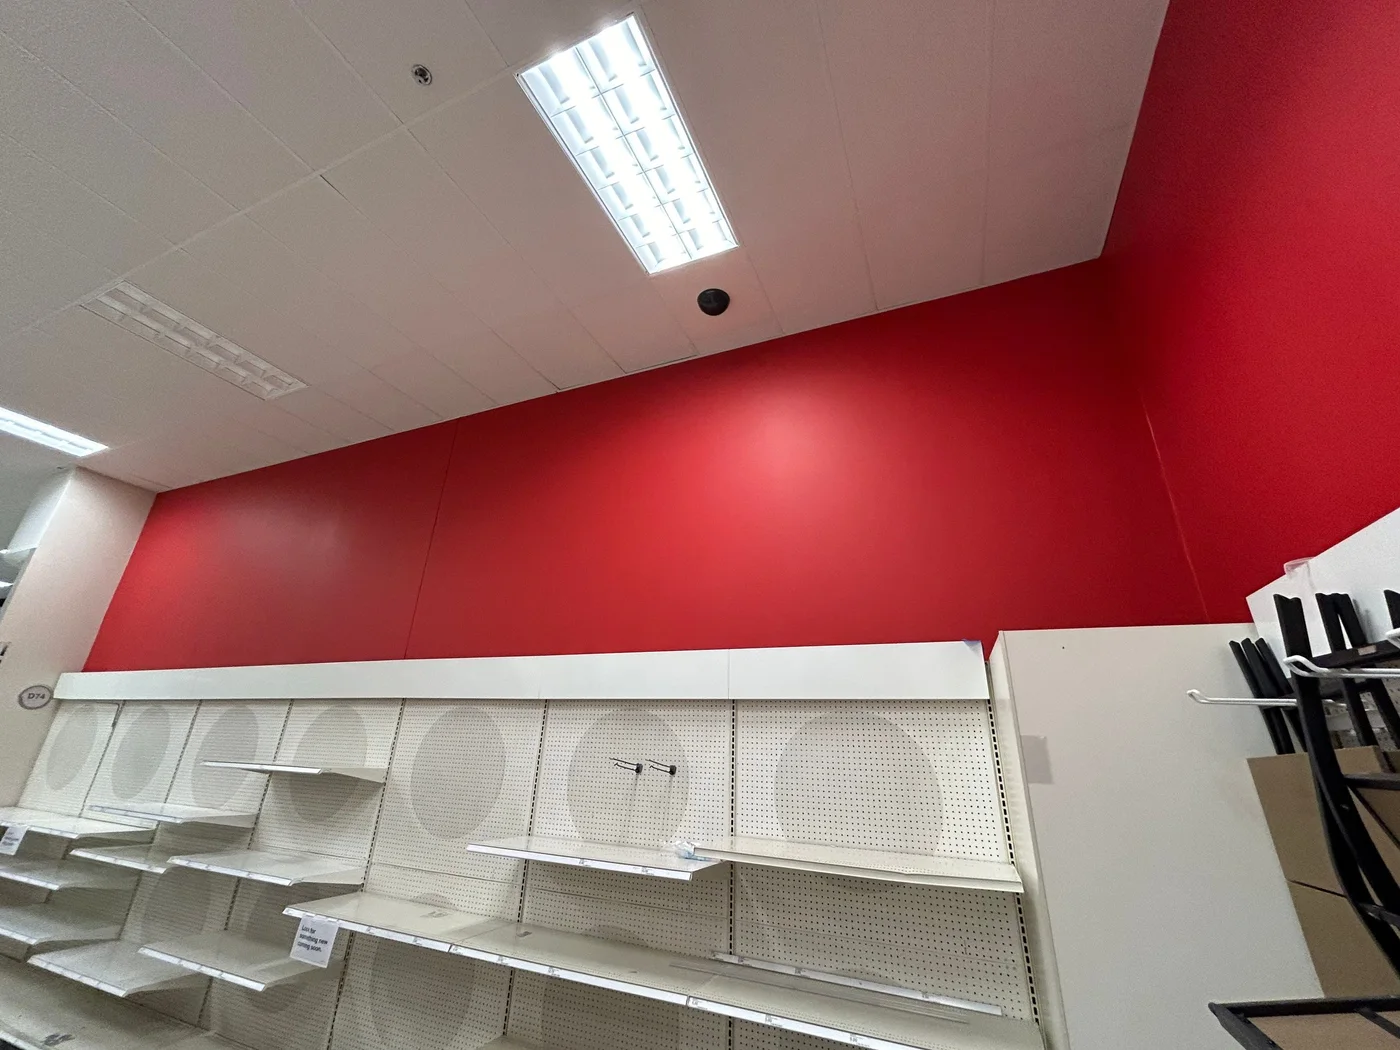
Kansas City, MO
AfterPainted retail wall
Photo 5 of 7 · Before, progress and after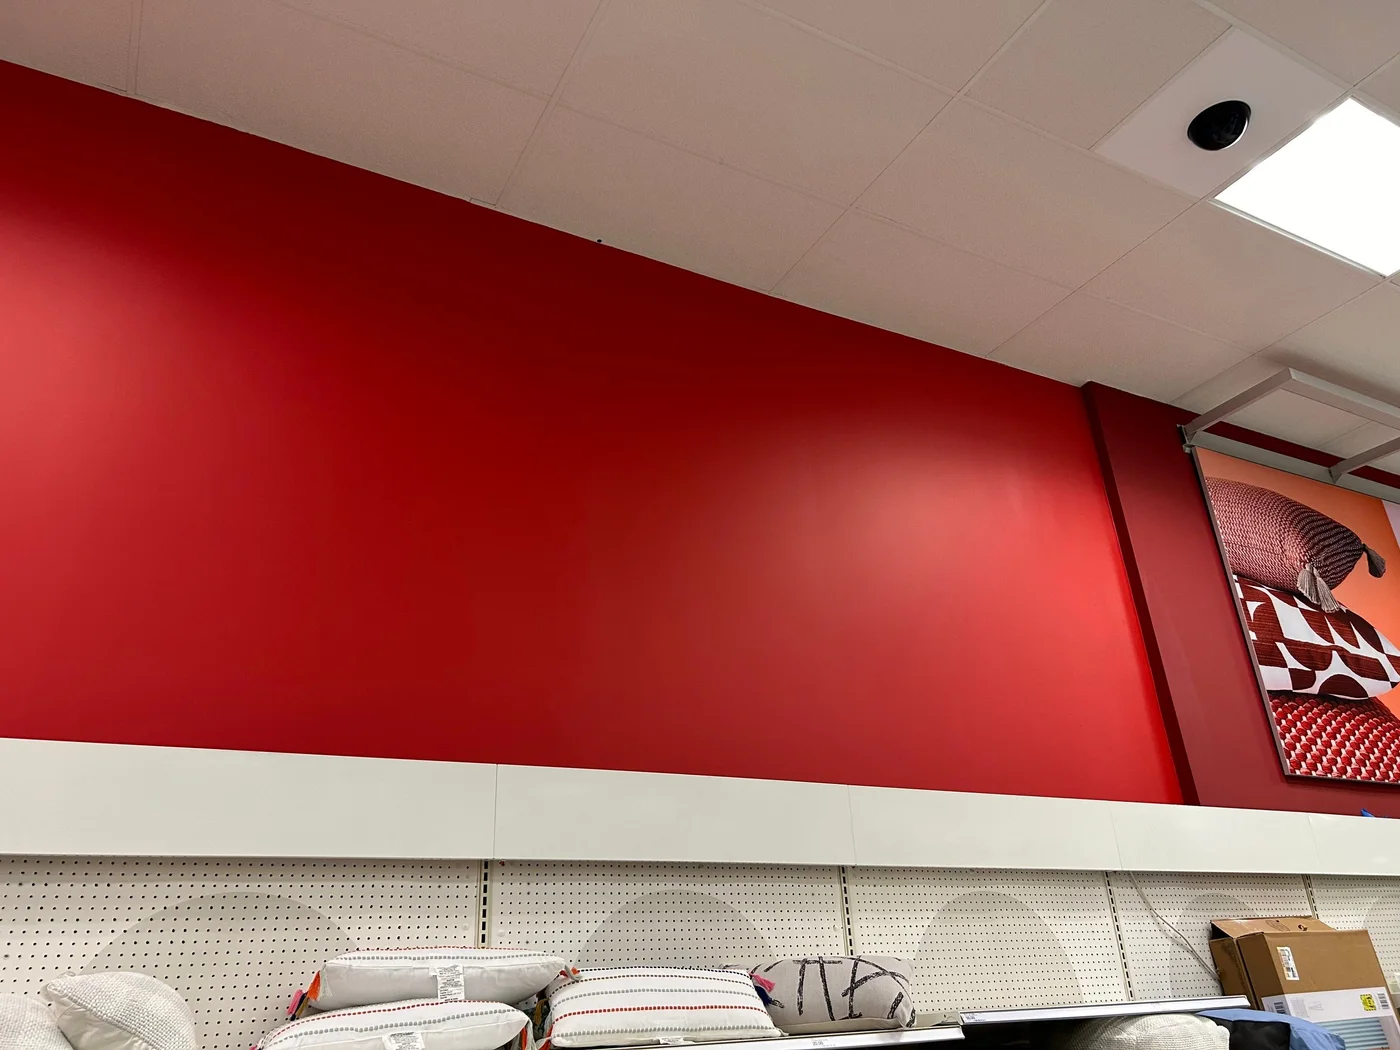
Kansas City, MO
AfterFinished red retail wall
Photo 6 of 7 · Before, progress and after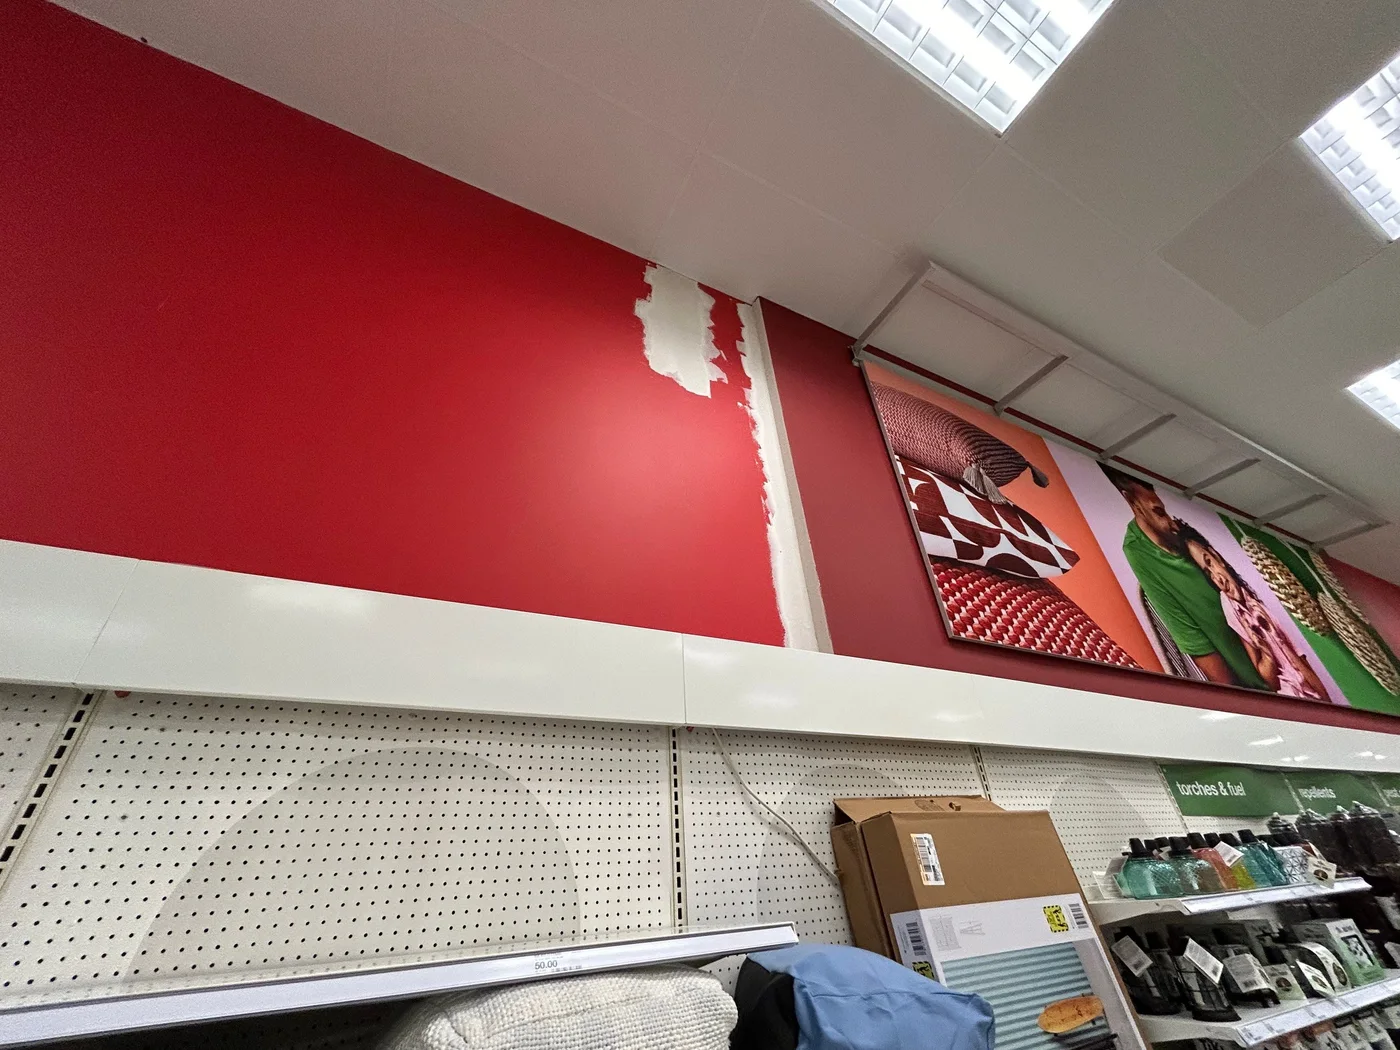
Kansas City, MO
AfterAnother view of painted retail wall
Photo 7 of 7 · Before, progress and after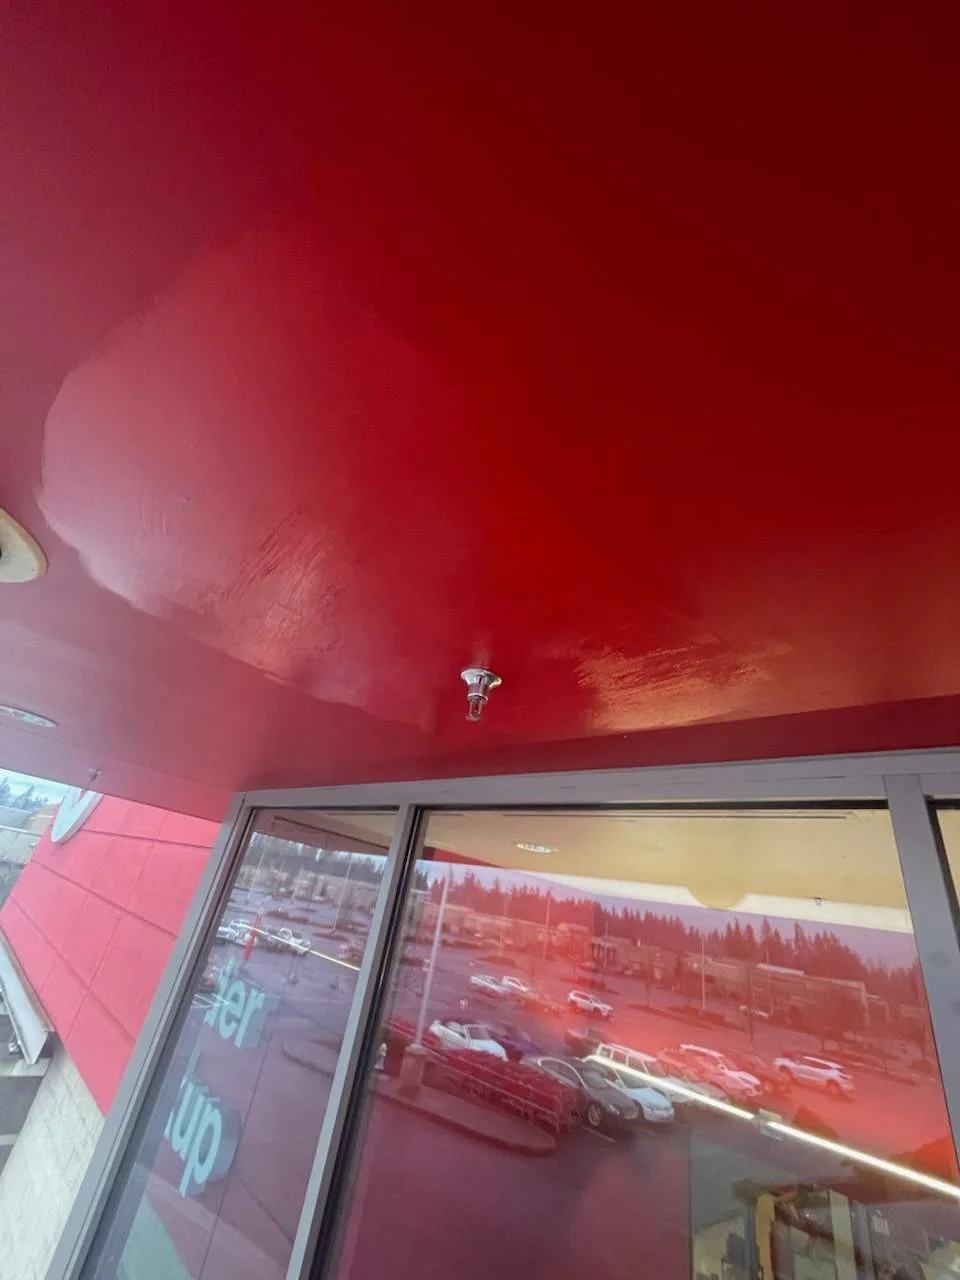
Puyallup, WA
BeforeCeiling surface before repair
Photo 1 of 3 · Before, progress and after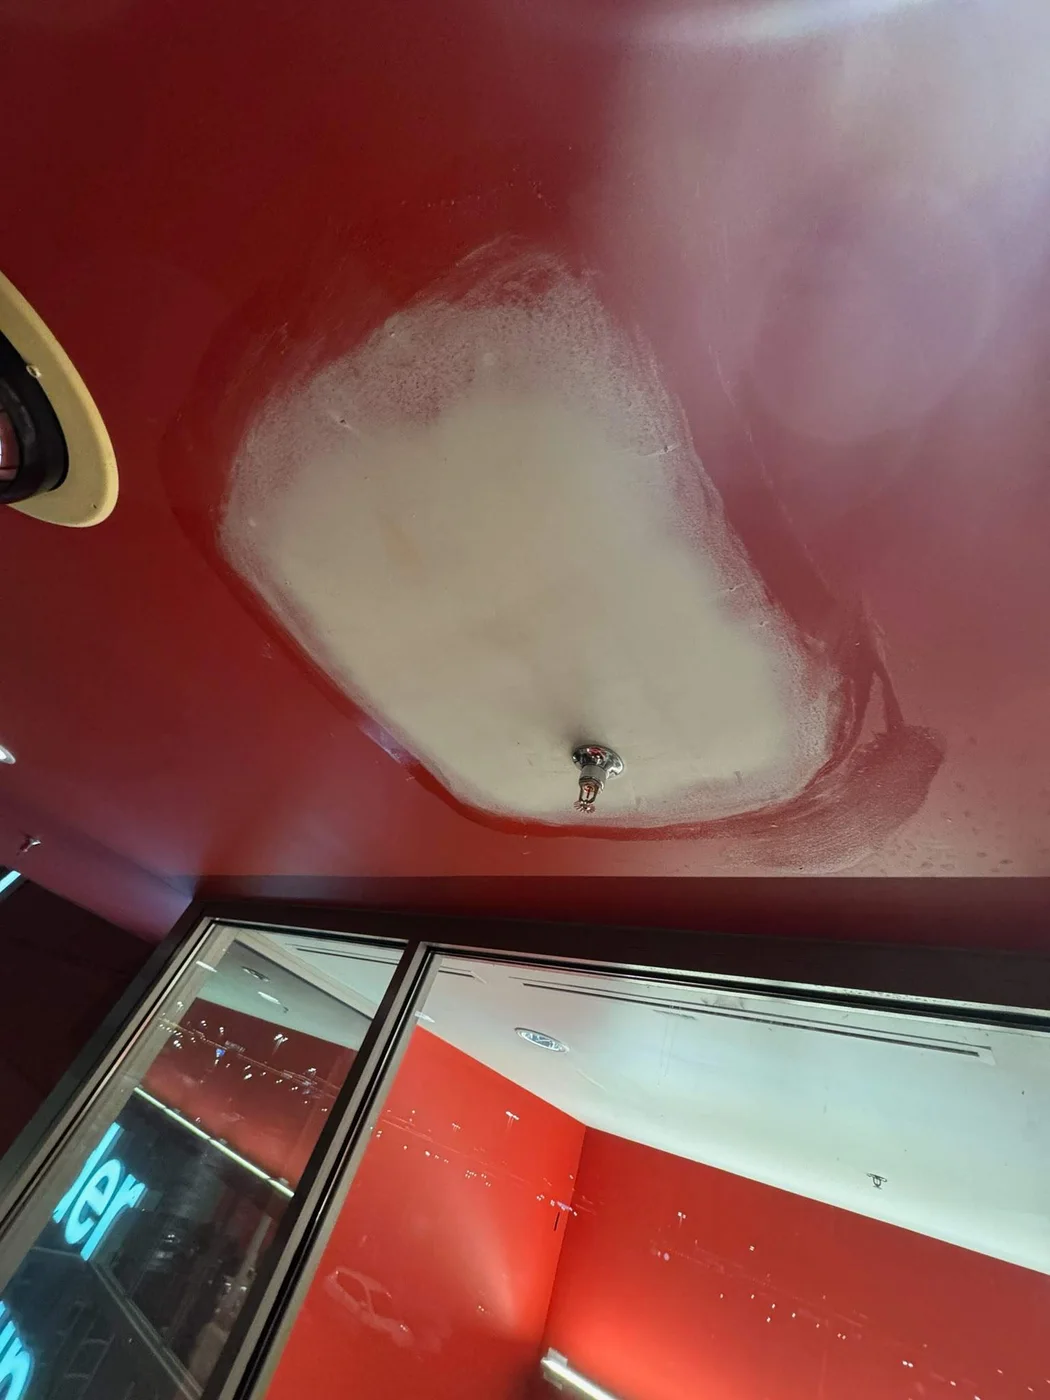
Puyallup, WA
ProgressCommercial ceiling patch in progress
Photo 2 of 3 · Before, progress and after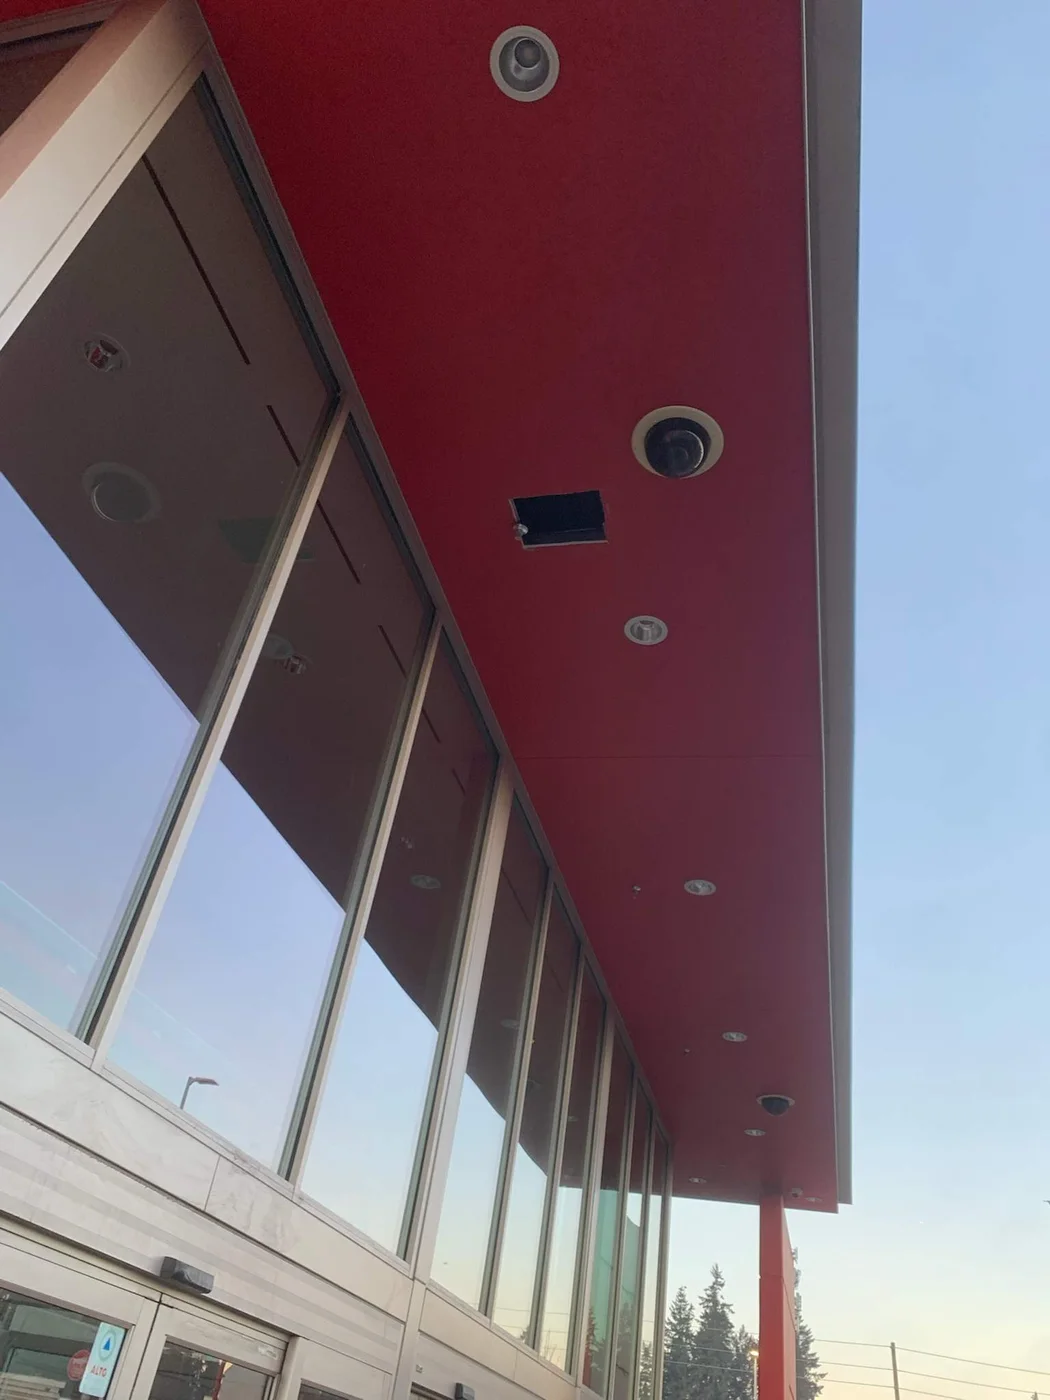
Puyallup, WA
AfterFinished red ceiling
Photo 3 of 3 · Before, progress and afterGET IN TOUCH
Tell us what you need and we’ll help you work out the next step.
LET’S TALK ABOUT YOUR SPACE
Tell us what needs attention.
We’ll help you work out the next step.